Digital Sewing Room: The Complete 2026 Guide
A definitive guide to building a digital sewing room: what to catalog, in what order, and how to make it actually useful at the cutting table.
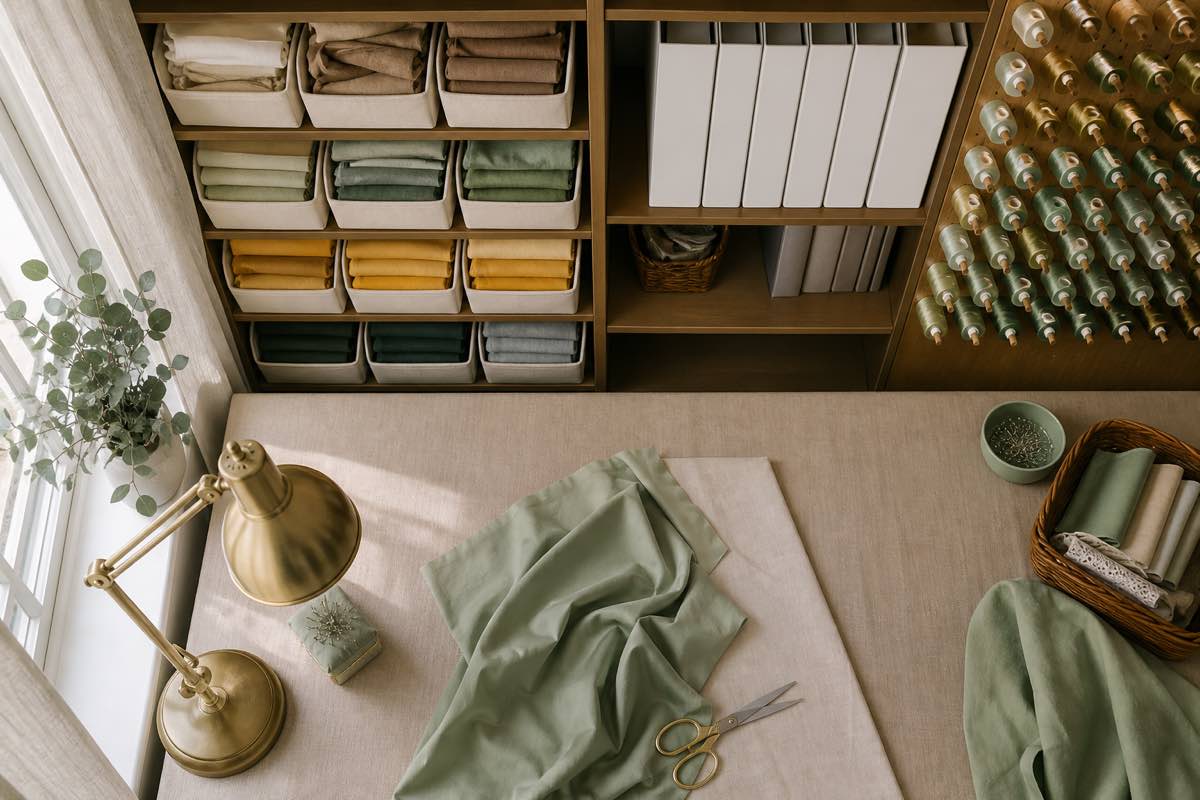
TL;DR. A digital sewing room is a searchable inventory of every pattern, fabric cut, thread, notion, and machine you own — synced to your phone, so you can answer "what can I sew today?" in five seconds instead of digging through bins. This guide walks through what to catalog, in what order, and how to keep it maintained.
What is a digital sewing room?
A digital sewing room is a structured digital twin of your physical sewing space. Every pattern envelope, fabric cut, thread spool, button jar, machine, and finished project lives as a searchable record. The records are linked: a pattern knows which fabric you've paired it with; a fabric cut knows which project consumed it; a machine knows when it was last serviced.
The point isn't filing. The point is being able to walk into your sewing room on a Saturday morning, open your phone, and have an instant answer to "I want to make a summer top — what can I sew right now with what I own?"
What to catalog (and what to skip)
Catalog these five categories, in roughly this order of value:
1. Sewing patterns — highest ROI. You'll stop buying duplicates immediately.
2. Fabric stash — second highest. Unlocks "what can I sew today?" answers.
3. Thread — color matching and inventory for project starts.
4. Notions — buttons, zippers, elastic. Find that perfect button without dumping the jar.
5. Machines — model, manual, maintenance log, accessory list.
Skip:
- Every scrap. Catalog cuts ≥ 0.25 yard. Scraps go in a bin.
- Every needle. Track packs, not individual needles.
- Every pin. No.
Why it actually matters
Sewists who keep a digital sewing room report three things consistently:
1. They buy less. Knowing exactly what's in the stash kills impulse buys.
2. They finish more. The "what to start?" friction drops, so projects start more often.
3. They use older fabric. Hidden bins become visible, so the 2-year-old linen finally gets sewn.
This isn't a productivity claim — it's a visibility claim. You can't decide to use what you can't see.
Step 1: Catalog your patterns
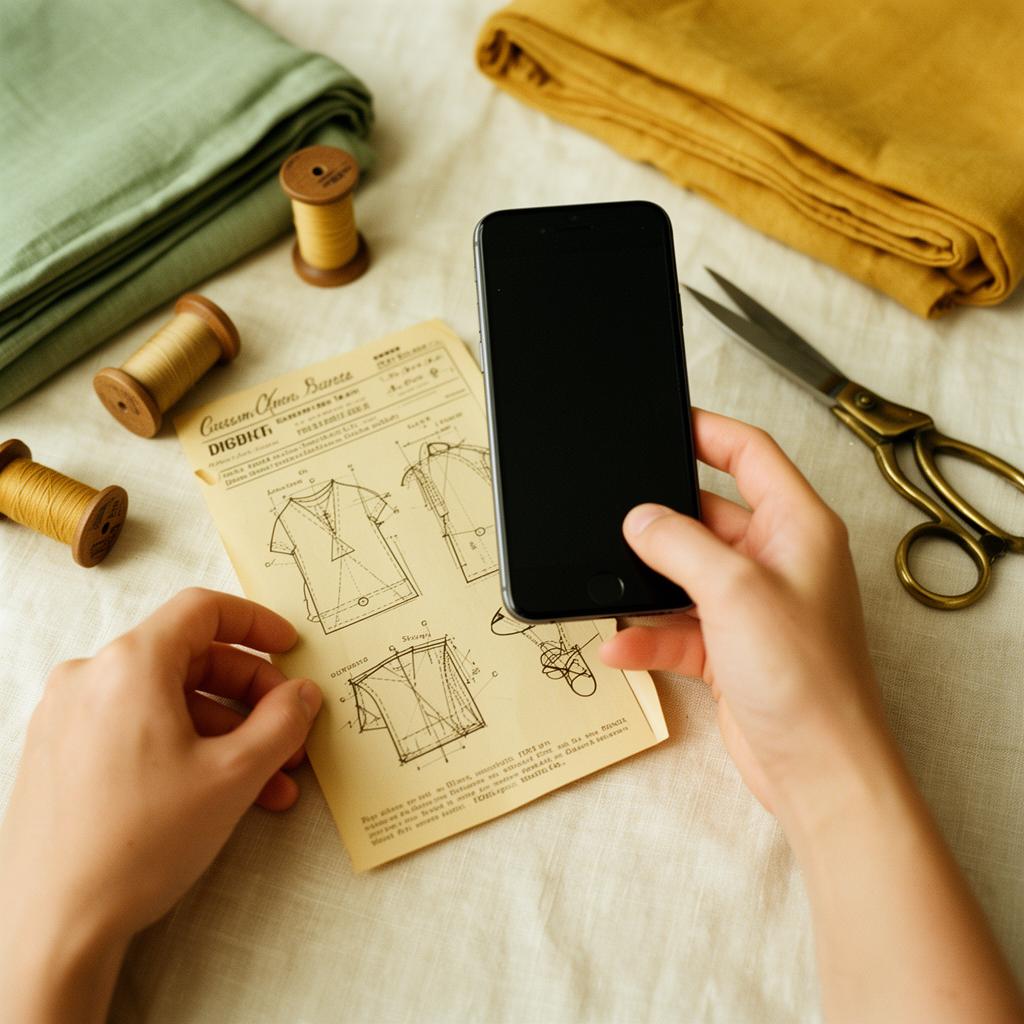
Start here. Patterns have the cleanest data (printed right on the envelope) and the highest emotional return (you'll stop double-buying within a week).
For each pattern, capture:
- Brand and number (e.g. Simplicity 9876)
- Sizes included
- Views / variations
- Recommended fabric types and yardage
- Notions required
- A photo of the envelope front and back
Doing this manually takes about 3 minutes per pattern. With AI pattern scanning (snap two photos, get all fields auto-filled), it's about 10 seconds. A 100-pattern collection: 5 hours manual vs. 20 minutes with AI.
Step 2: Catalog your fabric
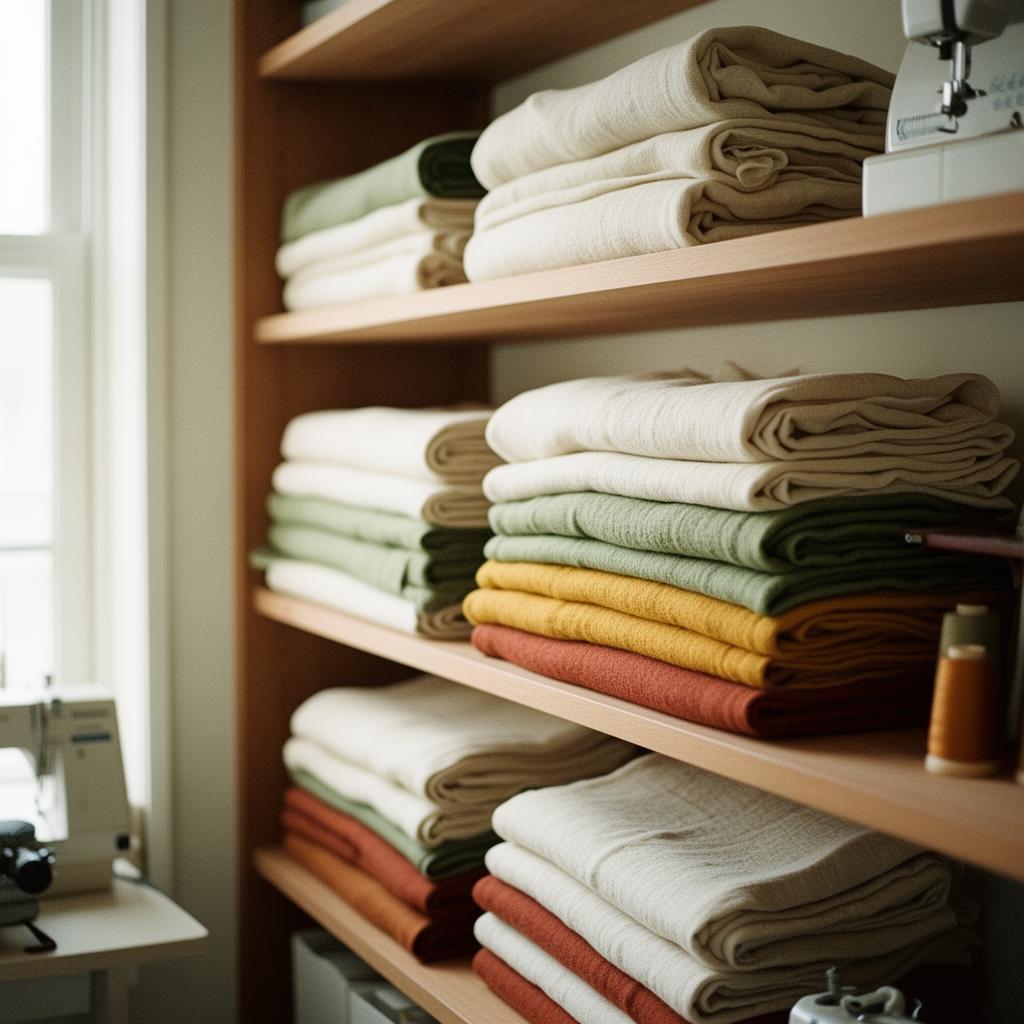
For each fabric cut, capture:
- Fiber content (100% linen, cotton/poly blend, etc.)
- Weight (light, medium, heavy — or GSM if you know it)
- Stretch (none, 2-way, 4-way)
- Yardage and width
- Color and a photo
- Source / cost (optional, useful for project costing)
This is the catalog that unlocks the Stash Planner. Without yardage and fiber, AI can't suggest projects. With them, it's magic.
Pro tip. When you log a fabric, take the photo on a neutral surface in good light. Photo quality drives every visual feature downstream (color matching, mood boards, pattern previews).
Step 3: Catalog your thread
Faster than fabric. For each spool:
- Color (manufacturer code if known)
- Type (all-purpose, embroidery, serger)
- Amount remaining (rough — full / half / low)
Thread tracking pays off the first time you start a project without driving to the fabric store for a navy spool you already own.
Step 4: Catalog your notions
Buttons, zippers, elastic, bias tape, interfacing. Group by type, not individually:
- Buttons — by size and color (e.g. "12 brass shank buttons, ¾"")
- Zippers — by length and color
- Interfacing — by weight and yardage
- Elastic — by width and total length remaining
Step 5: Catalog your machines
Underrated step. For each machine:
- Make, model, year purchased
- Manual (PDF link or upload)
- Accessories included
- Maintenance log (last oiled, last serviced, current bobbin tension notes)
When something goes wrong at 9pm on a Saturday, having the manual and maintenance log on your phone is the difference between fixing it and giving up.
How long does this take?
With AI scanning and a dedicated sewing app:
- 100 patterns → ~30 min
- 50 fabric cuts → ~30 min
- 60 thread spools → ~20 min
- Notions overview → ~30 min
- Machines → ~10 min each
Total for a typical home sewist: 2-4 hours, easily done across an afternoon or a weekend. Without AI scanning, multiply pattern time by 18x.
What tool to use
You have three realistic options:
1. A dedicated sewing app like Sewist Studio — purpose-built, AI scanning, mobile-first, free tier covers everything except AI tools and unlimited inventory.
2. A general database like Airtable — flexible but requires a full weekend of setup and lacks AI.
3. Paper and a spreadsheet — fine for very small stashes, breaks down fast.
For most sewists, a dedicated app is the right answer because the categories are already modeled (patterns, fabric, thread, notions, machines, projects all link to each other out of the box) and the data entry is automated.
Keeping it maintained (the part everyone gets wrong)
The reason most DIY systems fail isn't the build — it's the drift. Three months in, you've bought 12 patterns and logged 2. The catalog stops matching reality, you stop trusting it, and the whole thing dies.
Maintenance rules that work:
- Log purchases immediately. Snap the envelope or fabric cut before it goes into the bin. Five seconds at point-of-purchase beats five hours of catch-up.
- Decrement when you cut. When you cut into a fabric, update the yardage in the app right then. The Stash Planner is useless if it thinks you have 4 yards of something you actually have 1 yard of.
- Use the mobile app. Desktop-only systems die. The whole reason this works is being on your phone in the sewing room.
- Project Kanban. When you start a project, create a card. When you finish, mark it done. This keeps WIP visible and prevents the "three half-finished projects in a drawer" pattern.
What a finished digital sewing room enables
Once it's set up, here's what you can do that you couldn't before:
- "What can I sew this weekend with what I own?" → 5 seconds, Stash Planner.
- "Have I already bought this pattern?" → Search by brand/number while standing in the fabric store.
- "Which patterns use under 2 yards?" → Filter, get a list.
- "What did I do to my Bernina last March?" → Maintenance log.
- "What thread do I have for this navy project?" → Filter threads by color.
That's the actual point of the work. Not organization for its own sake — organization that lets you sew more, with less friction.
Getting started
1. Create a free Sewist Studio account.
2. Start with patterns. Snap 10 envelopes. Watch the AI extract everything.
3. Add 10 fabric cuts. See them appear in the Stash Planner.
4. Open the Stash Planner. Set a vibe. Get suggestions.
5. Pick one. Start cutting.
That's the full loop, end to end, in under an hour. The "digital sewing room" isn't a thing you build once — it's a habit that compounds. Two months in, you'll wonder how you ever sewed without it.
Frequently asked questions
What is a digital sewing room?
A searchable, mobile-accessible inventory of everything in your physical sewing space — patterns, fabric, thread, notions, machines — connected for instant answers like "what can I sew today?"
How long does it take to digitize a sewing room?
2-4 hours for a typical home sewist using AI scanning. Spread across an afternoon or weekend.
Do I need a paid app?
No. Sewist Studio has a free tier that covers cataloging everything. AI scanning and the Stash Planner require Pro ($4.99/month).
What should I catalog first?
Patterns. Highest emotional return — you'll stop buying duplicates immediately. Then fabric, thread, notions, machines.


