Combining Smocking and Embroidery on Heirloom Garments
The most memorable heirloom pieces mix smocking and embroidery on the same yoke. Here's how to plan and execute the combination.
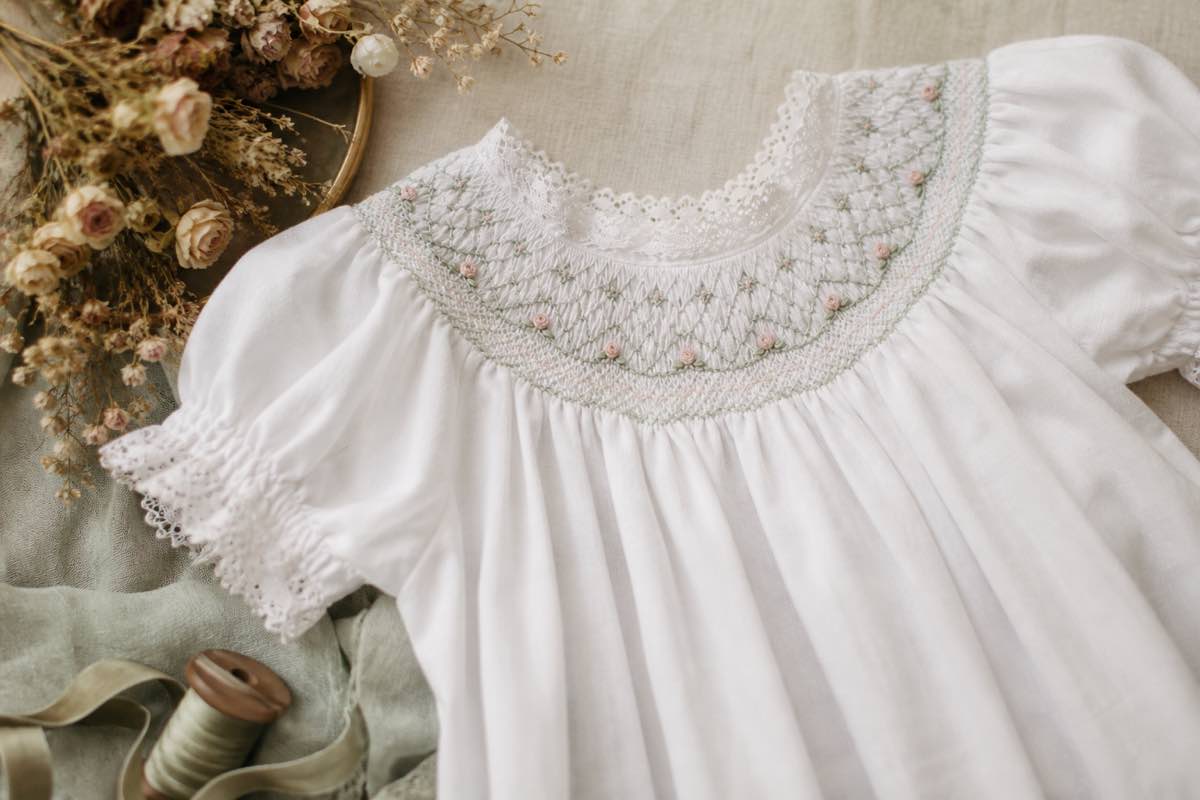
Why combine them
Smocking gives structure and rhythm; embroidery gives focus and softness. Together they create the depth that defines a classic bishop yoke or a christening bodice — the smocking anchors the design, the embroidery draws the eye.
Order of work
Always in this order:
1. Pleat and gather the panel.
2. Smock the rows completely.
3. Block the finished smocking to shape.
4. Add embroidery above, below, or between rows.
5. Assemble the garment.
Embroidering before smocking risks distorting the design when the pleats settle. Embroidering after assembly makes it impossible to hoop or reach the piece cleanly.
Color planning
The single most important step. Pull DMC skeins onto the fabric under natural light and audition combinations:
- Pick one dominant color that anchors both smocking and embroidery.
- Add one or two accents that appear in both techniques.
- Avoid introducing new floss colors during embroidery — the eye reads it as random.
Placement templates
Sketch the finished panel on graph paper before stitching:
- Mark smocking rows as horizontal bands.
- Mark embroidery motifs as circles or shapes.
- Leave 1/2" minimum breathing room between smocking and embroidery.
- Balance embroidery across the panel — even weight left/right and top/bottom.
Classic combinations
- Bishop yoke: geometric smocking bands framing a center-front bullion rose spray
- Daygown insert: narrow smocked band above a shadow-worked heart
- Christening bodice: picture-smocked motif surrounded by satin-stitched leaves
- Cuffs: two rows of cable smocking with a single bullion bud at each side seam
Save the finished combination
Combined pieces are gold-mine references. A photo of a finished yoke with the DMC list attached becomes the recipe for the next three commissions. Save each to camera cataloging, pull floss from the digital stash so you know what's already on hand, and plan the next garment as a card on the project kanban.
Build your combined-technique reference library in Sewist Studio.


