How to Edit Embroidery Files Without Expensive Software
Need to nudge a stitch, remove a stray jump, or resize a design before stitching? Here's how to edit embroidery files without buying expensive software.
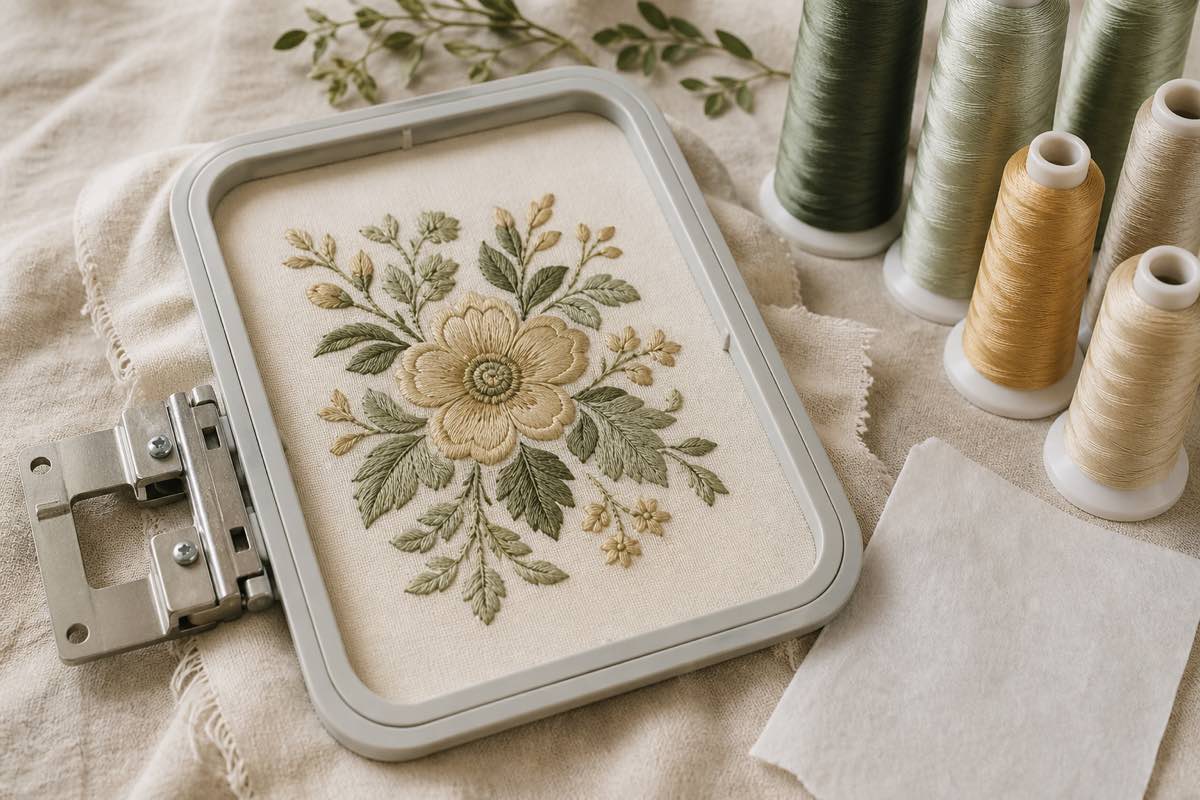
Why embroidery files need editing
Even well-digitized designs don't always land perfectly on the fabric you have in mind. Maybe a monogram sits too close to a seam. Maybe a purchased design has a stray jump stitch that shows through on a delicate fabric. Maybe a logo needs to shift 3 mm left to center on a pocket.
Traditionally, fixing these issues meant owning dedicated embroidery software like Embrilliance Essentials, Hatch, or Wilcom. Those programs are powerful, but they cost $100–$500+ and come with learning curves that don't match a quick five-minute fix.
An online stitch editor fills that gap: open the file, adjust the stitches you need to adjust, and export.
What you can fix in the Stitch Editor
Sewist Studio's Stitch Editor works at the node level. That means you can select an individual stitch point and:
- Move it — drag a node to nudge part of the design into place
- Delete it — remove a stray stitch, jump, or unwanted detail
- Undo and redo — experiment freely without breaking the file
- See the stitch count — watch how your edits affect total stitches in real time
This is not a full-scale digitizing suite. It won't redraw lettering or split a single-color design into multiple thread colors. But for cleanup and small corrections, it's exactly what most sewists need.
When the Stitch Editor saves the day
Common scenarios where a few node edits fix everything:
- A purchased design has a registration issue — one corner doesn't line up with the rest.
- A monogram overlaps a pocket edge — move the initial slightly inward.
- There are extra basting or jump stitches — delete them so the back stays clean.
- A digitized logo has a thin area that won't stitch well — remove those fragile stitches or move them into a denser region.
- You resized a design elsewhere and it distorted — tweak individual nodes to recover the original shape.
How to open a design in the editor
The Stitch Editor accepts designs handed over from other parts of Sewist Studio:
1. From the Image Digitizer: after digitizing an image, click "Edit stitches" to open the result directly.
2. From the Monogram Builder: after building a monogram, click "Edit stitches" to refine placement or clean up edges.
3. From your design library: open any saved design and choose to edit it.
If no design is loaded, the editor points you back to the Digitizer or Monogram Builder so you can create or import one first.
Export and save your edits
When the design looks right:
- Export to .DST for Tajima, commercial, and multi-format machines.
- Export to .PES for Brother, Babylock, and similar home machines.
- Save to your design library with an automatic "(edited)" suffix so the original and revised versions stay separate.
Each saved edit gets a rendered PNG preview, so you can browse your library later without reopening the file in software.

Best practices for editing stitch files
- Work on a copy. The editor keeps your original safe, but exporting under a new name adds one more layer of insurance.
- Edit at full zoom. Small node movements matter. Use the zoom controls to get close.
- Watch the stitch count. Removing too many stitches can leave gaps; adding none keeps the file clean.
- Re-test after every edit. A change that looks good on screen can still behave differently under the needle.
Free editing tools vs. paid suites
If you run a custom embroidery business or do complex 3D puff/appliqué work, paid software is still the right tool. For everyone else — hobbyists, gift-makers, small Etsy sellers, and occasional embroiderers — a free browser editor handles 90% of real-world fixes.
Start with the free editor. If you hit its limits, you'll know exactly which paid features are worth paying for.
Clean up your next design for free
Open the Stitch Editor with a digitized image, a monogram, or a design from your library. Nudge the stitches that need nudging, delete the ones that don't belong, and export a file that's ready for your machine.


