How to Convert PES to DST (and DST to PES) Embroidery Files
Your design is a .PES and your machine wants .DST, or the other way around. Here's how to convert embroidery files, and what actually changes when you do.
Why you'd need to convert PES and DST
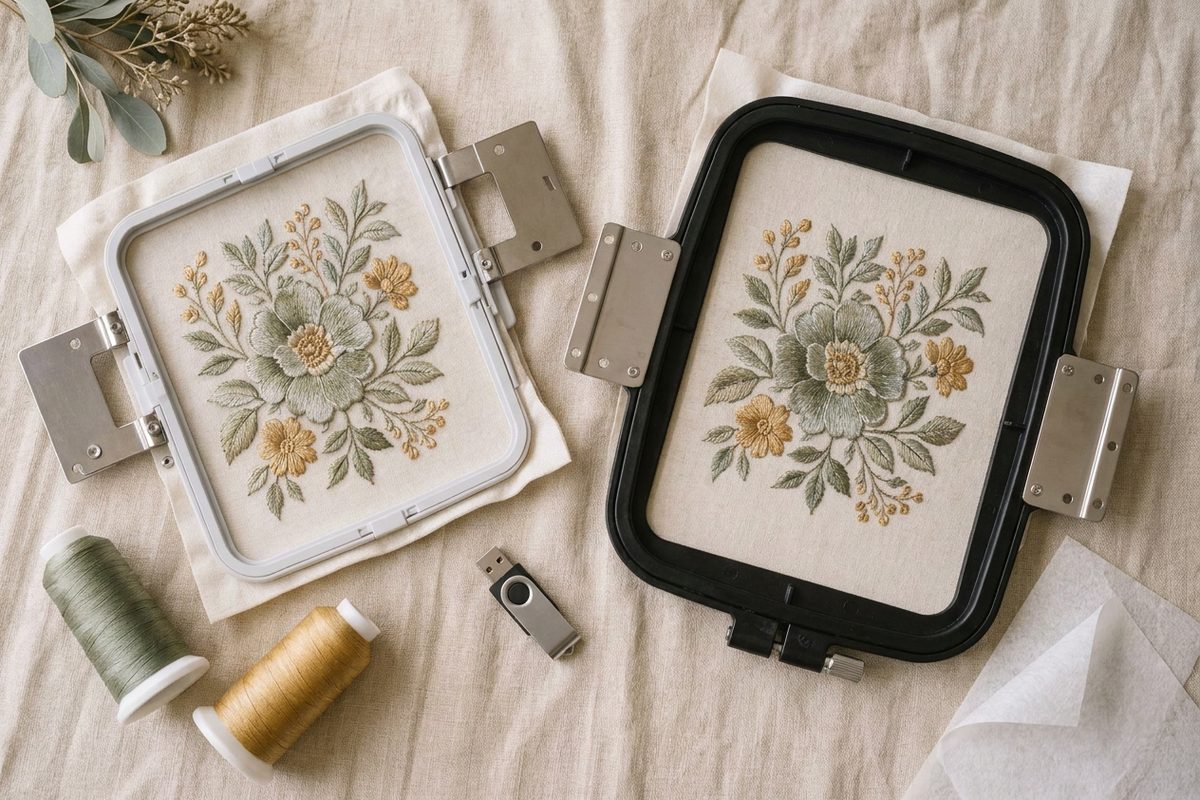
PES and DST are the two embroidery formats you'll run into most.
- .PES is the Brother and Babylock home-machine format. It stores the stitches plus thread colors.
- .DST is the Tajima format that most commercial and multi-needle machines read. It stores the stitches and the color-change stops, but not the thread colors themselves.
Designers often sell a bundle in one format, and your machine reads the other. Or you've digitized something for a friend whose machine takes a different file. Converting the file is how you get the same stitches onto a different machine.
What actually changes when you convert
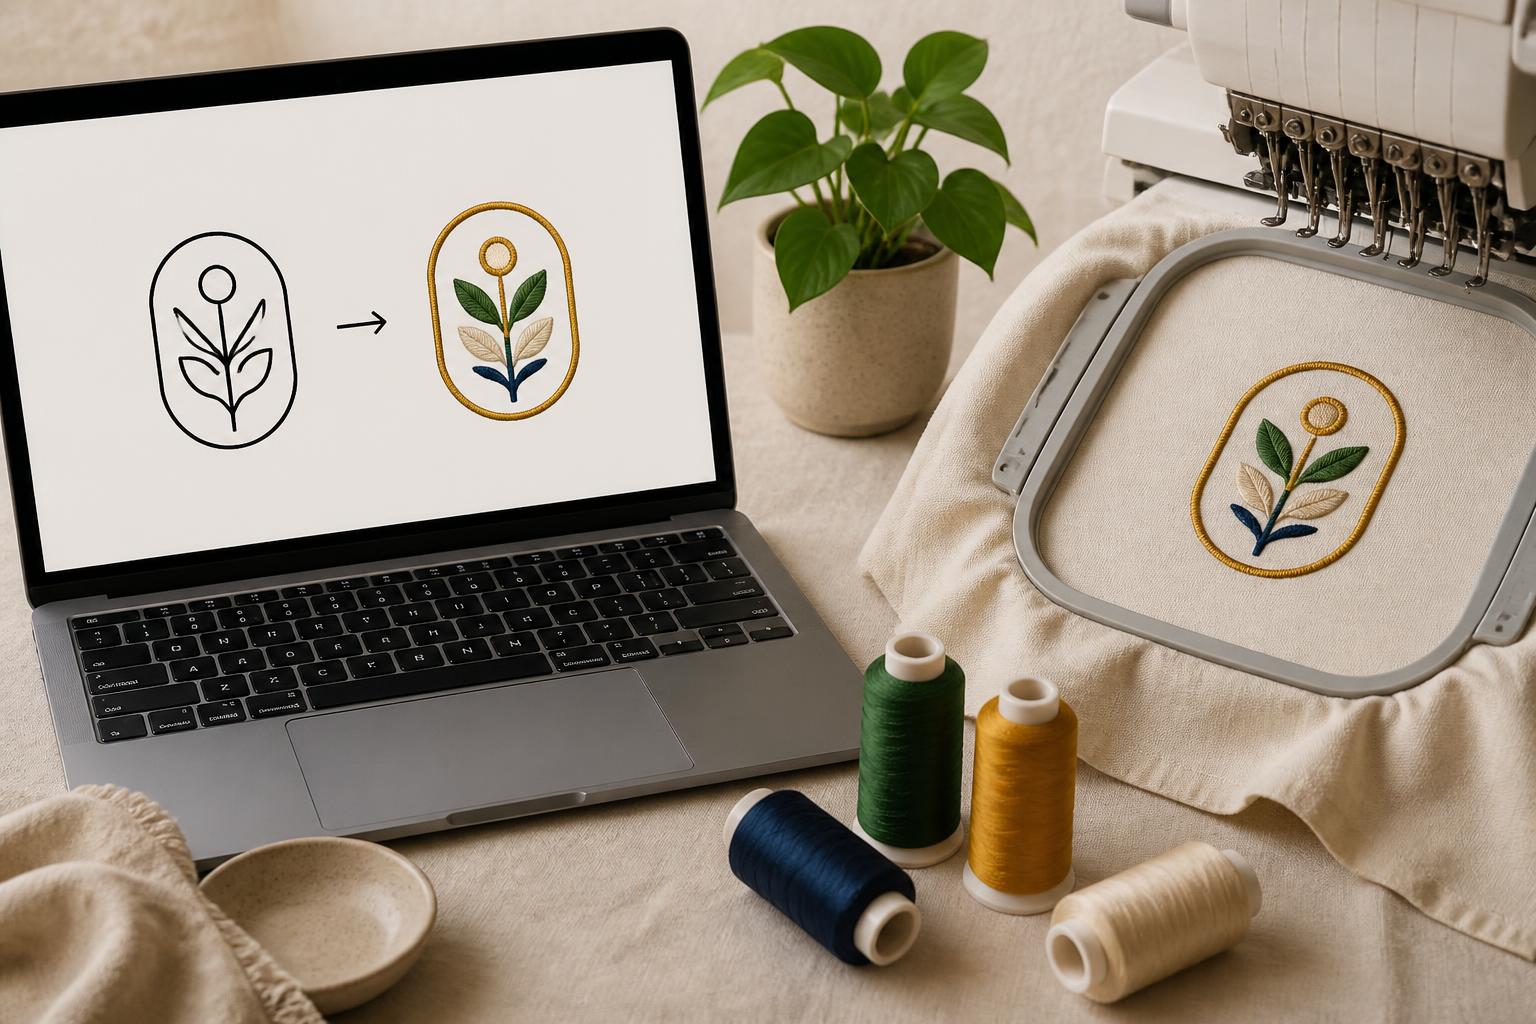
Converting does not redraw the design. The stitch path, the density and the size all carry over. Two things are worth knowing:
1. PES to DST drops the thread colors. The DST keeps every color-change stop, so the machine still pauses in the right places, but it won't know which color you meant. Keep the original PES or a color list handy and pick threads at the machine.
2. DST to PES has to pick colors. Because DST has no colors to bring along, the converter assigns standard thread colors to each stop. The stitching is identical; you just reassign colors on your machine screen or in your machine's software.
That's normal for every converter, free or paid, because it comes from the DST format itself.
Option 1: Ink/Stitch (free, desktop)
Ink/Stitch is a free, open-source extension for the Inkscape drawing program. It reads and writes many embroidery formats, including PES and DST.
1. Install Inkscape and the Ink/Stitch extension.
2. Open your .PES or .DST file in Inkscape.
3. Use Save As or Save a Copy and choose the other embroidery format.
Ink/Stitch is the right pick if you also want to digitize from scratch or convert to formats beyond PES and DST. The trade-off is setup time and a learning curve.
Option 2: Sewist Studio's design library (in your browser)
If you'd rather not install anything, Sewist Studio converts between PES and DST in the browser and keeps the design catalogued for next time.
1. Open your embroidery design library and add a design.
2. Upload the .PES or .DST file. You'll see a stitched preview with the stitch count, number of colors and size in millimeters.
3. Click Export DST or Export PES to download the converted file.
The design library is part of Sewist Studio Pro, which has a 14-day free trial. The original stays in your library with its preview, so you can export again in either format later without hunting for the file.
If you need to tidy a few stitches before you export, the Stitch Editor lets you move or delete individual stitch points and export to either format.
Check the converted file before you stitch
- Compare the stitch count. It should match the original closely. A big difference means something went wrong.
- Check the size. Confirm the width and height still fit your hoop.
- Stitch a test on scrap fabric with stabilizer, especially before stitching on a garment.
What about JEF, EXP, VP3 and other formats?
Sewist Studio reads and writes PES and DST only. For Janome .JEF, Husqvarna Viking .VP3 or .HUS, and .EXP files, see how to open JEF, EXP, VP3 and HUS embroidery files. Ink/Stitch can convert most of them to PES or DST, and then you can catalog them alongside the rest of your designs.