How to Fix Common Fit Problems: Gaping Necklines, Tight Sleeves, and More
A finished garment that almost fits is the most frustrating result in sewing. Here's how to diagnose and fix the most common fit problems — neckline gape, tight sleeves, and the wrinkles that tell you what's wrong.
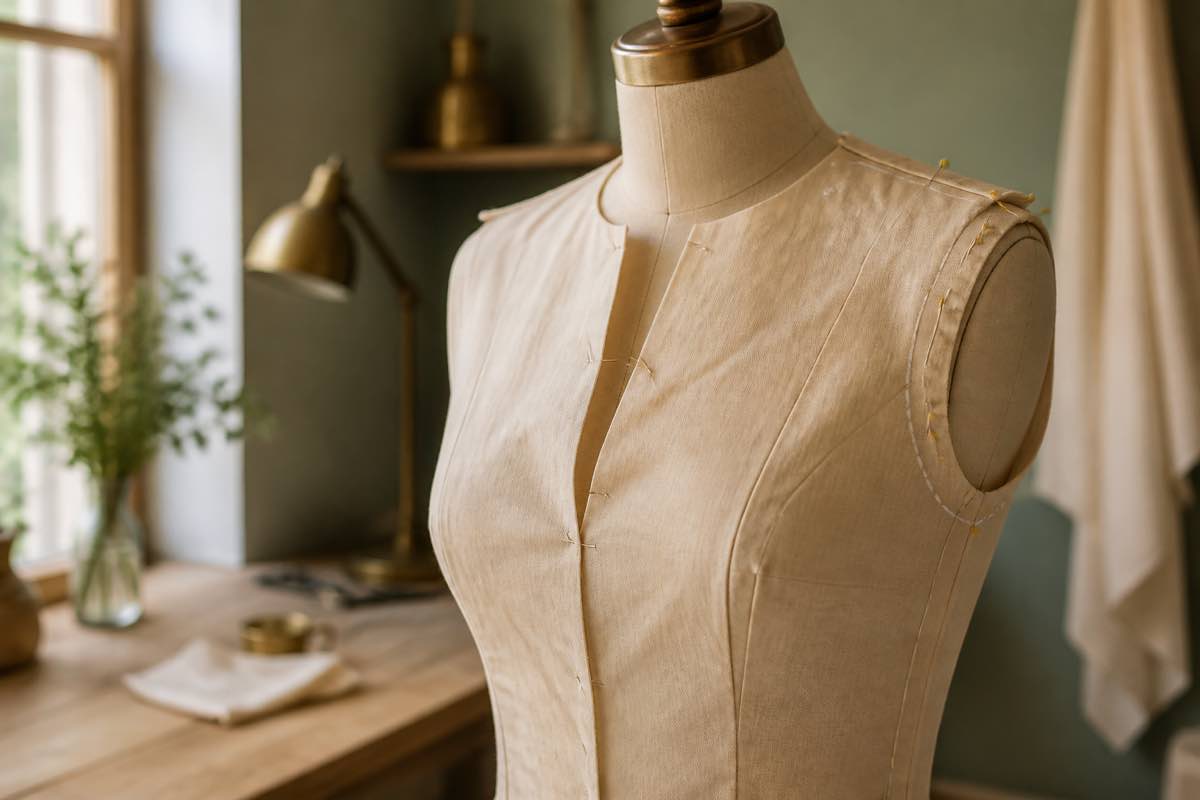
The most frustrating result in sewing: 'almost'
A garment that's clearly wrong, you can shrug off. A garment that almost fits — the neckline gapes just enough to flash your bra, the sleeves bite into your arms, there's a stubborn wrinkle under the bust — is maddening, because you can see how close it came.
The good news: almost every common fit problem has a standard, named fix. Fitting isn't guesswork once you learn to read the signs. This guide covers the usual suspects and how to correct each — and how to save the fix so the problem never comes back.
(For sizing before you cut, see what size sewing pattern should I cut; for the bust specifically, the full/small bust adjustment guide; for trousers, why are pants so hard to sew. This post is the catch-all for everything else.)
First, learn to read wrinkles
Before any specific fix, learn the universal language of fit — wrinkles and drag lines point to the problem:
- Horizontal wrinkles → the garment is too tight there; it's straining across. Add room.
- Vertical wrinkles or pooling fabric → too loose there; excess fabric. Remove some.
- Diagonal drag lines → point toward the area that needs more room (lines radiate from where it's pulling).
Once you can read these, most fixes become obvious. The standard tool for diagnosing them is a muslin — a test garment in cheap fabric you can pin, mark, and adjust before cutting your real cloth.
Fix 1: Gaping neckline
The classic. The neckline stands away from your chest instead of lying flat — usually because there's more length around the opening than your frame needs.
Fixes (easiest first):
- Pinch out the gape into a small dart while wearing the muslin; you can then rotate that dart into a seam or ease it away on the pattern.
- Take in the shoulder seam slightly, which shortens the neckline edge.
- Raise and re-curve the neckline a touch if it's cut too low/wide.
A small neckline gape is often a sign the pattern's a hair big through the shoulders/chest — sometimes the real fix is choosing your size by high bust.
Fix 2: Tight sleeves (bicep adjustment)
If sleeves pinch your upper arm or restrict movement, the sleeve is too narrow through the bicep — extremely common, because sleeve drafts run slim.
The bicep adjustment:
1. Draw a line down the center of the sleeve and a line across at the bicep.
2. Slash and spread to add width across the bicep (an inch makes a huge difference).
3. Add a little to the armhole/sleeve cap as needed and true the lines.
This is the sleeve cousin of an FBA — same slash-and-spread logic.
Fix 3: Gaping armhole
On sleeveless garments, the armhole stands away from your body. Usually excess length at the armscye.
Fixes: pinch out the gape at the side seam or armhole edge and remove it, or rotate the excess into a nearby dart. For set-in sleeves, an armhole gape often resolves once the shoulder and bodice fit correctly.
Fix 4: Wrinkles under the bust, at the back, or waist
Read the lines:
- Horizontal pull under the bust → needs more room (often an FBA).
- Pooling at the lower back → too much length; a sway-back adjustment removes the excess.
- Wrinkles at the waist of a fitted garment → the waist is too big or too small for that point; take in or let out.
The rule that makes fitting compound: fix the pattern, not just the garment
Pinning out a gape fixes this shirt. The sewists who consistently get great fit do one more thing: they transfer every fix back to the paper pattern and record it, so the next make starts already corrected.
In your pattern library, note the adjustments on each pattern ("1cm shoulder take-in, 1-inch bicep adjustment, rotated neckline dart"), and store your body measurements so you choose the right size from the start. Log each make in your project journal with a fitted photo. Fit stops being a fresh battle every time and becomes a solved problem you reuse.
2. Sew a muslin and read the wrinkles/drag lines.
3. Apply the standard fix for each problem.
4. Transfer the fix to the pattern and record it.
5. Reuse the corrected pattern on every future make.
Frequently asked questions
How do I fix a gaping neckline?
Pinch out the excess as a small dart, take in the shoulder seam, or raise/re-curve the neckline. Adjust the pattern, not just the garment.
How do I fix tight sleeves?
A bicep adjustment — slash and spread the sleeve to add width through the upper arm.
What do wrinkles tell me?
Horizontal = too tight (add room); vertical/pooling = too loose (remove fabric); diagonal drag lines point to where it needs room.
How do I fix a gaping armhole?
Pinch out the excess at the side or armhole edge, or rotate it into a dart; for set-in sleeves it often resolves with shoulder fit.
Pattern or garment?
Both, but always transfer the fix to the pattern so every future make is corrected.


