How to Fix 5 Common Sewing Mistakes with Live Help
Five common sewing mistakes, what a coach can tell from a look on camera, and the scrap tests that confirm the fix.
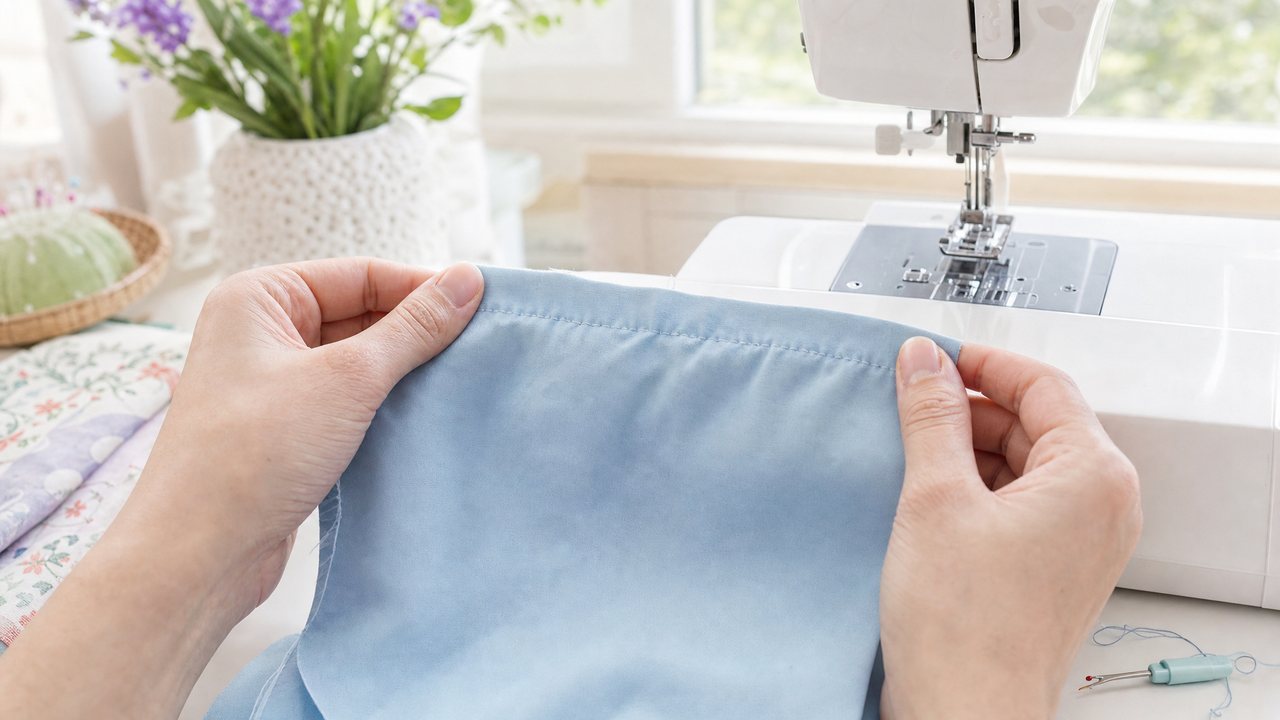
Most common sewing mistakes come from a short list of causes: stitch length, the wrong or worn needle, thread tension, and how the fabric moves under the presser foot. Live help is useful because many of these show up clearly when you hold the seam up and look at it together.
The honest catch is that a look is only a first read. A coach on camera can narrow down the likely cause. A scrap test tells you whether the fix works. This guide covers five mistakes, what you can show, what to try, and what needs hands-on testing.
How does live sewing help work on camera?
You start a video call, hold the problem seam up to your camera, and talk it through. In Sewist Studio, the coach is Wren, a live talking avatar on a video call.
Sign in, open the coach, and choose "Show Wren your fabric" to turn on your camera. Wren already knows your current project (pattern, size and fabrics, in your units) and can look up your stash, including thread, during the call. That helps with questions like "is this thread too heavy for this fabric?"
Know the limits before you start:
- Wren cannot see inside your machine. It cannot see your bobbin case, tension discs or feed dogs.
- Wren cannot adjust your machine. You change the settings. It suggests what to try.
- It does not replace a scrap test. Every fix below ends with sewing a sample.
- Calls end after 5 minutes. Free accounts get 1 call, and Pro includes unlimited calls.
For more on the coach itself, see our guide to the AI sewing coach on a live video call.
How to show a sewing mistake on camera
Good light and a flat, close view make the difference between a guess and a useful answer.
A quick checklist:
- Daylight or a bright lamp, not overhead room light alone
- Both sides of the seam ready to show, top and bobbin side
- The fabric held flat, then gently stretched if it is a knit
- A scrap of the same fabric nearby for testing
- Your stitch length, needle size and tension setting written down, since the coach cannot read them off your machine
The same habits help when you ask about fabric itself, covered in 12 questions to ask an AI sewing coach about your fabric.
1. Why are my seams puckering?
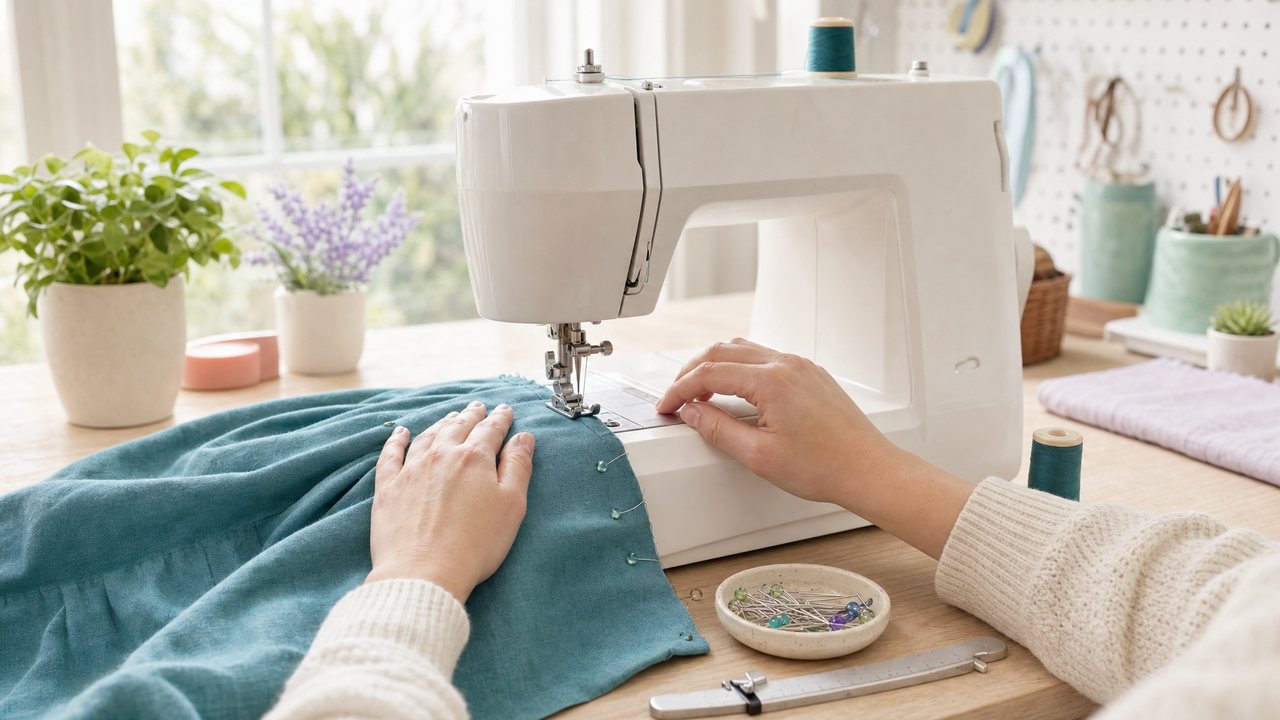
Puckering usually means the stitch is too short, the tension is too tight, or the needle and thread are too heavy for the fabric. It shows most on lightweight wovens like cotton lawn, voile and silk.
What to show: the seam held flat, then held up against the light. Puckers that relax when you press are a different problem from puckers that stay.
What to try, one at a time:
1. Lengthen the stitch slightly, for example from 2.0 mm to 2.5 mm.
2. Put in a fresh, finer needle, such as a 70/10 for lawn.
3. Use a finer thread if yours is heavy for the fabric.
4. Loosen the upper tension a little.
5. Guide the fabric gently in front of and behind the foot without pulling it.
Needs hands-on testing: tension. Sew a scrap after each change and compare.
2. Why is my knit hem wavy?
A wavy knit hem means the fabric stretched as it went under the presser foot. It is common on jersey and rib knits, especially across the grain.
What to show: the hem laid flat, so the ripple is visible, and then gently stretched, so the coach can see whether the stitches hold or pop.
What to try:
- Reduce presser foot pressure if your machine allows it.
- Use a walking foot.
- Lengthen the stitch.
- Stabilize the hem with fusible knit stay tape or hem tape before stitching.
- On a serger, adjust the differential feed.
- Steam the finished hem. Some ripples shrink back.
Needs hands-on testing: presser foot pressure and differential feed. Test on a strip cut in the same direction as your hem.
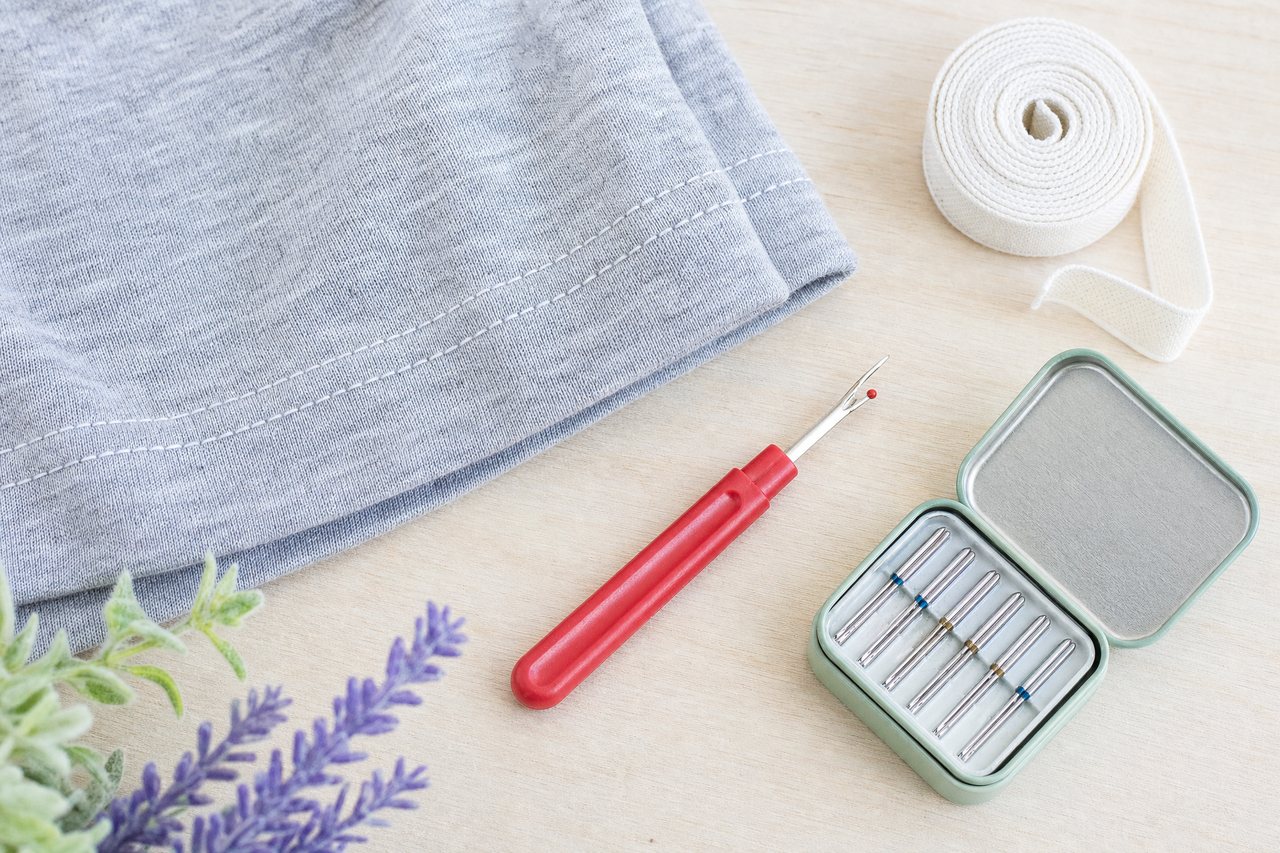
3. Why is my sewing machine skipping stitches?
Skipped stitches are most often a needle problem: the wrong type, a bent or dull needle, or a needle put in the wrong way. They show up a lot on knits and on thick seams.
What to show: the seam from the top and the bobbin side, close to the camera. Gaps in a straight line are easy to spot on video.
What to try:
1. Change to a new needle.
2. Match the needle to the fabric: ballpoint or stretch for knits, denim or jeans needles for heavy wovens.
3. Check the needle is pushed all the way up, with the flat side facing the way your manual says.
4. Rethread the machine with the presser foot up.
5. Clear lint from the bobbin area.
Needs hands-on testing: everything inside the machine. If skipping continues after a new needle and a rethread, the machine may need servicing, which no camera call can handle.
4. How do I fix tunneling?
Tunneling is a raised ridge between two rows of stitching, often from a twin needle on knits or a wide zigzag on light fabric. The stitches pull the fabric together underneath.
What to show: the ridge from the side, at a low angle, so the raised line is visible.
What to try:
- Loosen the upper tension slightly.
- Add a strip of lightweight stabilizer or fusible tape under the stitching.
- Try woolly nylon thread in the bobbin for twin-needle hems on knits.
- Choose a narrower twin needle or a shorter zigzag width.
Needs hands-on testing: tension and stabilizer choice. Sew a few short samples side by side and pick the flattest.
5. Why is my topstitching uneven?
Uneven topstitching usually comes from guiding by eye, a short stitch, or thread that is too fine to sit evenly.
What to show: the topstitched edge, straight on to the camera, so wobbles in the line show.
What to try:
- Use an edge-stitch foot or a seam guide.
- Lengthen the stitch to around 3.0 to 3.5 mm.
- Use topstitching thread with a topstitch needle.
- Press the edge flat before you stitch.
- Sew slowly and stop with the needle down to adjust.
Wren can check your stash for a topstitching thread that suits your fabric.
What can a coach diagnose from a look?
A look is good for spotting what the problem is. It is weak at confirming why.
| Mistake | Visible on camera | Needs a scrap test |
|---|---|---|
| Puckered seams | Yes, flat and against light | Tension, stitch length |
| Wavy knit hems | Yes, flat and stretched | Foot pressure, stabilizer |
| Skipped stitches | Yes, gaps in the line | Needle, threading, machine |
| Tunneling | Yes, from a low angle | Tension, stabilizer |
| Uneven topstitching | Yes, straight on | Stitch length, thread |
If you are newer to sewing and want a calmer start, how to sew your first garment with online sewing help walks through a simple skirt. If you are weighing a coach against a class for problems like these, see this comparison of virtual coaching and sewing classes. For thread choices, what color thread to use for your fabric helps, and the full set of tools is in the complete guide to AI sewing tools.
Try it
Sew a short test seam that shows your problem, write down your machine settings, and show the mistake to Wren on a live sewing help call. Your first call is free with a free account. Pro includes unlimited calls for $4.99 a month or $47.88 a year, after a 14-day free trial.