Why Are Pants So Hard to Sew? A No-Fear Guide to Fitting Trousers
Every sewist eventually hits the wall called 'pants.' They're not actually harder to sew — they're harder to fit. Here's how to get over the fear and get a good fit.
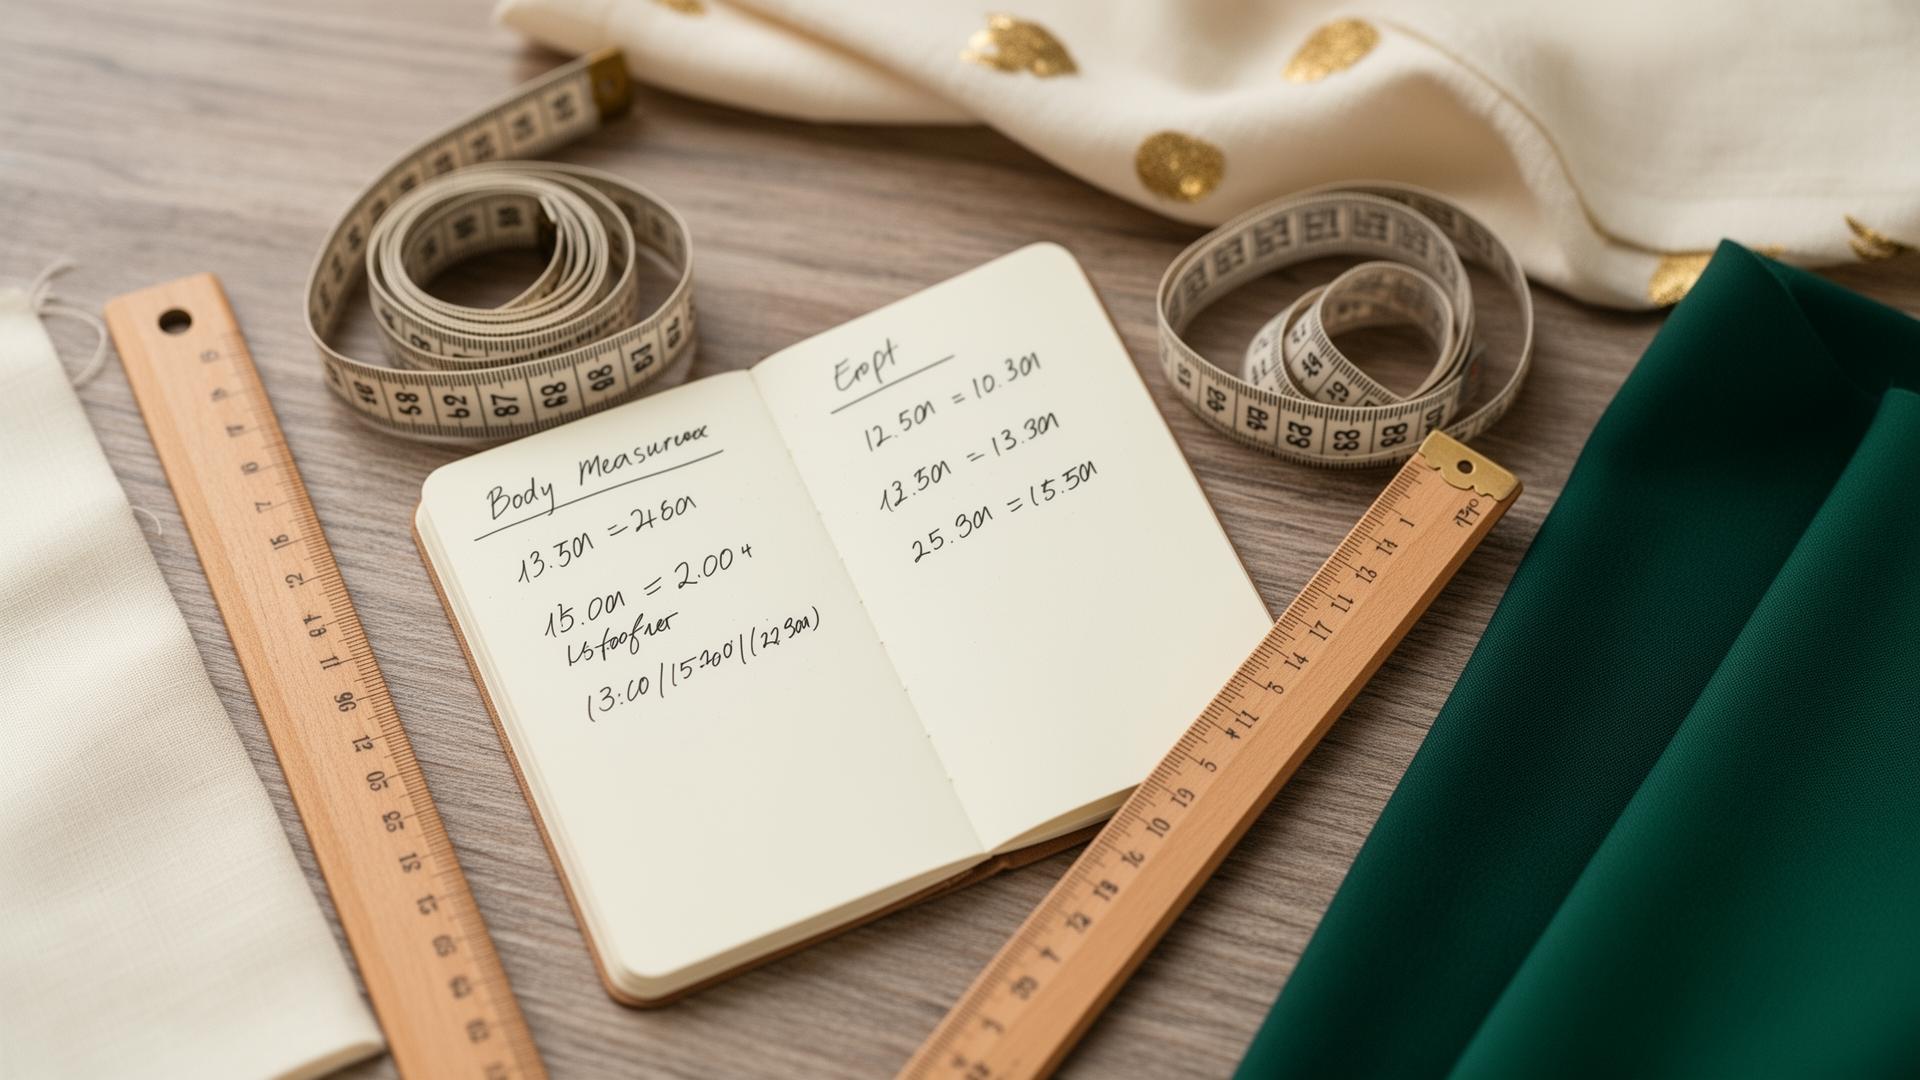
Pants aren't hard to sew — they're hard to fit
Almost every sewist hits the same wall eventually: pants. People who happily sew dresses and jackets will avoid trousers for years. There's even a famous forum thread titled, simply, "Why are pants so hard to sew?"
Here's the reframe: the construction isn't the hard part — the fitting is. Sewing two legs together is straightforward. The challenge is the crotch curve: a three-dimensional shape that varies more from body to body than any other part of a garment. A flat pattern is one designer's average curve, and yours is almost certainly different. That's not a skill failure. It's geometry.
Once you understand that, pants stop being scary and become a fitting puzzle with known solutions.
The measurements that actually matter
Waist and hip get you in the ballpark, but the two measurements that decide trouser fit are usually skipped:
- Crotch length — measured between your legs from the center-front waist, under, to the center-back waist. This sets the total length of the crotch curve.
- Crotch depth (rise) — sit on a flat chair and measure from your side waist down to the seat. This sets how high or low the pants sit.
Take these once and store them in your measurements profile alongside your waist and hip. They're the numbers you'll check against every trouser pattern's draft.
Step 1: Compare your measurements to the pattern
Before cutting, compare your crotch length and depth to the pattern's. If the pattern's rise is two inches shorter than yours, you already know you'll need to lengthen it — no surprises on the muslin. This single comparison heads off the most common "the pants don't fit and I don't know why" moment. (For choosing the base size, see what size sewing pattern should I cut.)
Step 2: Always sew a muslin for trousers
This is non-negotiable for a first version. Sew the pattern in cheap calico or an old sheet, try it on, and read the wrinkles:
- Horizontal wrinkles below the waist → the rise is too long; shorten it.
- Pulling/tightness at the crotch → the rise is too short or the curve too shallow; lengthen or deepen it.
- Drag lines pointing to the seat → the back curve needs scooping (a "flat seat" or "full seat" adjustment).
- Pooling fabric under the seat → too much back rise; remove some.
Each of these has a standard, well-documented adjustment to the curve. The muslin is how you find out which you need before your good fabric is at risk.
Step 3: Adjust the curve, re-test, then cut
Make one adjustment at a time and re-try the muslin. Scoop the back curve, lengthen the rise, true the inseam — small changes make big differences in trousers, so go incrementally. When the muslin fits, transfer the changes to your paper pattern and cut your real fabric with confidence.
Step 4: Save the fit so the next pair is easy
The reason experienced sewists churn out great-fitting trousers isn't talent — it's that they only solved the fit once. Their crotch-curve and rise adjustments are recorded, and similar patterns reuse them.
Record your trouser adjustments on each pattern in your pattern library — "scooped back curve 1cm, lengthened rise 1.5cm" — and log the make in your project journal with a fitted photo. The first pair is work. Every pair after that starts from a fit that already works.
2. Measure your crotch length and depth and save them.
3. Compare them to each trouser pattern before cutting.
4. Muslin, read the wrinkles, adjust the curve one change at a time.
5. Record the adjustments on the pattern so the next pair is easy.
Frequently asked questions
Why are pants harder than other garments?
It's fitting, not construction — the crotch curve varies more between bodies than any other area.
What measurements do I need?
Crotch length and crotch depth (rise), plus waist and hip.
Do I have to make a muslin?
For a first version of any trouser pattern, yes — the curve almost always needs tweaking.
What causes crotch wrinkles?
A rise or curve that doesn't match your body. Horizontal wrinkles = rise length; drag lines = curve shape.
Will the fit transfer to other patterns?
Often, for similar styles from the same company. Record the adjustments per pattern.


