What Size Sewing Pattern Should I Cut? (Why Your RTW Size Lies)
You wear a size 8 at the store, so you cut a size 8 pattern — and it comes out enormous. Here's why pattern sizing is different, and how to pick the right size every time.
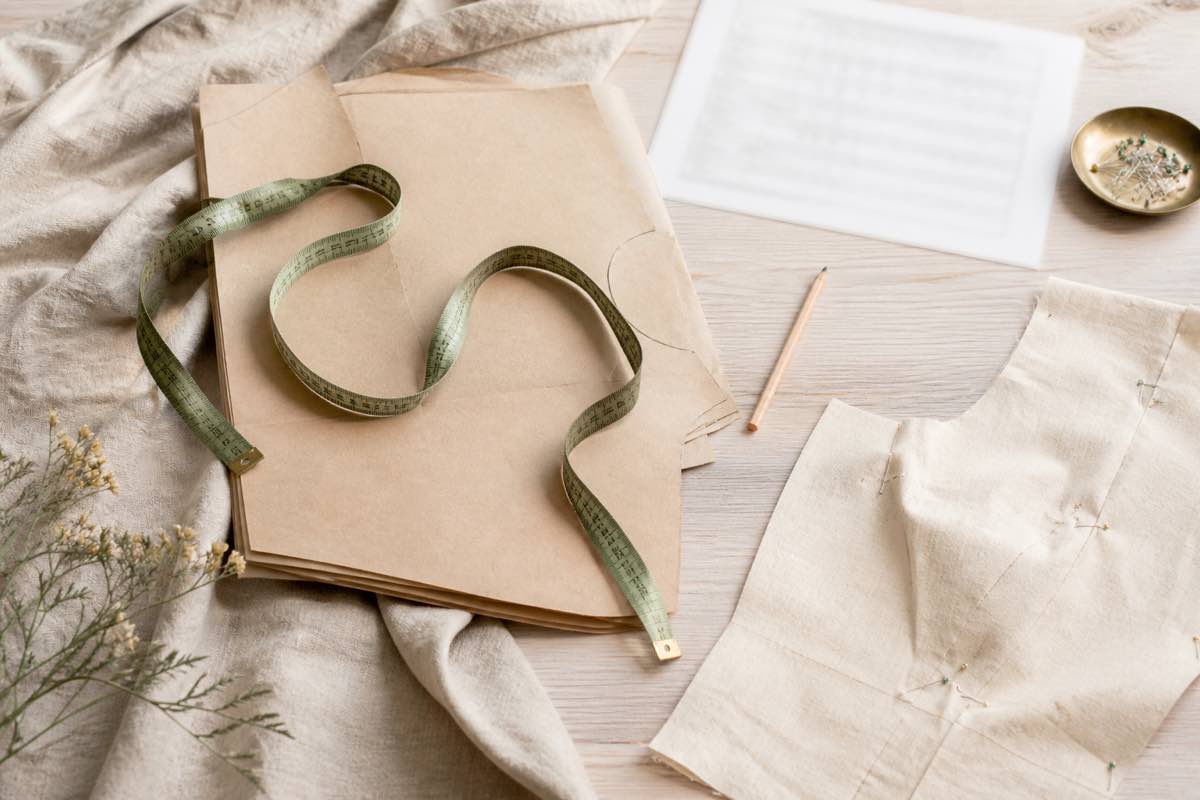
Why your clothing size doesn't apply
You wear a size 8 in jeans, so you cut a size 8 pattern. The finished garment is enormous. This is one of the most disorienting moments for new sewists — and it is not your mistake.
Sewing pattern sizing and ready-to-wear (RTW) sizing are two different systems. RTW sizing has drifted smaller for decades (vanity sizing), while pattern companies still size to standardized body measurements. The result: your pattern size usually runs two to four numbers higher than the size on a store tag. Cutting "your size" out of habit is exactly how you end up with a tent.
The number on the pattern is meaningless. Your measurements are everything.
Step 1: Take your three core measurements
Measure over your undergarments, with the tape snug but not tight and parallel to the floor:
- Bust — across the fullest part, tape level all the way around.
- Waist — your natural waist. Bend to one side; the crease is your waist. (It's usually higher than where jeans sit.)
- Hip — the fullest part of your hips and seat, usually 7–9 inches below the waist.
Some patterns also ask for high bust, back-waist length, or bicep. Take whatever that pattern's chart requests.
Once you have these numbers, you'll reuse them on every project. The fastest way to keep them straight — and to stop re-measuring — is to store them in your measurements profile, where they sit one tap away while you choose a size. For the full how-to on taking them accurately, see the best way to track body measurements for sewing.
Step 2: Use THIS pattern's size chart
The second trap: every pattern company uses its own size chart. A size 12 from one indie designer is not a size 12 from another, and neither matches the Big Four. Always find the body-measurement chart printed on the specific pattern you're using and match your numbers to that chart.
When your patterns live in your pattern library, you can note the size you cut on each one — so the next time you sew it, you already know where you landed.
Step 3: When you're between sizes (almost everyone is)
Very few bodies match a single column straight across. You might be a bust 14, waist 16, hip 18. That's normal. Your options:
- Cut tops and dresses to the bust, then grade the waist and hip out to match.
- Cut skirts and trousers to the hip, then grade the waist.
- Grade between sizes — blend the cutting line smoothly from one size to the next. This is the answer experienced sewists reach for, and it's very learnable.
Step 4: Check finished measurements and ease
Your body measurement is not the garment measurement. The difference is ease — the room for movement and the intended silhouette. Compare the pattern's finished-garment measurements to a garment you already own and love. This single check is how you avoid something that's technically "your size" but completely the wrong fit.
For garments where fit really matters, the difference between bust adjustment sizing and grading often comes down to one thing — your bust. If you routinely size up just to fit your chest, read how to do a full or small bust adjustment instead of cutting a larger size everywhere.
Step 5: Make a muslin for fitted projects
For anything close-fitting or any fabric you care about, sew a quick test version (a "muslin" or "toile") in cheap fabric first. It feels like a detour and it is the fastest way to catch a sizing problem before you cut your good cloth.
Measure once, use it everywhere
Here's what makes sizing feel like a chore: re-measuring, re-deriving, and re-discovering the same numbers every time because they live on a scrap of paper that's now lost.
Sewist Studio's measurements profile stores your bust, waist, hip, and any custom measurements once, then shows them beside every pattern in your library. Log the size you cut and the adjustments you made, and the next make starts from your best fit instead of from scratch.
2. Enter your measurements once.
3. For each pattern, record the size you cut and any grading.
4. Before re-sewing a pattern, open its record — last time's size and notes are right there.
Frequently asked questions
Why is my sewing pattern size bigger than my clothing size?
Vanity sizing shrank RTW numbers while patterns kept standardized measurements. Two to four sizes' difference is normal. Use your measurements.
Bust, waist, or hip — which do I cut for?
Bust for tops and dresses, hip for skirts and trousers, then grade the rest.
What is grading between sizes?
Blending the cutting line between sizes for different bust/waist/hip measurements. Normal and beginner-friendly.
What is ease?
Extra room beyond your body for movement and style. Check finished-garment measurements before cutting.
Do I re-measure for every pattern?
No — only the size chart changes. Store your measurements once and compare to each chart.
Save your measurements and cut the right size every time — free →


