Pattern Hacking 101: How to Mash Up Sewing Patterns Without Ruining Your Fabric
Love the bodice of Pattern A and the skirt of Pattern B? Here's how to mash them together without ruining your fabric — including the muslin step nobody skips.
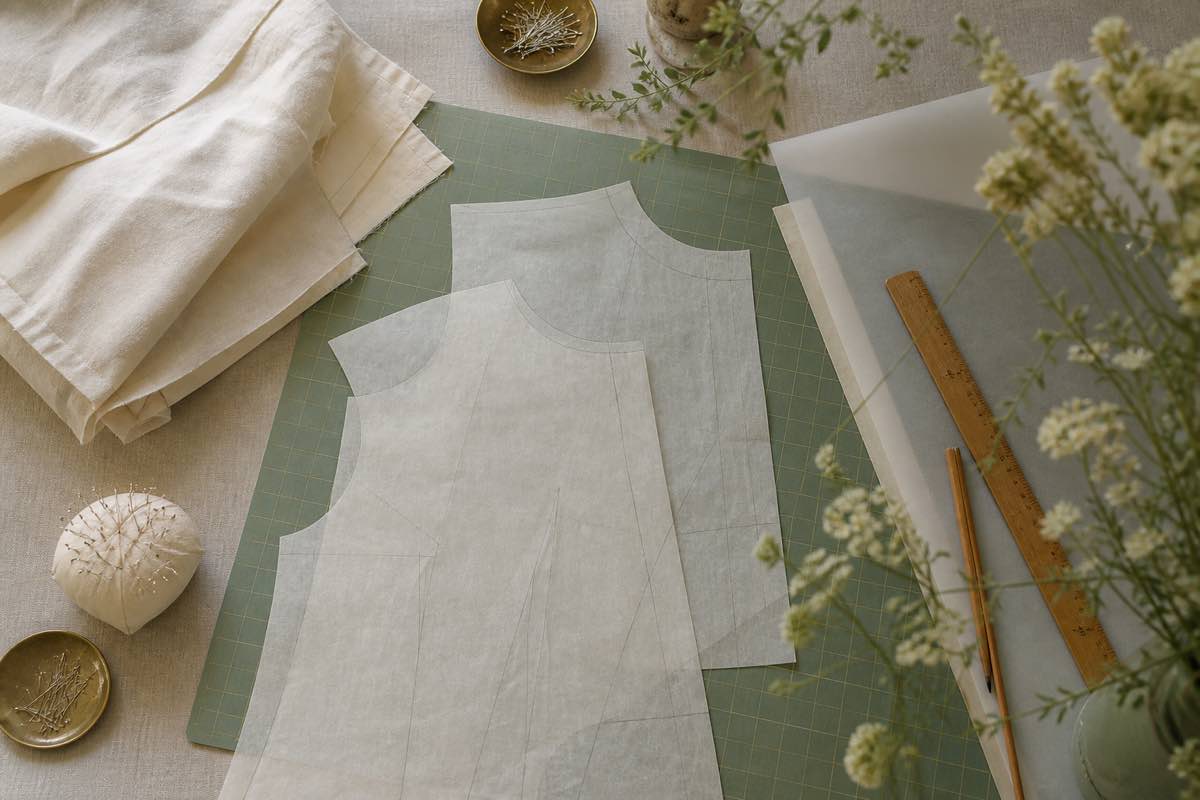
TL;DR. Pattern mashing — combining pieces from two or more patterns — is how sewists get one-of-a-kind garments without drafting from scratch. The trick is matching the joining seams (usually the waistline) on ease, seam allowance, and grainline, then making a muslin to catch what you missed. Sewist Studio's Pattern Mashup tool flags compatibility issues before you cut, and the Project Visualizer previews the combined design in fabric from your stash.
What is pattern mashing, really?
Pattern mashing is the polite term. Sewists also call it a frankenpattern, a pattern hack, or "I love the top of this one and the bottom of that one." All the same thing.
Examples:
- The fitted bodice of Pattern A + the tiered skirt of Pattern B = a fit-and-flare dress that doesn't exist as a standalone pattern.
- The sleeves of a vintage blouse + the body of a modern tee = a long-sleeve T-shirt with bishop cuffs.
- The collar of one shirt + the body of another = your wardrobe staple, slightly elevated.
It's how indie sewists get magazine-cover garments without spending $300 on a Burda subscription and a draping mannequin. And once you've done it once, you'll do it on half your future projects.
The four rules that keep mashups from failing
Before scissors touch anything, check these.
Rule 1: Match the joining seam measurement exactly. If you're sewing Bodice A to Skirt B at the waist, the bodice waist circumference must equal the skirt waist circumference at the seam line. If they don't, you'll either gather, dart, or trim — and surprise gathering is rarely flattering.
Rule 2: Match seam allowances. Pattern A might use 5/8 inch (the Big 4 standard). Pattern B might use 3/8 inch (common in indie patterns). If you don't standardize before joining, the finished garment will fit wrong by half an inch on every shared seam. Pick one allowance, mark new cut lines on the second pattern, and cut to those.
Rule 3: Match ease at the joining line. A fitted bodice with 1 inch of ease at the waist joined to a skirt drafted for 3 inches of ease at the waist will pull weirdly. Check the size charts on both patterns — not just the body measurement but the finished garment measurement at the joining seam.
Rule 4: Match grainline. Both pieces should be cut on the same grain (or both on the bias). Mixing a straight-grain bodice with a bias-cut skirt is doable but advanced — the bias skirt will stretch and lengthen over time, and the bodice won't.
If all four rules pass, you've got a viable mashup. If even one fails, you have homework before you cut.
The muslin is non-negotiable
A muslin (also called a toile) is a test version of the garment in cheap fabric — usually inexpensive cotton muslin, an old bedsheet, or any woven scrap of similar weight to your real fabric.
You sew the muslin to catch:
- Joining seams that don't actually line up
- Bodice-to-skirt proportions that look wrong on a body
- Sleeve-to-armhole mismatches you didn't notice on paper
- Length issues that only show up when you sit down
- Anything else the flat pattern was hiding
For a one-pattern garment from a tested designer, you can sometimes skip the muslin. For a mashup, never. You're combining drafts from people who never coordinated. The muslin is how you find the seams between their assumptions.
Muslin once, wear forever. Skip the muslin once, and you'll be folding the failed garment into the donate pile a week later, swearing you'll never skip again.
The 6-step mashup workflow
Use this every time. It works for simple mashups (bodice swap) and ambitious ones (three patterns into one).
1. Choose your "base" pattern. Pick the pattern that contributes the largest piece — usually the bodice or the body block. This becomes your skeleton.
2. Choose your "graft" pattern(s). These contribute specific pieces — sleeves, skirt, collar, cuff.
3. Print or trace both at the same size. Don't try to graft a size 12 skirt onto a size 8 bodice without grading between them.
4. Standardize seam allowance and overlay at the joining line. Tape both pieces down. Check that the joining seam circumferences match. If they don't, gather, dart, or grade until they do.
5. Trace the combined pattern on fresh paper. This is your master mashup pattern. Label it with the source patterns and your modifications.
6. Sew the muslin. In something cheap and similar in weight to your real fabric. Pin, try on, adjust, transfer changes back to the paper pattern. Then cut your real fabric.
For deeper fabric matching once the mashup pattern is set, see How to Match Fabric to a Sewing Pattern.
Pro tip: Photograph each step on your phone. Mashups have a way of unraveling in memory — six months later you won't remember which version of the bodice was "the one". Photos are cheap insurance.
The AI shortcut: Sewist Studio's Pattern Mashup + Project Visualizer
Three things slow mashups down: finding compatible patterns in your library, predicting how the combined garment will look, and remembering which fabric you planned to use. The Pattern Mashup tool handles the first two; the Project Visualizer handles the third.
Here's the flow:
- Open the Pattern Mashup tool and select two or more patterns from your library.
- The AI checks compatibility: matching ease at joining seams, sleeve-to-armhole curve compatibility, neckline-to-collar fit, grain direction.
- You get a compatibility report with a green-yellow-red flag per joining seam and one-line advice for any yellow or red flag ("Bodice A waist is 1.5 inch larger than Skirt B waist — gather the skirt or dart the bodice").
- The Project Visualizer renders the combined garment as a quick sketch using a fabric from your stash so you can see drape and color before cutting.
- Save it as a project — the mashup, the fabric, the threads, and the muslin status all live on one card in your project Kanban.
It doesn't replace the muslin. It replaces the "I think these will work together?" guessing stage that comes before the muslin.
Common mashup combinations that almost always work
If you're new to mashing, start with one of these. They're the well-trodden paths.
| Mashup | Why it works |
|---|---|
| Fitted bodice + gathered skirt | Bodice gives shape, skirt gives swing. Standard "fit and flare" silhouette. |
| Same-pattern shirt + different-pattern sleeves | Body block stays consistent, sleeve becomes the feature. |
| Tee body + button-front placket | Easy way to upgrade a basic tee into a polo or henley. |
| Pull-on pants waistband + different leg shape | Comfortable waistband, on-trend leg. Almost foolproof. |
| Dress bodice + lengthen to maxi | Just extend the skirt. Almost not a mashup, easiest possible upgrade. |
Start with one of these. Once you've done it, mashing more ambitious combinations is mostly the same workflow with bigger stakes.
Get started
1. Create your free Sewist Studio account.
2. Add the two or three patterns you want to mash to your library.
3. Open Pattern Mashup, select the patterns, and read the compatibility report.
4. Sew the muslin. Always sew the muslin.
5. Save the project to your Kanban with the fabric and threads attached.
The best garments in your closet are usually the ones that don't exist as a single pattern. Mashing is how you get there safely.
Frequently asked questions
What is a pattern mashup in sewing?
Combining pieces from two or more patterns into one garment — bodice from one, skirt from another, sleeves from a third.
How do I combine two sewing patterns safely?
Match joining-seam measurements, standardize seam allowance, check ease and grainline, then sew a muslin before cutting real fabric.
Do I have to make a muslin for a pattern mashup?
Yes. The muslin catches the misalignments that paper hides. Never skip it on a mashup.
What's the most common pattern mashup mistake?
Mismatched waist circumferences between the bodice and skirt at the joining seam.
Does Sewist Studio help with pattern mashups?
Yes — the Pattern Mashup tool flags compatibility issues and the Project Visualizer previews the combined garment in fabric from your stash.


