How to Visualize a Pattern Mashup Before You Sew It
A mashup is easier to commit to once you can see it. Here is how to plan one and preview it in your own fabric.
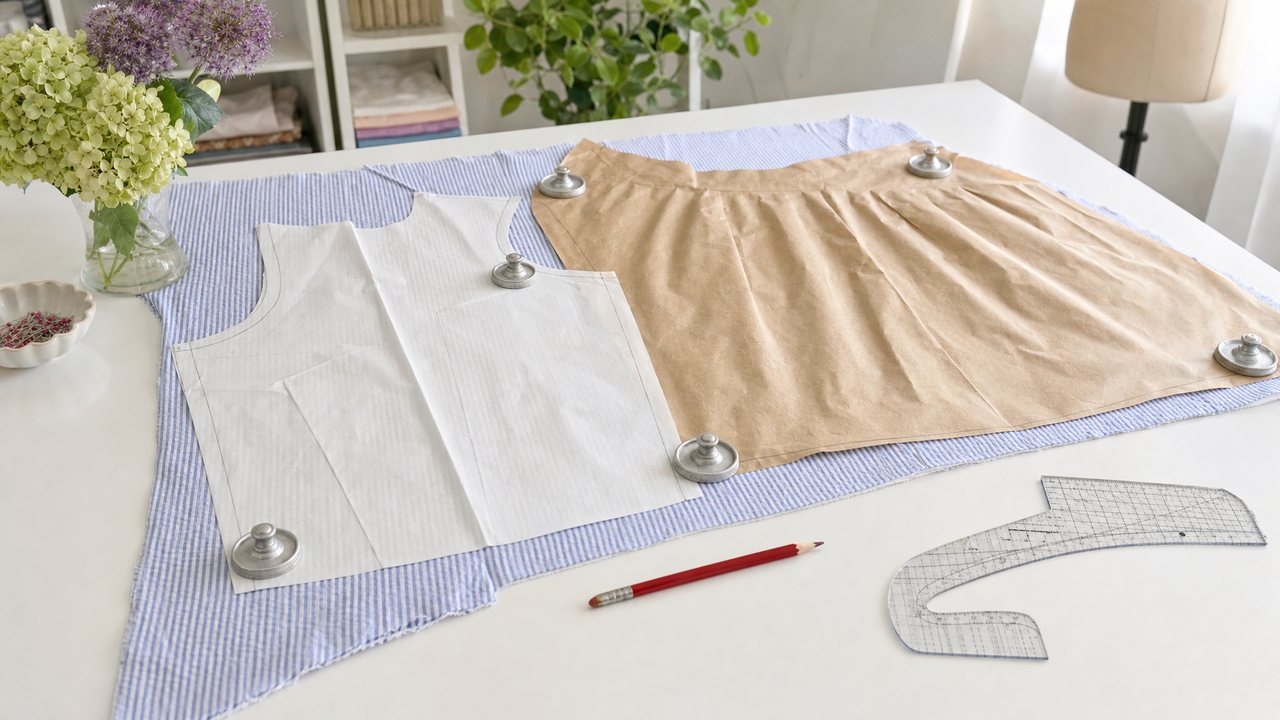
A pattern mashup combines pieces from two or more patterns into one garment: one pattern's bodice, another's sleeve, a third's skirt. The hard part is picturing the result. You can now see it before you cut, using your actual pattern pieces and fabric as the starting point instead of a vague description.
This post covers the planning steps that make a mashup work, then how Pattern Mashup in Sewist Studio turns the plan into an illustration you can share. If you are new to mashups, start with pattern hacking 101: how to mash up sewing patterns.
Why visualize a mashup before sewing?
Because a mashup is a design no one has sewn before, including the pattern designers. There is no envelope photo showing your square-neck bodice on someone else's tiered skirt. A preview is the closest thing to one.
A good preview helps you check three things early:
- Proportion. Does a cropped bodice look right with a midi skirt, or does it want a longer waist?
- Print placement. Does a large floral still work when the skirt is split into tiers?
- Whether you still like it. Many mashups sound better in your head. A picture settles it quickly.
Step 1: Pick the pieces and check that they fit together
Choose each part from a pattern you own, and use the same size across all of them. Pieces from different patterns only join cleanly if their seam lines agree.
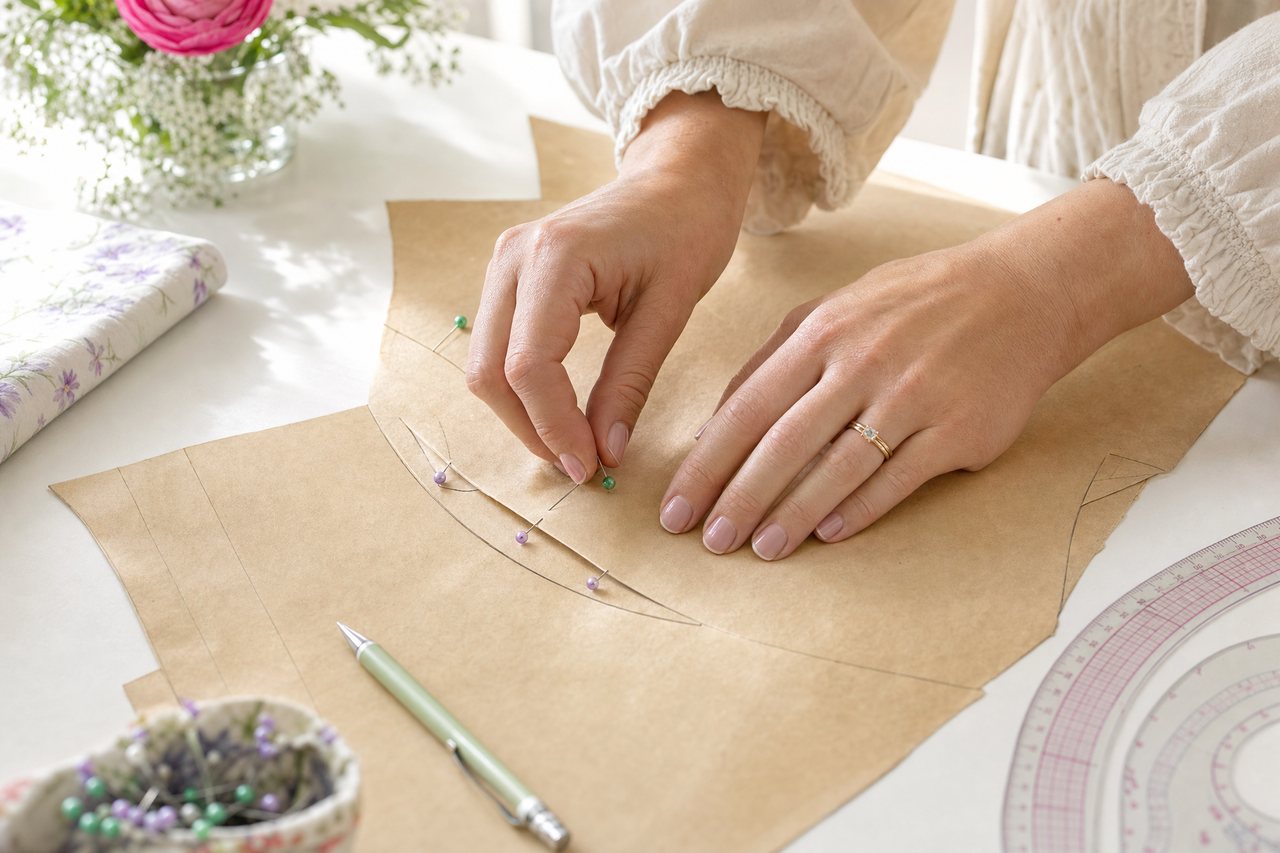
Before any software, do this on paper:
1. List the parts: "bodice from pattern A, sleeve from pattern B, skirt from pattern C."
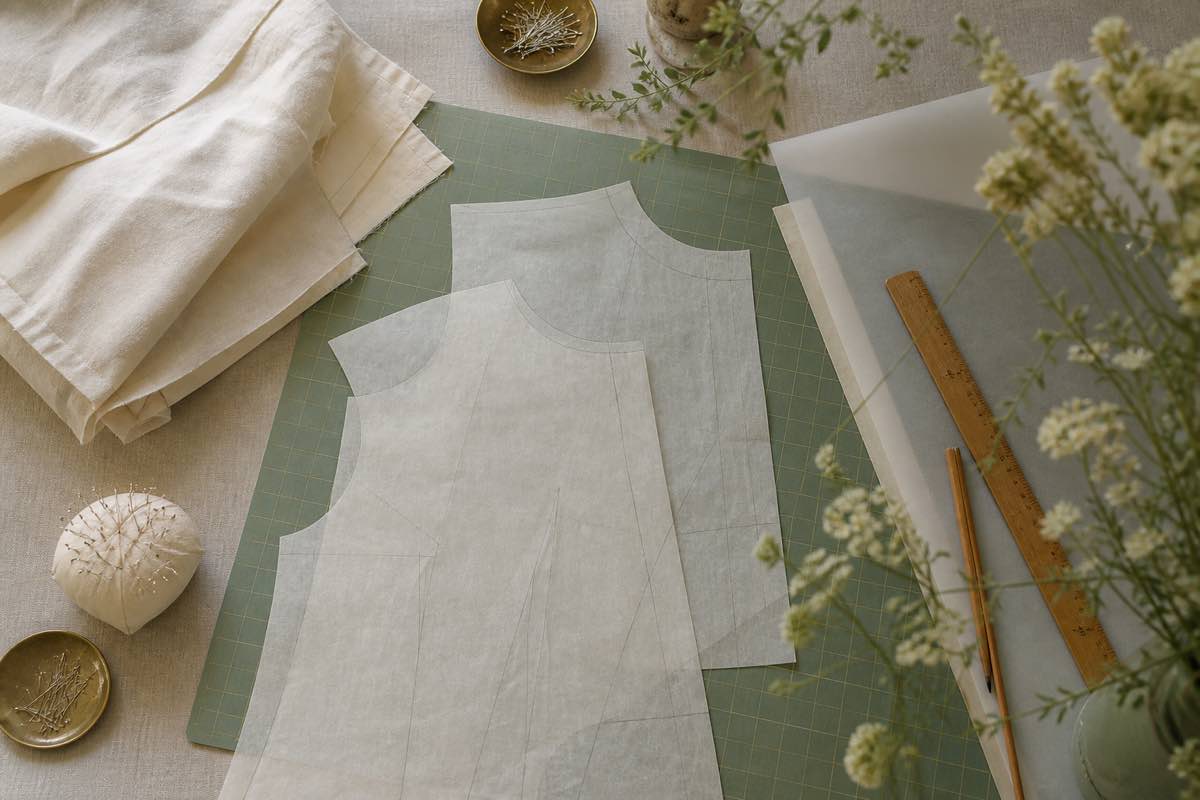
2. Trace each piece in the same size.
3. Walk the seam lines where pieces meet. The bodice waist should match the skirt waist (allowing for gathers). The sleeve cap should fit the armhole.
4. Note what needs truing, like a dart that lands differently or a neckline facing that no longer fits.
The guide to recreating a garment from its pattern pieces explains how to break a look into parts if you are working from an inspiration photo.
Step 2: Let Pattern Mashup write the plan
Pattern Mashup combines elements from several patterns into one design, with construction notes, fabric recommendations and similar commercial patterns. It is a Pro feature.
Pick the patterns from your library and the elements you want from each. You get back:
- Construction notes for joining the parts.
- Fabric recommendations for the combined design.
- Similar commercial patterns, in case someone already sells something close to your idea.
That last one is worth reading. Sometimes the shortest path is a pattern that already exists.
Step 3: Generate the mashup illustration
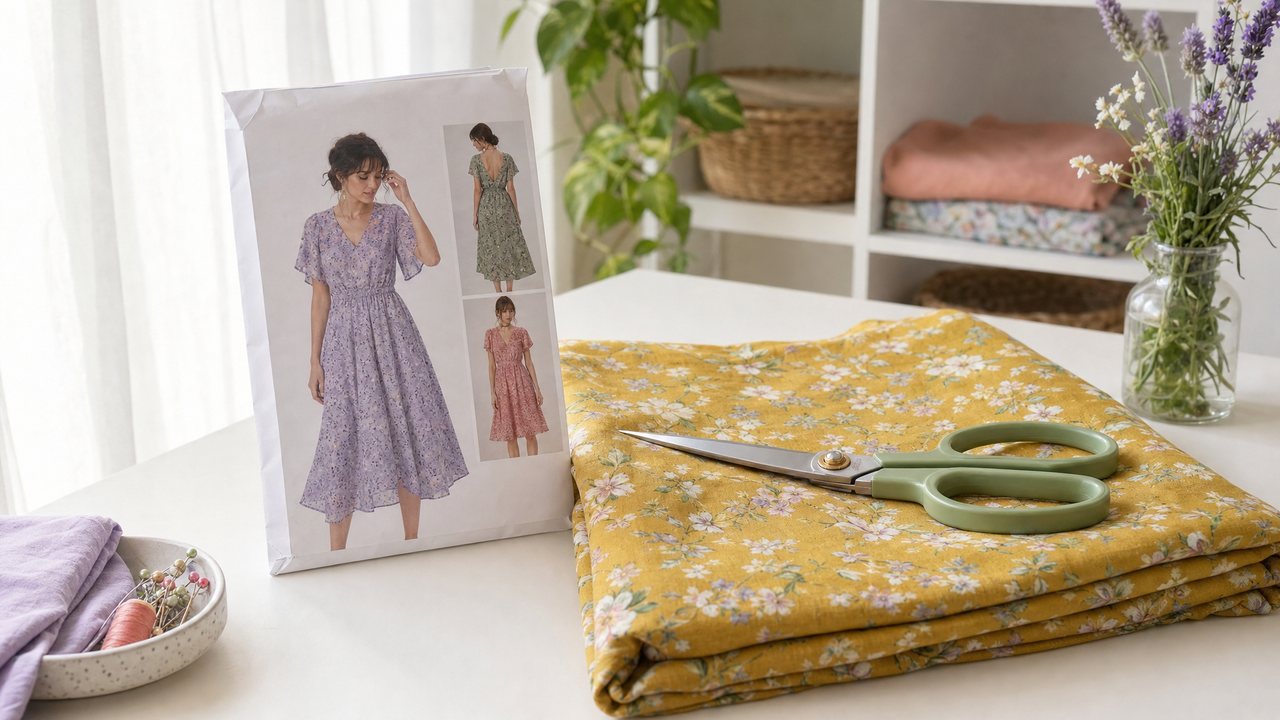
The mashup illustration uses your real pattern piece and fabric photos as reference images, not a text description. When you have a clipped PDF pattern piece, it uses that. Otherwise it uses the envelope photo. Your fabric photo goes in too.
This is the reference-first approach. Older AI previews turned your pattern details into a written prompt, and the image came out generic. Feeding the actual images in keeps the result closer to your real pieces and your real print. For the long version, see why AI sewing images look fake, and how reference-first fixes it.
Choose a style:
| Style | What you get | Best for |
|---|---|---|
| Photo | A realistic image of the finished garment | Judging color and print scale on the whole design |
| Flat | A flat, laid-out view of the garment | Checking seam placement and proportion |
| Sketch | A drawn fashion-style illustration | Sharing an idea quickly, early in planning |
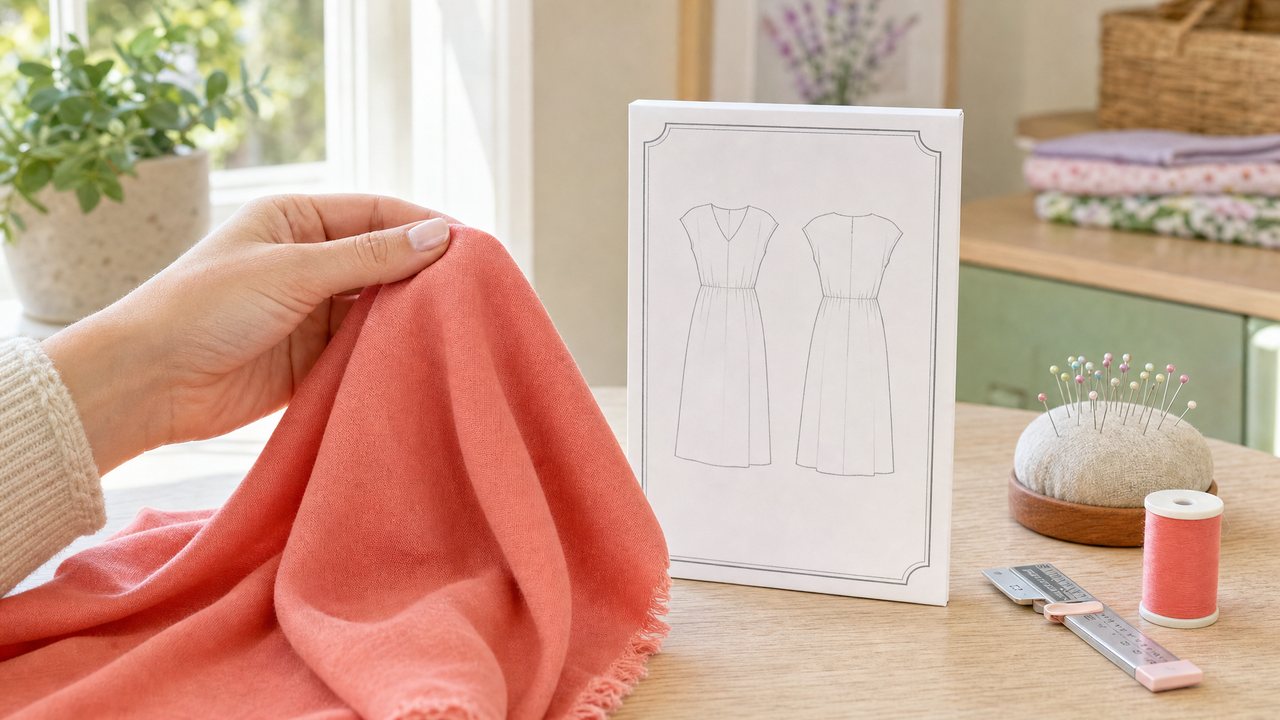
If you like technical drawings, our guide to technical flat sketches explains what flats are and why sewists use them.
Limits, stated plainly: reference photos can be up to 5MB each. Image renders count toward your monthly renders: Pro includes 3 a month across all render features, then each render costs 3 purchased credits (refunded if a render fails). Renders are stored privately and come back as signed links that expire after 24 hours.
Step 4: Share it and decide
Mashup illustrations have a shareable link, so you can ask for opinions before you cut. Send it to a sewing friend, a class or anyone who will tell you the truth.
Then decide:
- Do the proportions look right?
- Does the print work across all the pieces?
- Are the construction notes clear enough to follow?
- Have you trued the seams on paper?
- Do you have enough fabric? Check against how to measure fabric yardage.
If the answer to any of these is no, adjust and generate again. A new picture is cheaper than a recut bodice.
What a mashup preview cannot tell you
A picture shows the design, not the fit. No illustration can check whether your seams match, your ease is right, or a sleeve cap sits well.
Sew a quick muslin of the joined areas, especially the waist and armholes. If you want to see the finished garment on you rather than on a form, the Visualizer can use your own photo, covered in virtual try-on for sewing projects. For every AI tool in one place, see the complete guide to AI sewing tools.
Try it
Pick two patterns you have wanted to combine. Trace the pieces in the same size, walk the seams, then generate a mashup illustration from your own pieces and fabric. Start with a free account, and see Pro for Pattern Mashup: $4.99 a month or $47.88 a year, with a 14-day free trial.