Sew a Summer Travel Capsule Wardrobe (and Actually Pack It)
Going somewhere this summer? Sew a small, mix-and-match capsule you'll actually pack. Here's how to plan the palette, the patterns, and the fabric — all in one place.
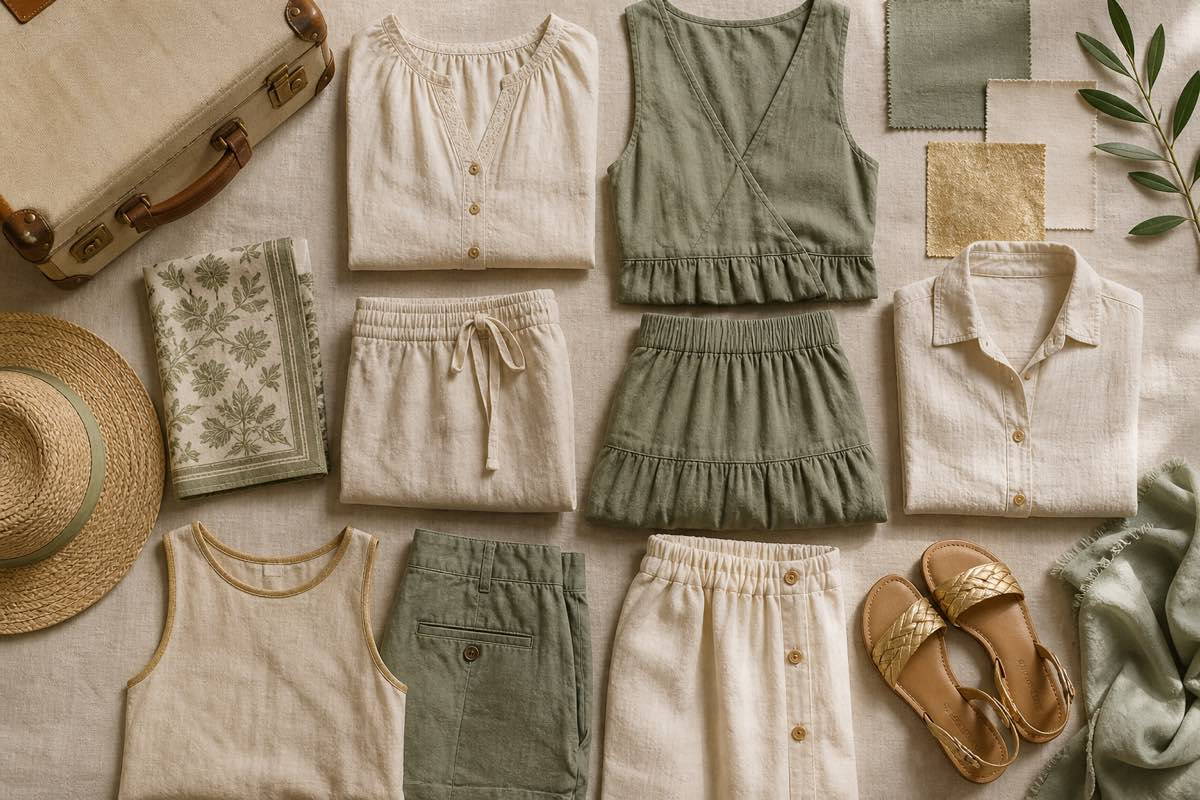
Why a me-made travel capsule beats a big sewing list
A travel capsule is the most rewarding summer sewing project there is: a small, deliberate set of garments that all work together, that you'll wear on repeat, and that pack into a carry-on. Six to eight pieces in a shared palette can produce a dozen-plus outfits — and every one of them is something you made.
The trap is sewing a pile of separates that don't actually go together. You finish three tops and realize none of them pair with the one bottom you packed. A capsule fixes this by planning the relationships between pieces before you cut a single one.
Here's how to plan and sew a summer travel capsule you'll genuinely pack.
Step 1: Pick a palette and a trip
Constraints make capsules work. Start with two anchors:
- Where you're going — a beach week, a city trip, and a hiking-and-dinners vacation need different mixes.
- A tight color palette — two neutrals and one or two accent colors. Everything you sew has to live inside it.
When every piece shares a palette, every top goes with every bottom. That's the whole trick.
Set the capsule up as a Collection so the entire plan lives in one place — palette, pieces, and progress.
Step 2: Choose a few versatile patterns
A strong summer capsule leans on a small number of proven, remixable patterns rather than a new make for every item:
- 2-3 tops — a tank, a camp shirt, maybe a tee
- 2 bottoms — wide-leg trousers and a skirt or shorts
- 1 layer — a lightweight overshirt or kimono for AC and evenings
- 1 dress — a single garment that's a whole outfit
Pull these from your pattern library so you're choosing from patterns you already own and know fit you.
Step 3: Assign fabric to every piece
This is where a capsule succeeds or stalls. Use the Project Builder to assign a specific fabric to each garment, drawing from your digital stash. Because the stash knows your yardage, you'll catch the "not quite enough for the trousers" problem now, on screen — not after you've cut the bodice.
Assign fabric inside the palette and the capsule starts to feel real: sage linen trousers, ecru lawn camp shirt, terracotta tank, navy wrap dress.
Step 4: Preview the looks before you cut
Before you commit, confirm the pieces actually mix. The Project Visualizer lets you preview garments with your chosen fabric so you can eyeball the combinations — top with skirt, dress alone, overshirt over tank — and catch a color or print that fights the rest before it costs you fabric.
Step 5: Track every piece to packed
A capsule has a deadline: the trip. Put all the makes on your project tracker and watch the board move from planned to cutting to done. Seeing seven pieces and three left to go is exactly the nudge that gets a capsule finished on time instead of half-sewn in a pile.
Your summer travel capsule, step by step
1. Start a free account and create a Collection for the trip.
2. Lock a palette — two neutrals, one or two accents.
3. Pick 6-8 versatile patterns from your library.
4. Assign fabric to each piece in the Project Builder, checking yardage.
5. Preview the combinations in the Visualizer.
6. Track every make to done before the trip.
Plan the relationships first and the sewing gets easy. Start your capsule now and it'll be folded in your suitcase by the time you leave.


