The Complete Guide to Sewing Pattern Organization (2026)
Everything you need to build a pattern organization system that scales from 20 patterns to 2,000 — paper, PDF, indie, and vintage.
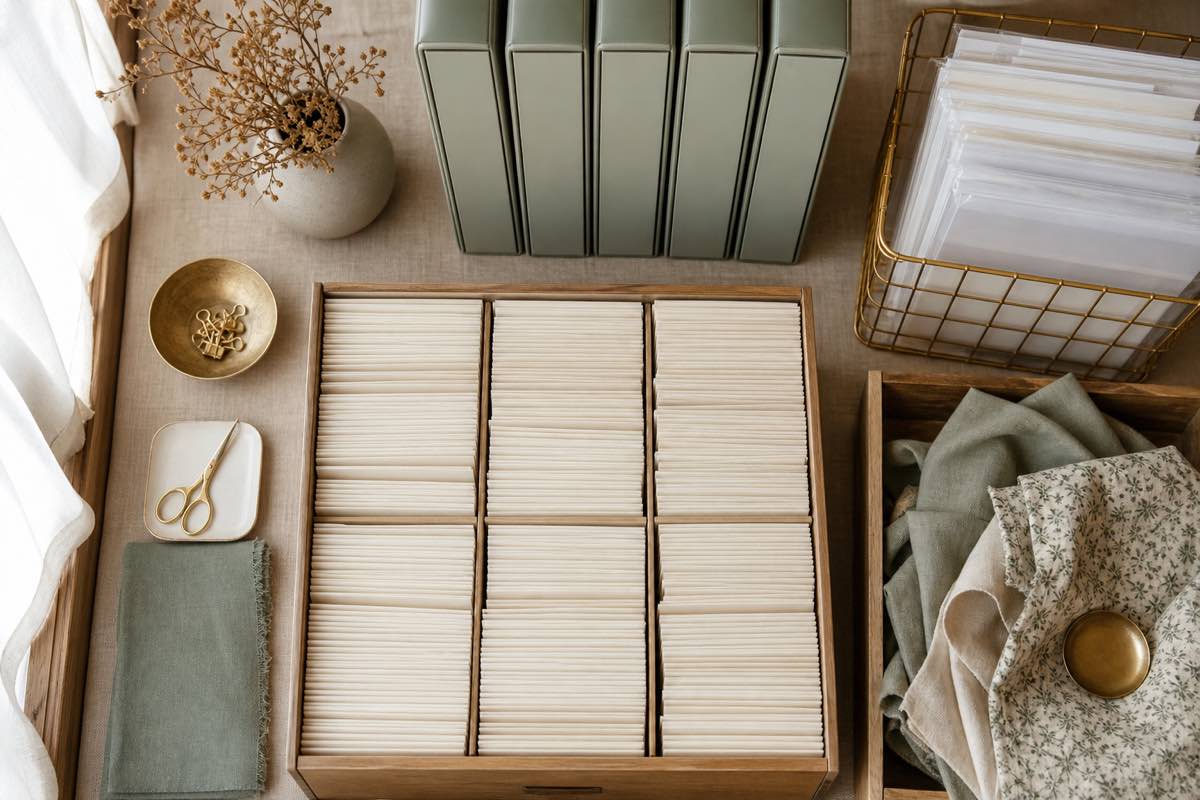
Why pattern organization matters
A disorganized pattern collection costs you money (duplicate buys), time (digging through envelopes), and finished projects (patterns you forget you own). The average sewist accumulates 100+ patterns in five years — long past the point where memory alone works.
The 5-part system
1. Central catalog — one place lists every pattern you own, physical or PDF.
2. Consistent metadata — brand, number, size range, garment type, view.
3. Photos — every pattern has a photo of the envelope or line drawing.
4. Cut history — mark which sizes you've traced or cut so you don't re-cut later.
5. Physical storage that mirrors the catalog — box, drawer, or folder ID matches the catalog entry.
Step 1: Pick your catalog
Options: spreadsheet, Notion database, Airtable, or a purpose-built app like Sewist Studio. Spreadsheets scale poorly past 50 patterns; general tools require constant setup. A dedicated sewing pattern tracker has the right fields from the start.
Step 2: Bulk-catalog what you already own
Set aside two evenings. For each envelope: photo the front, add brand + number, tag garment type, note sizes, drop into the physical bin, and mark the bin ID. Use the AI photo scanner to skip typing — it extracts brand, number, and sizes from a snapshot.
Step 3: Handle PDFs the same way
PDFs are worse than paper — they hide in email attachments and cloud folders. Import each PDF file into your catalog with the same metadata, then move the file to a single "Sewing Patterns" cloud folder named `brand-number-name.pdf`. Now a search finds any pattern in seconds.
Step 4: Tag by garment type, not just brand
Brand-first sorting (Simplicity 1234) is how patterns are labeled, but not how you shop your collection. Add tags for garment (dress, top, pants), style (fitted, oversized, wrap), season, and difficulty. Then filter your catalog by "summer dress, size 12, easy" and you get a shortlist in one tap.
Step 5: Track cut history
Every time you cut a size, log it. Six months later when you re-sew the same pattern you'll know you already have a traced size 14 — no re-tracing needed. This alone saves hours per year.
Physical storage that mirrors the catalog
Bins by brand look tidy but fight your catalog. Instead: number your bins (Bin 1, Bin 2…) and put the bin ID on the catalog entry. Patterns go into the next empty slot; your catalog remembers where. New patterns don't need re-sorting.
Avoid the top 3 mistakes
- Perfectionism paralysis — don't wait until you have "time to do it right." Bulk-scan first, refine later.
- Multiple lists — one catalog, always. Sticky notes and separate lists always drift out of sync.
- No cut history — this is the highest-value field. Fill it in every time.
When to prune
Every 12 months, review anything untouched for 2+ years. Sell or donate patterns for garments you no longer wear. A smaller collection you actually sew from beats a huge one you can't navigate.
Get started fast
Sewist Studio is built specifically for this system — mobile-first, photo-scanning, cut history, and PDF-friendly. Start a free account and you can catalog your first 20 patterns tonight.


