How to Organize Machine Embroidery Designs on Your Computer
Thousands of PES and DST files in folders called "Bundle_FINAL"? Here's a folder system that scales, and how to turn it into an organized, searchable, filterable catalog.
Why embroidery files get out of hand
Machine embroidery collections grow faster than any other part of a sewing room. One bundle can hold 50 designs in eight formats, a font arrives as 26 letters in four sizes, and every free design of the week adds another zip to Downloads. After a year or two most of us have thousands of files and no idea what's in them.
The fix isn't a perfect system. It's a simple one you'll actually keep up, plus a way to see what you own without opening files one at a time.
Step 1: Pick one main folder
Put every embroidery design you own under one folder, for example `Documents/Embroidery Designs`. Not Downloads, not the desktop, not a USB stick. One place means one thing to back up and one thing to search.
If your designs are spread across old laptops, CDs and USB sticks, copy them all into this folder first. Don't sort yet; just get everything in one place.
Step 2: Make a handful of subject folders
Inside the main folder, create folders by what the design is, not where you bought it. Most collections need 10 to 30. A good starting set:
| Folder | What goes in it |
|---|---|
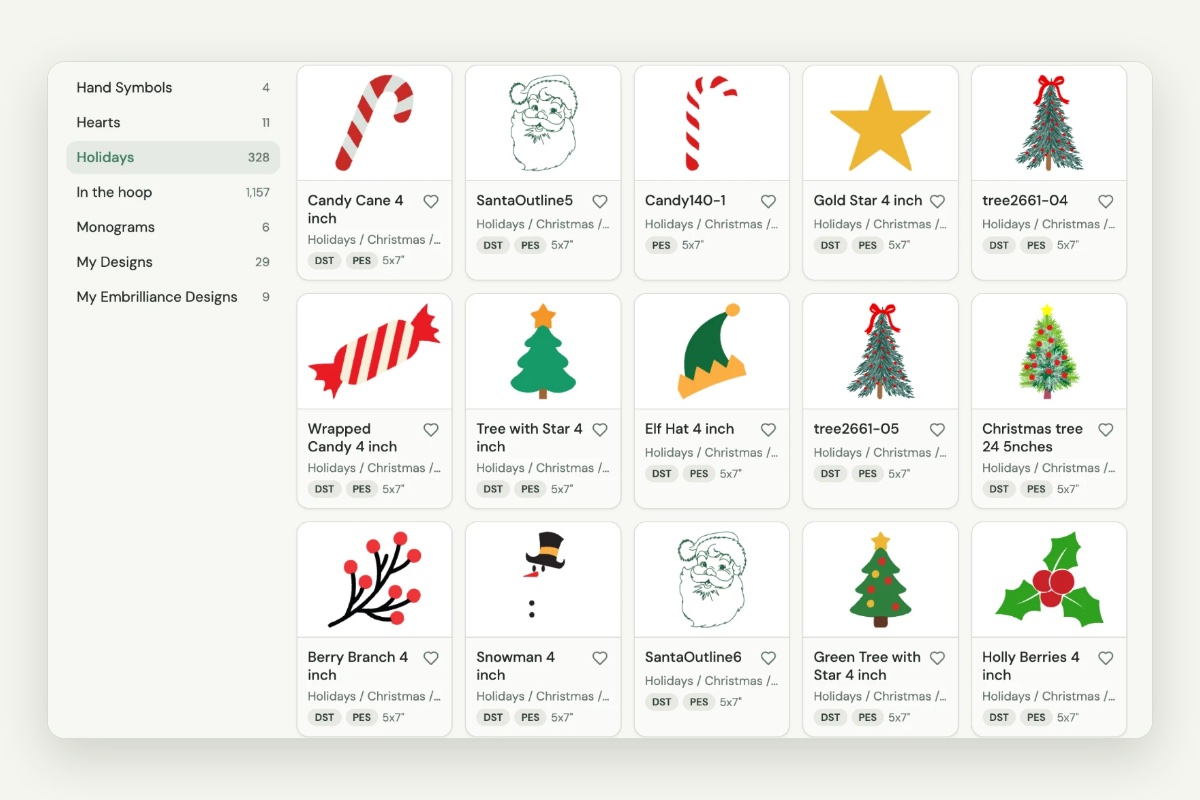
| Holidays | Christmas, Halloween, Easter, with subfolders per holiday |
| Animals | Animals and pets |
| Fonts | One folder per font, with a subfolder per size |
| Monograms | Monogram frames and alphabets |
| In the hoop | ITH bags, coasters, ornaments |
| Appliqué | Appliqué designs and their placement files |
| Babies & kids | Bibs, burp cloths, nursery |
| Sayings | Word art and quotes |
Two rules keep it from collapsing:
- Subject first, designer second. If you want to remember the shop, add a subfolder (`Holidays/Christmas/Designer Name`) instead of a top-level designer folder.
- Keep it shallow. Two or three levels deep is plenty. Fonts are the exception: `Fonts/Script/2 inch` is worth it.
Step 3: Keep only the formats your machine reads
Bundles usually include PES, DST, JEF, EXP, VP3, XXX, HUS and more. You only need the one your machine stitches, plus DST as a universal backup. Deleting the rest can cut a library's size by more than half and makes every folder easier to scan.
- Brother and Baby Lock read PES.
- Janome reads JEF.
- Husqvarna Viking and Pfaff read VP3 (older machines read HUS).
- Almost every machine and every digitizer reads DST, but DST has no thread colors.
Not sure which to keep? See PES vs DST.
Step 4: Name files so search works
You don't need to rename everything, but when you do, put the useful words first: `Christmas Wreath 4x4.pes` beats `CW-01_v2.pes`. Include the size if a design comes in several. Search, in your computer or in a catalog, can only find words that are in the name or the folder path.
Step 5: Turn the folder into a catalog
Folders alone still leave you guessing, because your computer shows a blank icon for PES and DST files. A catalog fixes that by reading every design and showing what's inside.
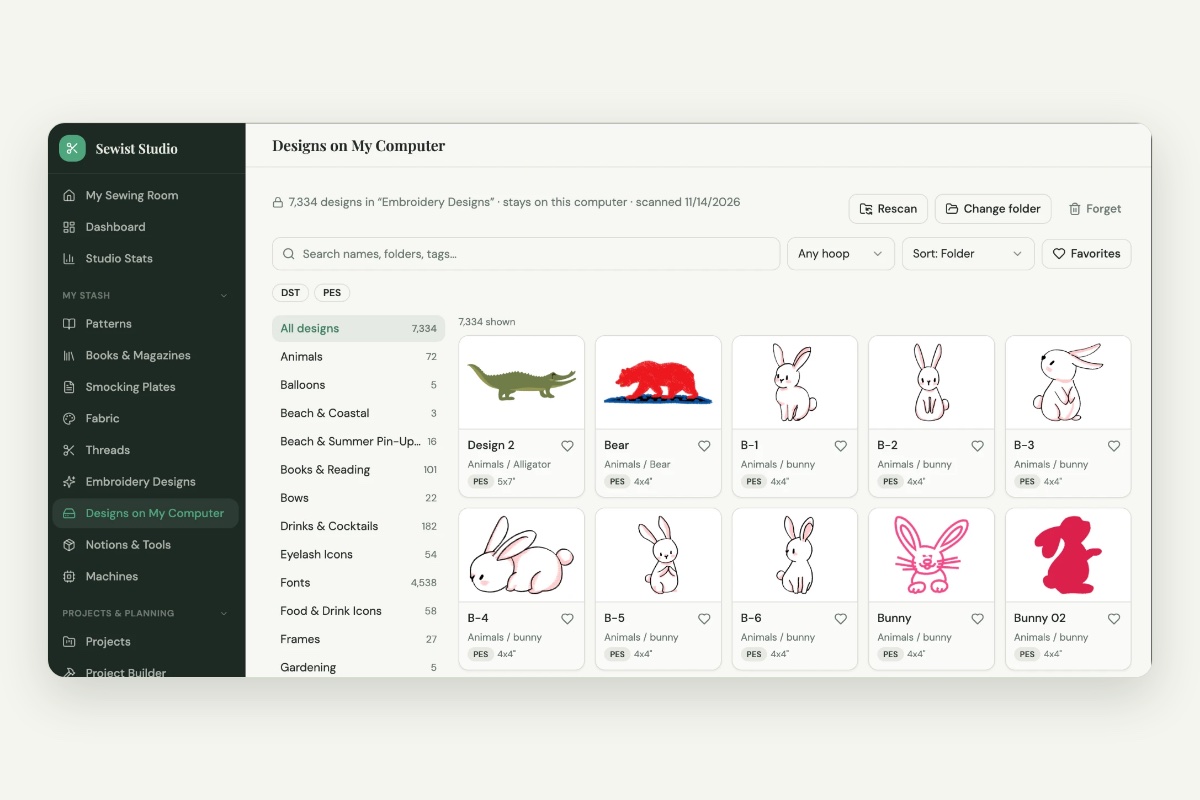
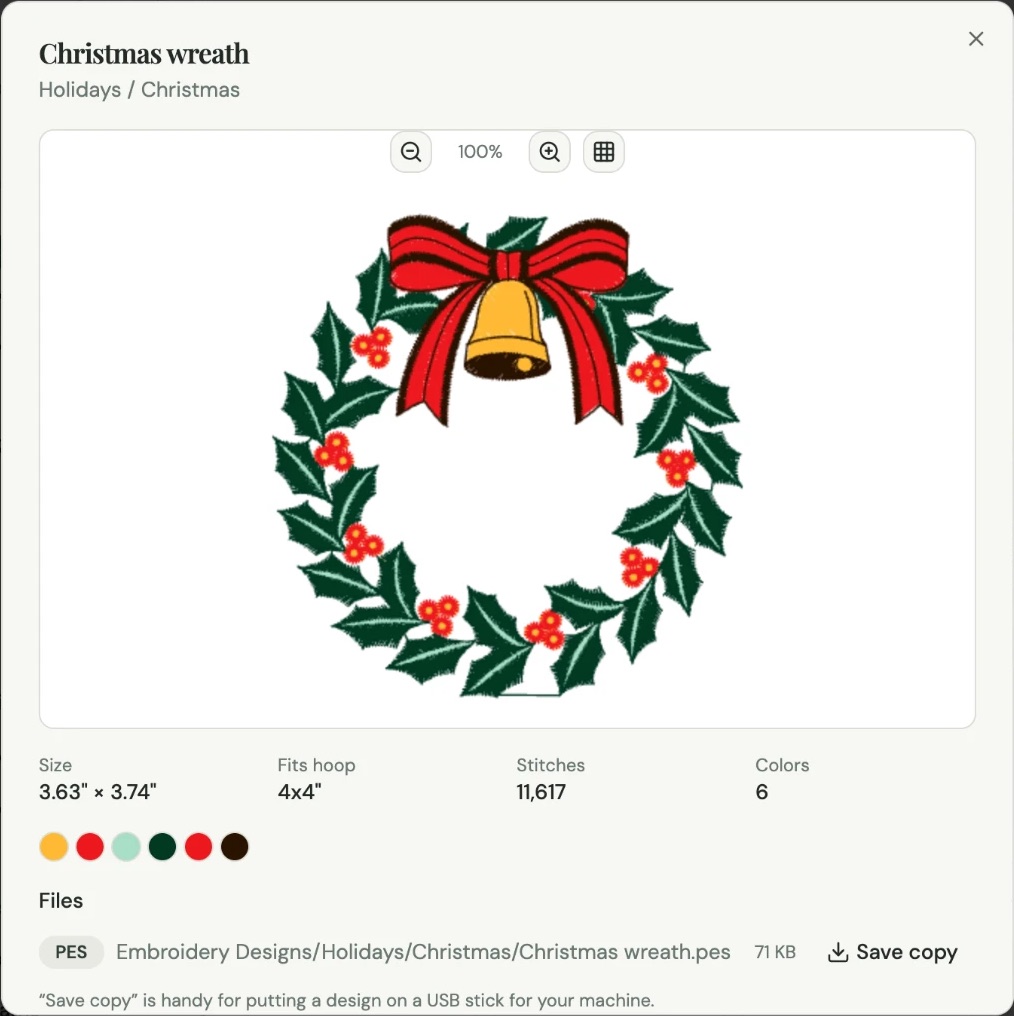
Designs on My Computer in Sewist Studio does this in your browser. You choose your main folder once, and it turns it into an organized, searchable, filterable catalog:
- Organized for you: every design is sorted into themes (Christmas, Animals, Alphabets...), project types and hoop sizes from its name, so it works even without tidy folders. It can also copy them into an organized folder.
- Searchable: search by design name, theme, folder or tag.
- Filterable: filter by hoop size (4x4, 5x7, 6x10, 8x12) or file format, and sort by stitch count, size or date.
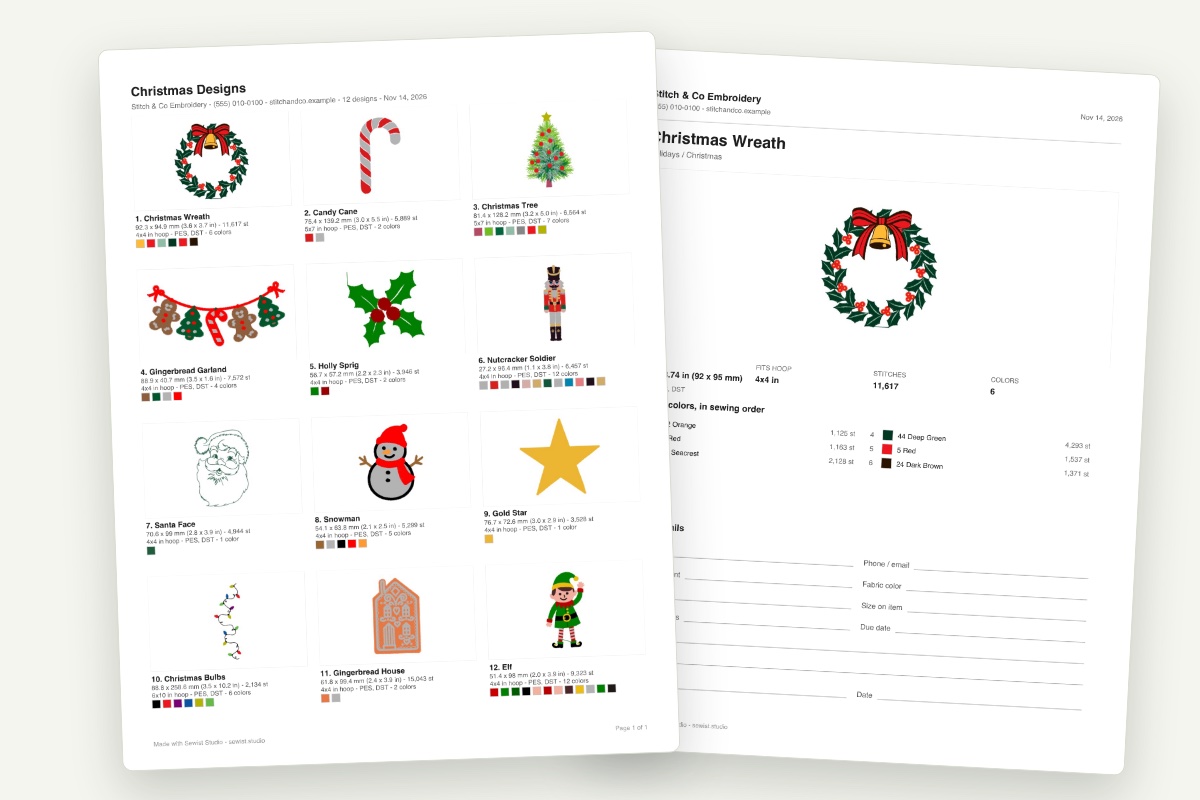
- Every design shows a stitch preview, its real size, the smallest hoop it fits, its stitch count and thread colors. A PES and a DST of the same design show as one.
Your files never leave your computer. Nothing is uploaded; Sewist reads the folder and keeps the catalog in that browser, so it opens instantly next time. In Chrome or Edge it remembers the folder and a rescan only reads new or changed files. It reads PES, DST, JEF, EXP, VP3, XXX and PEC, and it's part of Sewist Studio Pro, with a 14-day free trial.
Step 6: Give new downloads a two-minute routine
The system only works if new designs land in it. Every time you buy or download a design:
- Unzip it (see how to organize embroidery zip downloads).
- Delete the formats you don't use.
- Move the folder into the right subject folder.
- Rescan your catalog.
That's it. Once a month, empty Downloads.
Step 7: Back it up
Your designs are purchases. Copy the main folder to an external drive or a cloud backup (iCloud Drive, Google Drive, OneDrive or Dropbox) and keep the backup current. Because everything lives under one folder, backing up is a single drag.
What about the BX and Embrilliance files?
Embrilliance BX installers and the fonts they install aren't stitch files, so most catalogs, including Sewist's, can't preview them. Keep the BX installers in their own folder (for example `Fonts/BX installers`) so you can reinstall them on a new computer.
The short version
- One main folder, 10 to 30 subject folders, two or three levels deep.
- Keep your machine's format plus DST.
- Put useful words in file names.
- Use a catalog so you can see, search and filter every design.
- Spend two minutes filing each download, and back up monthly.