How to Turn a Logo or Drawing into an Embroidery File
Have a logo or hand-drawn design you want to stitch? Here's how to convert it into a ready-to-sew embroidery file without expensive digitizing software.
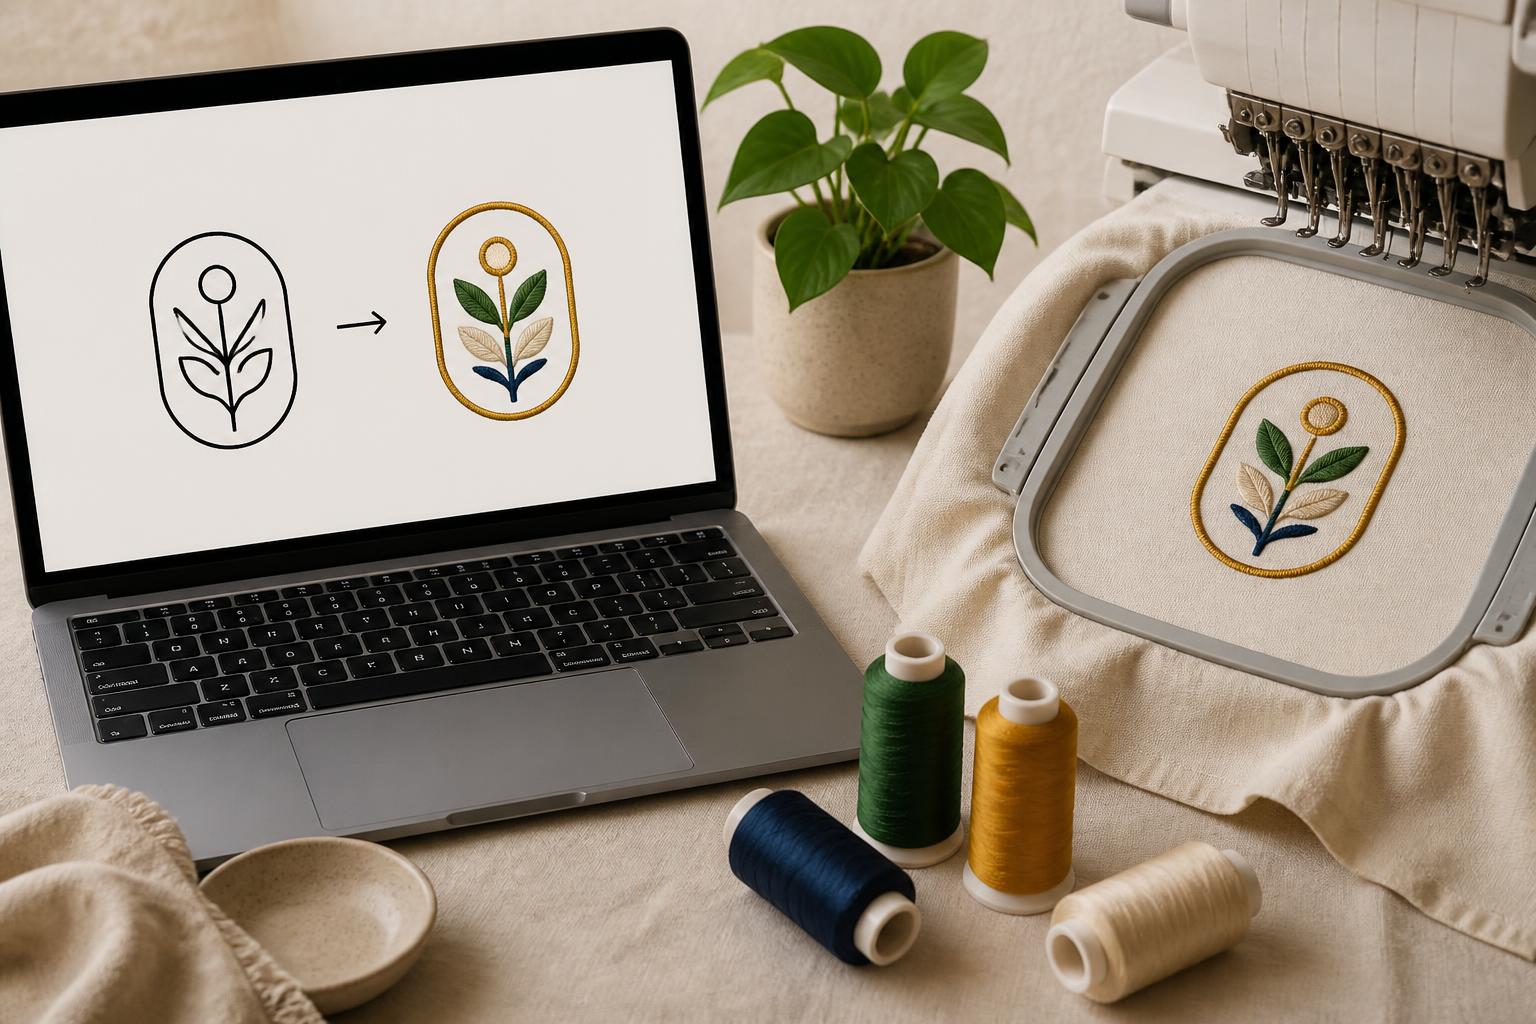
What does it mean to "digitize" an image for embroidery?
Machine embroidery machines can't read a JPG, PNG, or hand drawing directly. They need a stitch file — a list of needle positions, color stops, and thread changes written in formats like .DST or .PES. Digitizing is the process of converting a flat image into those stitch instructions.
Professional digitizing software costs hundreds of dollars and has a steep learning curve. But for simple logos, clip art, line drawings, and high-contrast graphics, you don't need that depth. A browser-based digitizer can produce a usable stitch file in minutes.
What kinds of images digitize best?
Not every photo belongs on an embroidery machine. The best candidates have:
- Clean edges and limited detail — silhouettes, logos, simple icons, hand lettering
- High contrast between the subject and background
- A limited color palette — one to six distinct colors
- No gradients or soft shadows (those don't translate to thread)
Great examples: a pet silhouette, a business logo, a monogram, a simple floral clip art, a child's drawing with bold outlines, or an SVG icon you downloaded.
Photos of faces, landscapes, or blurry backgrounds usually digitize poorly unless they've been simplified into a posterized graphic first.
How the Image Digitizer works
Sewist Studio's Image Digitizer takes an uploaded image and converts it into stitches in two modes:
Single-color silhouette mode is perfect for logos and line art. You set a threshold to capture the dark (or light) areas, pick a thread color, adjust the fill spacing, and optionally add a satin border to give the design a clean outline.
Multi-color mode automatically quantizes the image into up to six thread layers. Upload a simple multi-color graphic and the tool separates each color region into its own stitch segment, so the machine knows when to change thread.
Controls you can adjust:
- Size — finished width/height in millimeters
- Stitch density — how close the fill stitches sit; denser for coverage, lighter for drape
- Threshold / invert — for single-color designs, controls which parts become stitches
- Satin border — adds a crisp outline around the shape
- Thread colors — pick the exact colors the machine will use
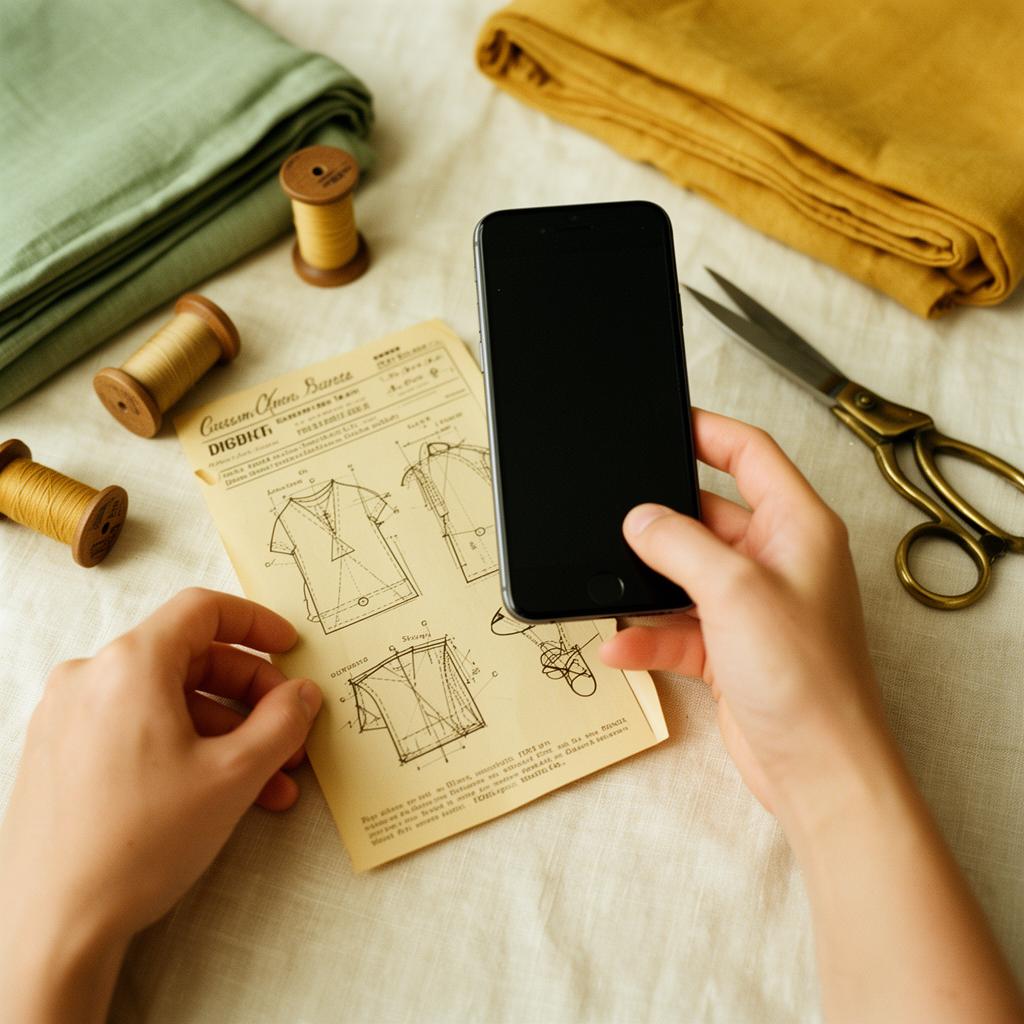
From screen to hoop: the finishing steps
Once the preview looks right, you have three options:
1. Export directly to .DST or .PES and load it onto your machine via USB or wireless transfer.
2. Save it to your design library so the file, preview, and dimensions are stored alongside your other embroidery designs.
3. Open it in the Stitch Editor to move or delete individual stitch nodes before stitching.
Before you hoop, cross-check the design against your thread inventory and stabilizer stock. The most common digitizing disappointment isn't the file — it's discovering you don't have the right supplies.
Tips for clean digitized results
- Start with an SVG when possible. Vector art has clean edges that trace more accurately than raster photos.
- Use a solid background. Busy backgrounds create noise stitches. Crop or remove the background first.
- Keep the design size reasonable. Tiny text and hair-thin lines rarely stitch well. Aim for shapes at least 2–3 mm wide.
- Test stitch on scrap. Always run a sample on similar fabric and stabilizer before committing to the final blank.
- Match density to fabric. Terry cloth and knits need more stabilization and moderate density; stable wovens can handle denser fills.
Free vs. professional digitizing: when to use which
Browser digitizers handle about 80% of hobby needs: simple logos, monograms, clip art, and one-color graphics. They're fast, free, and good enough for gifts and small business branding.
Professional software wins for:
- Photo-realistic designs with shading
- Complex 3D puff foam or appliqué
- Designs with small text or fine detail
- Production runs where every stitch matters
For most sewists, starting with a free tool is the right call. If you outgrow it, you've learned exactly what features you actually need in a paid program.
Turn your first image into stitches today
Upload a logo or drawing to the Image Digitizer, tweak the density and colors, and export a ready-to-stitch file. Pair it with an organized embroidery library and a thread inventory and you have a complete workflow from idea to finished stitch-out.


