How to Read a Sewing Pattern: A Beginner's Visual Guide
Pattern envelopes are dense with information. Once you can decode the front, the back, and the tissue pieces, the rest of sewing gets dramatically easier.
Why pattern envelopes look so intimidating
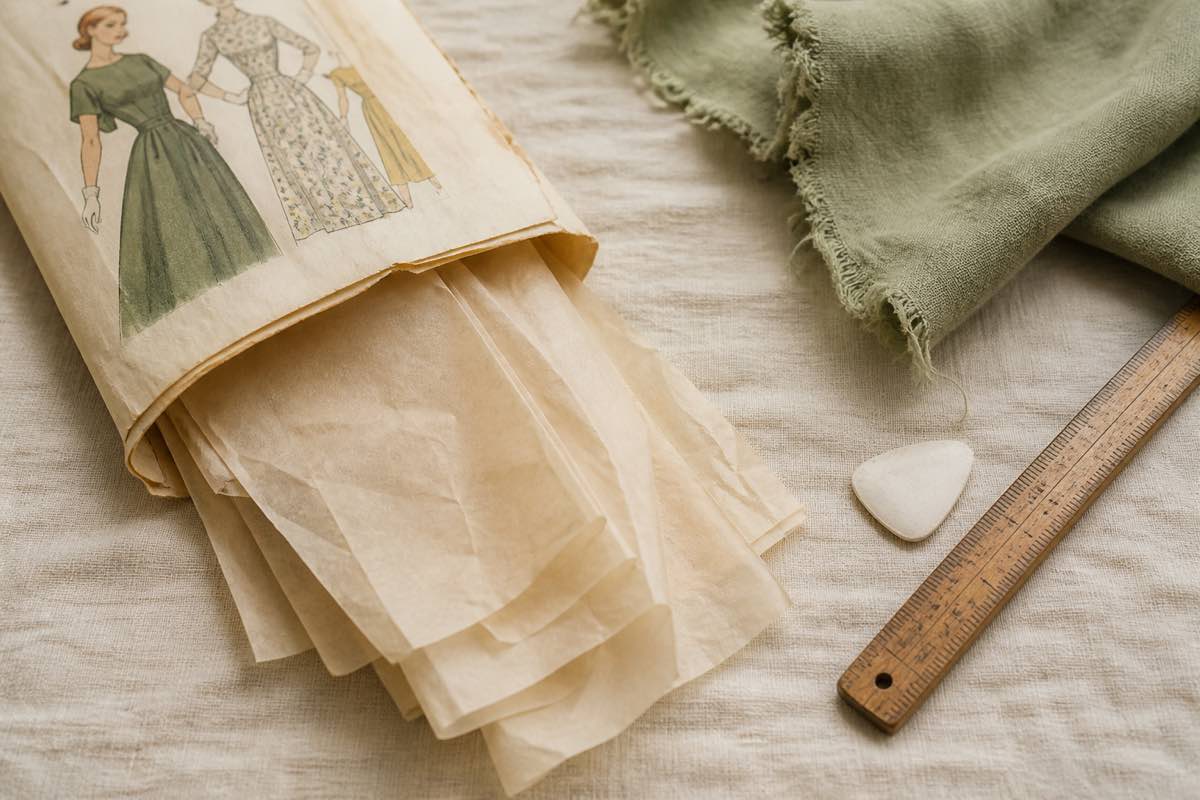
A sewing pattern envelope is the densest paper document most sewists encounter. There's a cover, a back panel, a separate instruction booklet, and a sheet of tissue with twenty-plus pieces overlapping like a topographic map.
It looks intimidating, but it's actually a very ordered language. Once you can read the envelope front, envelope back, instruction sheet, and tissue markings, you'll be able to pick up any pattern from any brand — Simplicity, McCall's, indie PDFs — and know exactly what to do.
This is the visual guide I wish I'd had when I started.
The envelope front: what you're getting
The cover answers four questions:
1. What garments are in this envelope? Look for the views — usually labeled A, B, C, D — each one a different version (long sleeve, short sleeve, dress vs. top, etc.). Some envelopes contain six garments; some contain one.
2. What size range? Printed on the front, usually as a numeric size range (e.g. 6–22) or letter sizes (XS–XXL). Don't trust ready-to-wear sizing — pattern sizes run differently. Always check the actual measurement chart on the back.
3. What's the recommended fabric weight? The fabric suggestions on the cover give you the drape the designer expected — a flowy rayon and a structured cotton twill will produce very different garments from the same pattern.
4. What difficulty? Many envelopes (especially Simplicity Easy, It's So Easy, Learn to Sew) flag difficulty up front. If they don't, the number of pattern pieces is a decent proxy: ≤5 pieces = beginner, 5–10 = confident beginner, 10+ = intermediate.
The back of the envelope: the part that matters most
The back is the most information-dense surface of the entire pattern. It's where you decide whether to buy fabric and which size to cut.
Line drawings
Black-and-white technical sketches of each view, front and back. The cover photo is styled — the line drawings are the truth. If the back-view drawing shows princess seams you didn't want, this is where you'll notice.
The body measurement chart
A table of body measurements — bust, waist, hip — mapped to pattern sizes. This is what you measure yourself against. Crucially, this is not a finished-garment chart; it's your body's dimensions. Pattern companies build "design ease" (extra room for the silhouette) into the actual pattern pieces.
The yardage chart
Rows are views (A, B, C, D). Columns are sizes. Cells tell you exactly how many yards of fabric you need. Pay attention to fabric width — 45" and 60" yardages are different. PDF patterns usually publish the same chart on the cover sheet.
The notions list
Zippers (length and type), buttons (count and size), interfacing yardage, elastic, thread. Buy this before you start cutting — discovering you need a 22" invisible zipper at 9pm on a Sunday is a rite of passage you can skip.
Suggested fabrics
Often a short list: "Cotton, linen, rayon challis, lightweight wool". Treat these as a starting point — the pattern was drafted around fabrics with similar drape.
What does "with nap" mean?
A common confusion: yardage charts often show two columns, "with nap" and "without nap". Nap means the fabric has a direction (corduroy, velvet, one-way prints). With-nap yardage is always equal to or larger than without — because every piece must point the same way.
The instruction sheet: read it before you cut
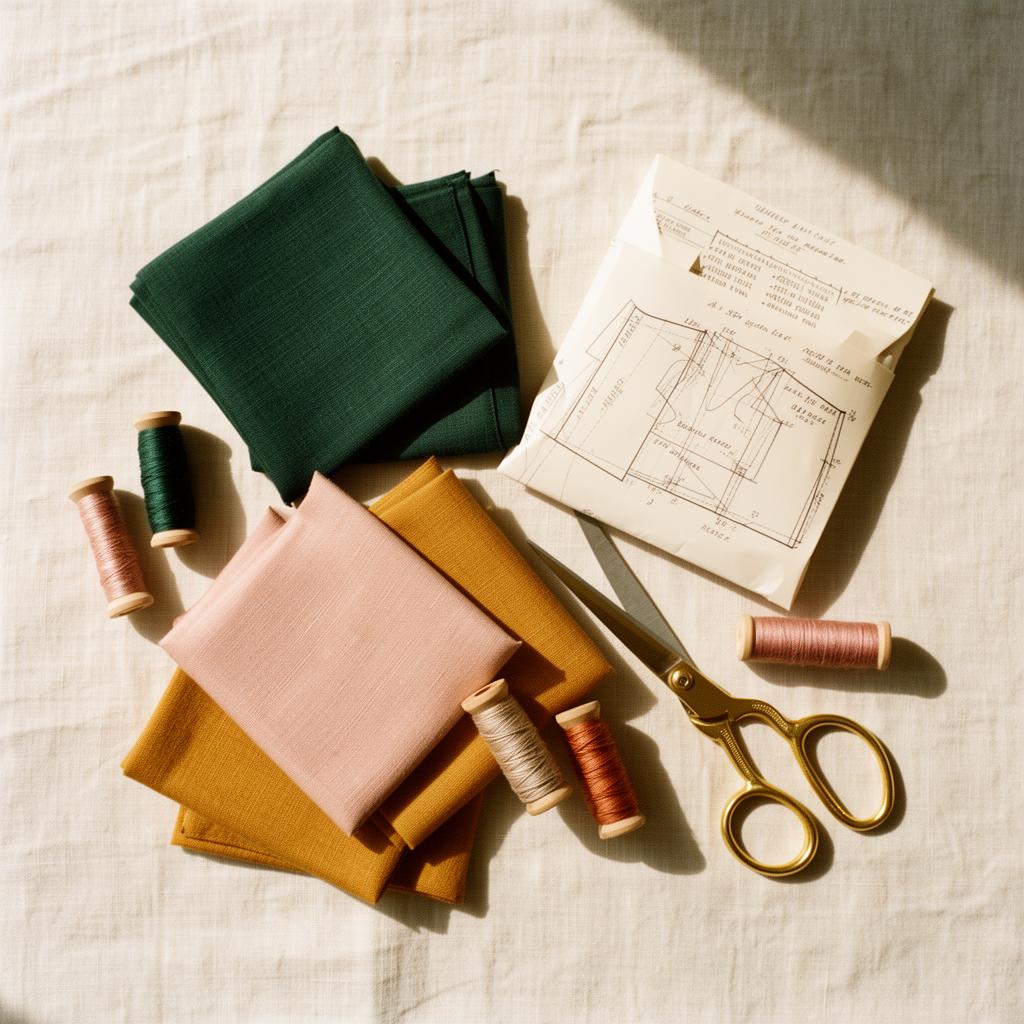
Open the instruction booklet before you touch fabric. The first page is the most important — it has the cutting layout. The cutting layout is a small diagram showing how to arrange every pattern piece on your fabric for your size and view. Follow it. It will save you yardage and prevent you from cutting two left fronts.
After cutting, the instruction sheet walks you step-by-step through construction. Quick decoding:
- Numbered diagrams match numbered text. Read both.
- "Right sides together" (RST) means the visible/printed sides face each other while sewing.
- "Stay-stitch" means stitch a single line of stitches inside the seam allowance to keep a curved edge from stretching. Always worth doing on necklines.
- "Understitch" means stitch a facing or lining to the seam allowance so it rolls cleanly to the inside. The difference between a homemade-looking neckline and a polished one.
The tissue pieces: every marking explained
The pattern itself — those tissue sheets you unfold — has its own visual vocabulary. Here's every marking you'll meet.
Grainline arrow
A long double-headed arrow on each piece. Place this parallel to the selvage of your fabric. Cutting off-grain causes garments to twist and hang badly — this single instruction prevents most rookie mistakes.
Cutting lines for multiple sizes
Modern patterns nest sizes — one tissue piece has several outlines (size 6 inside size 8 inside size 10, etc.). Each line type is labeled. Trace your size with carbon paper or a tracing wheel so you can re-use the pattern at a different size later.
Notches
Triangular marks along the cut edge. Notches show where two pieces match (back-of-sleeve notch lines up with back-of-armscye notch). Cut notches outward — never clip into the seam allowance.
Dots and squares
Marked with chalk or a fabric marker on the wrong side of your fabric after cutting. They indicate specific construction points — where to start gathering, where a dart ends, where a pocket attaches.
Dart legs and dart point
A long V or diamond drawn on the piece. The two legs are sewn together; the point is where the dart ends. Mark all three points so the dart finishes cleanly.
"Cut on fold" line
A bracket-shaped symbol along one edge. Lay this edge along a folded edge of fabric so the piece becomes symmetrical when unfolded. Cutting through both layers without folding here gives you two mirrored half-pieces and a ruined day.
"Place on fabric fold"
Same idea, sometimes written in words. Don't confuse with the cut line.
Lengthen / shorten lines
Two parallel horizontal lines on the bodice or sleeve. Cut along them to add or remove length before you cut your fabric. This is how patterns get adjusted for height without redrafting.
Once you can read one envelope, scan the rest
Every modern pattern envelope speaks the same language — once you've decoded one, you've decoded all of them. The next bottleneck is keeping track of what's in your collection.
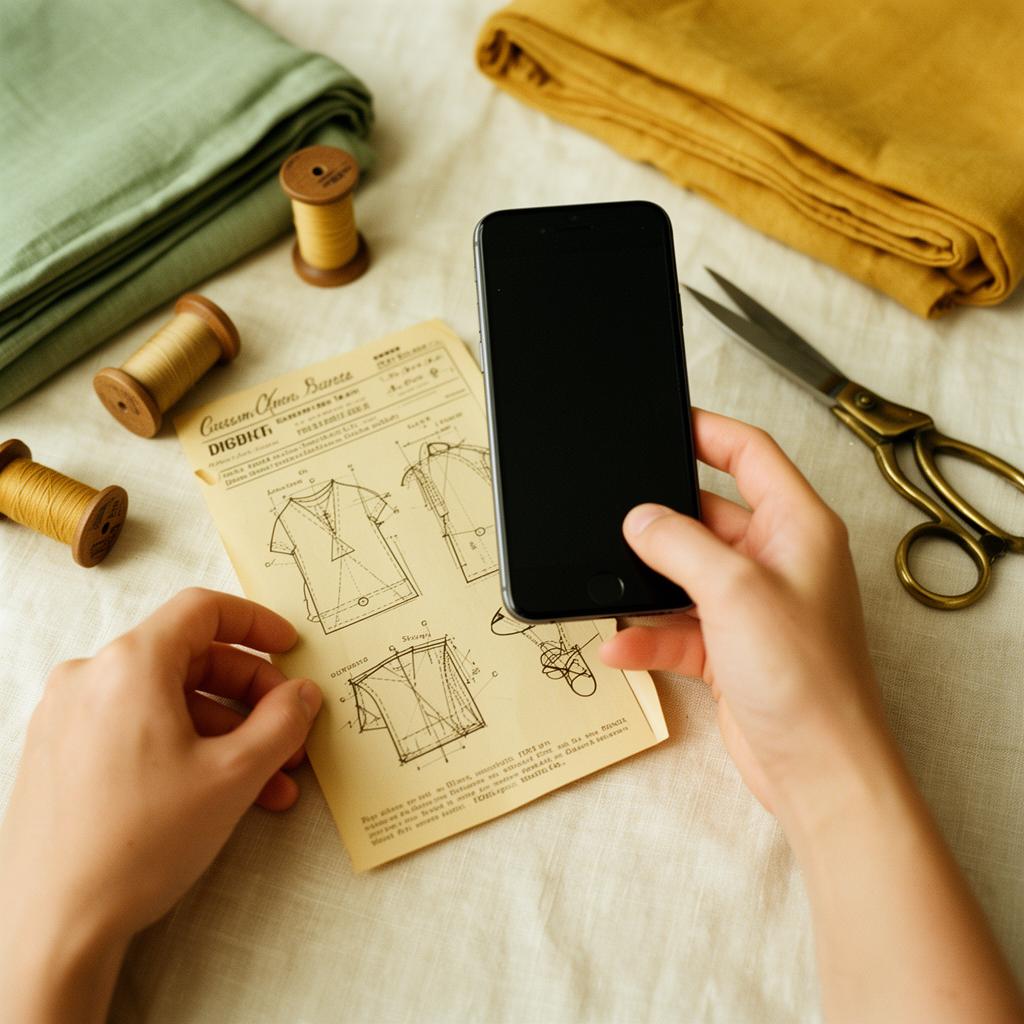
Sewist Studio's AI pattern scanner reads the envelope front and back from a single photo and extracts the brand, pattern number, sizes, recommended fabrics, notions, and yardage into a searchable library. After a single batch session, you'll know exactly what your stash contains — and pattern reading goes from a per-project chore to a one-time skill.
Ready to stop re-reading envelopes you already own? Start a free Sewist Studio account and photograph your first ten patterns. The AI does the cataloging — you do the sewing.