How to Read a Smocking Plate (Step-by-Step)
Smocking plates look intimidating until you know the code. Here's how to decode row numbers, stitch symbols, and color keys the way experienced smockers do.
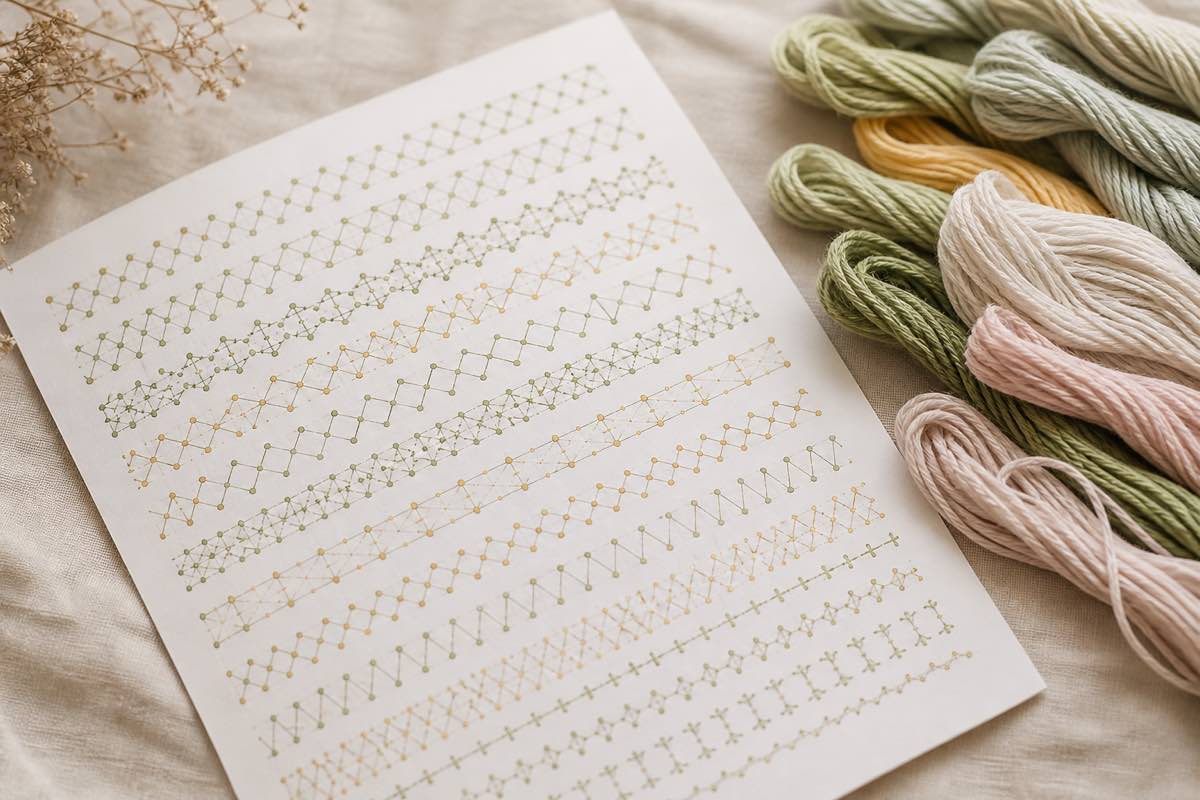
Why smocking plates use their own notation
A smocking plate compresses a lot of information into a small chart: which stitches go where, how many pleats each one spans, what floss colors to use, and how many rows tall the finished design is. Once you learn the code, you can read any plate — vintage Australian Smocking & Embroidery magazine layouts, modern PDF designs, or free plates from smocking guilds.
The five things every plate tells you
Every plate contains five layers of information:
1. Row numbers — printed on the left edge (row 1 at the top, counting down). Rows match the pleater rows on your fabric.
2. Half-space rows — sometimes marked "½", these run between the main rows and are used for waves and trellis stitches.
3. Stitch symbols — each stitch has a shorthand: horizontal lines for cables, angled lines for waves, dots for knots, loops for bullions.
4. Color key — a legend maps each floss color to a stitch or row.
5. Repeat count — how many pleats each motif spans, so you can center the design on your project.
Reading a plate line by line
Work the plate from row 1 downward, left to right across your pleats:
1. Center your fabric. Count total pleats. Divide by two to find the middle pleat and mark it. Most plates specify a pleat count for the design's center repeat.
2. Thread up the first color. Look at the color key for row 1.
3. Follow row 1's stitch symbols. A three-cable-up-three-cable-down sequence, for example, is drawn as three short horizontal lines above the row, three below.
4. Move down to row 2. Change color if the key calls for it. Continue until every row is worked.
Tips that make plates faster
- Photocopy and highlight. Mark the row you're on so you don't lose your place mid-stitch.
- Use a magnet board. Slide a magnetic strip below each row as you work.
- Save finished plates. Photograph the completed panel with camera cataloging and tag it in Sewist Studio with the plate name, fabric from your stash, and floss list. You'll want that reference for your next project.
Common plate abbreviations
| Symbol | Meaning |
|---|---|
| C | Cable stitch |
| W | Wave stitch |
| T | Trellis |
| B | Bullion knot |
| ↑ / ↓ | Direction of the next stitch |
| ½ | Half-space row |
The Smocking & Stitching Encyclopedia has a full symbol legend with photos.
Build your own plate library
Every plate you finish is a template you can rework in new colors. Save each one to your studio with the floss list and finished photo — after a dozen plates you'll have a personal library that's more useful than any magazine subscription.
Start your free Sewist Studio account and log the plates you already own.


