How to Thread a Read Pleater (Step by Step)
Threading is where most Read pleater problems begin. Here's the right way to do it every time.
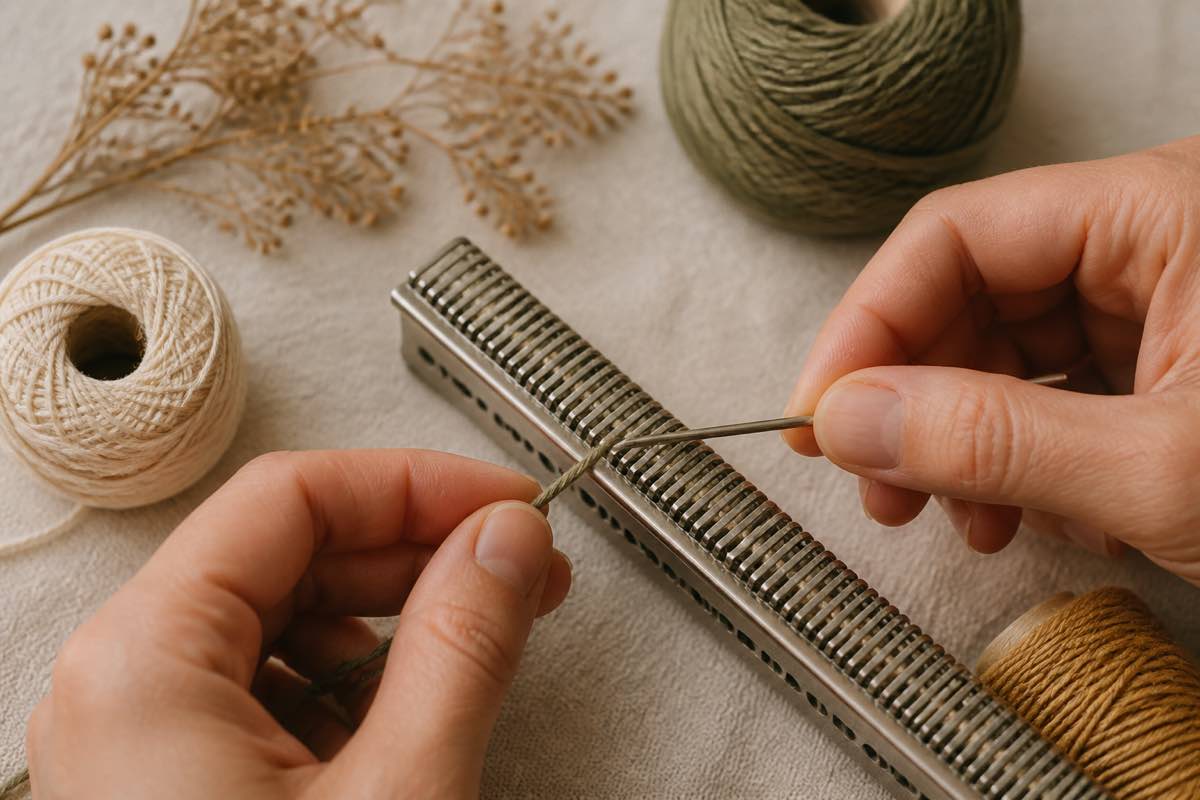
What you need
- Button and carpet thread (or quilting thread) in a color that contrasts with your fabric
- Fine embroidery scissors
- A dental floss threader or a fine wire needle threader for the pleater needles
Choosing thread color
Use a color that contrasts with your fabric. Pale yellow or blue on white batiste, dark grey on light gingham. Contrast makes the gathering threads visible while smocking, and they're removed after blocking.
Cutting length
Cut each thread 6–8 inches longer than the finished panel width:
| Finished width | Cut length |
|---|---|
| 12" (cuff) | 18–20" |
| 16" (bishop yoke) | 22–24" |
| 24" (bodice) | 30–32" |
| 40" (full bishop) | 46–48" |
Too short and you can't tie off. Too long and it tangles as you pleat.
Which rows to thread
Look at your smocking plate. It will specify which rows to pleat (typically labeled 1 through N). Thread one gathering thread per plate row plus one holding row at top and one at bottom.
For most beginner bishop plates that's 8–10 rows out of your 24 available.
Threading a needle
Each Read pleater needle has a tiny eye that pleater manufacturers acknowledge is fiddly. The trick:
1. Cut the thread tip cleanly at a sharp angle.
2. Use a floss threader — insert the threader through the needle eye, pass the thread through the threader loop, pull back.
3. Leave a 4–5 inch tail at the back of the pleater. This is what you grip when pulling pleats through.
4. Leave the front tail long — enough to tie off after pleating.
Order of threading
Thread rows from the outside in. That way you can rest your hand on already-threaded rows while working the interior. Working outward risks catching the thread on the crank.
Removing and replacing threads
Never yank a needle to unthread. It bends the shaft. Instead:
1. Cut the thread flush at the eye.
2. Pull the tail through from the back.
3. Discard.
If you need to remove a needle entirely, unscrew the row gently — pleater needles are held in a threaded collar that loosens with fingertip pressure, not force.
Log threaded rows per project
Every plate has a different row map. Save each threading setup as a card on the project kanban — plate name, row numbers threaded, thread color, and yardage. Six months later you don't re-derive it from scratch.


