Smocking Pleater Tension Troubleshooting: Loose, Tight & Uneven Pleats
Loose pleats one row, tight pleats the next? The three tension fixes that solve 95% of pleater problems.
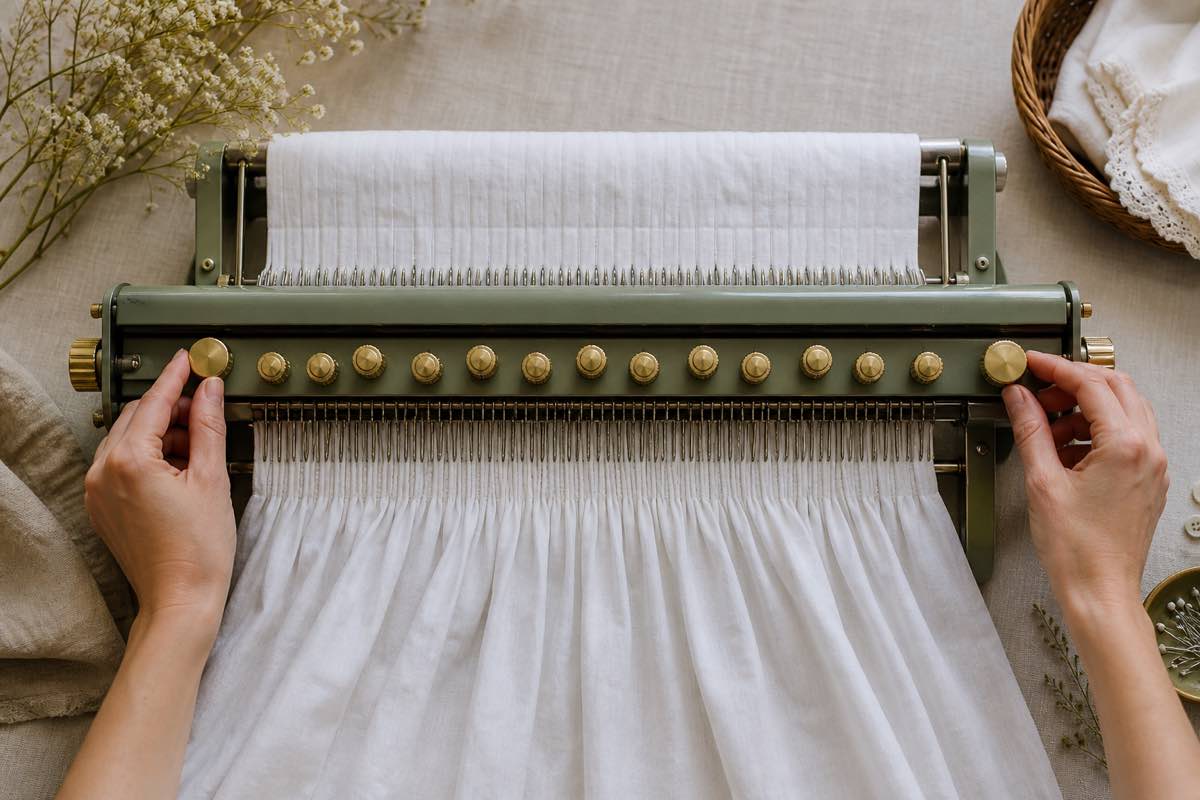
The three root causes
Uneven pleater tension traces to:
1. Inconsistent thread across needles — different weights or brands per row
2. Worn or bent needles — one row pulls harder than the others
3. Off-grain fabric — one edge feeds faster than the other
Fix these before adjusting the pleater itself.
Fix 1: identical thread on every needle
The most common mistake. Load every needle from the same spool of thread (button and carpet, or quilting thread). Mixing weights or brands creates instant row-to-row unevenness. See pleater troubleshooting for thread choice details.
Fix 2: needle inspection
Line up your needles side by side before loading. Any needle with:
- A visible flat spot
- A bent tip
- A burr in the eye
...gets replaced. A single bent needle in a row of ten will produce loose pleats on that row every project until you replace it.
Fix 3: true the grain
Off-grain fabric is the sneakiest culprit. Symptoms: pleats look even at row 1 but drift wider by row 10. Cause: fabric is being pulled faster on one selvage.
To true the grain:
1. Snip the selvage.
2. Tear across the weft — cotton tears in a straight line along the grain.
3. Align the torn edge with the pleater's fabric guide.
Fine-tuning per fabric
After the three fixes, minor tension differences remain fabric-dependent. Log each fabric's ideal setup in your Sewist Studio project log with:
- Fabric name + weight
- Notes ("pleats loose — pull threads gently to tighten before smocking")
- Recommended prep ("wash and iron with starch first")
When pleats are uniformly too loose
- Thread too fine (use button + carpet)
- Fabric too crisp — soft-wash and skip the starch
When pleats are uniformly too tight
- Thread too heavy — try slightly lighter (still button + carpet, not sewing thread)
- Fabric too soft — starch before pleating
When the top row alone is loose
Common on Read pleaters. The top row often uses a longer thread path. Solutions:
- Cut top row's thread longer to reduce drag
- Thread the top row last so it starts with slack
When the bottom row alone is loose
Fabric feeding down slightly — support the pleated fabric with your left hand so it doesn't tug the bottom rows.
After pleating: even out by hand
Before removing threads, gently pull each thread to distribute pleats evenly across the width. Tie off with square knots at both ends.
Log your solutions
Every pleater setup problem you solve is a note you shouldn't lose. Sewist Studio's notes per fabric means next time you pleat that same batiste you'll know exactly what worked.


