How to Sort Sewing Patterns by Pattern Maker and Era
Brand and decade are the two most useful facts about any pattern envelope. Here's how to categorize a collection by maker and era — and filter it instantly.
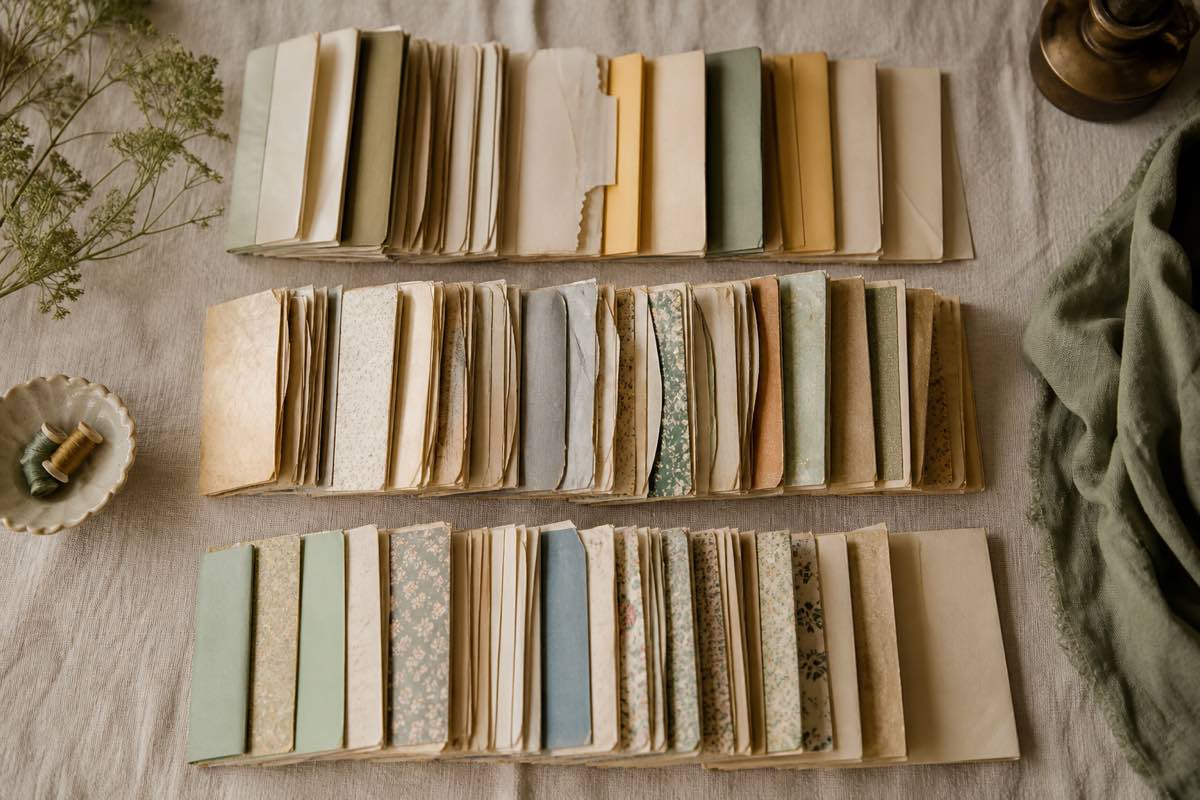
Why brand and era beat alphabetical order
Most sewists start by sorting patterns alphabetically or by number. It looks tidy and helps with nothing. The two facts that actually change how you sew a pattern are who drafted it and when.
- Pattern maker determines block shape, ease, seam allowance, and how honest the sizing is. A Vogue 12 and a Burda 38 are not the same garment.
- Era determines silhouette, shoulder shape, and how much you'll want to redraft. A 1980s blouse and a 2020s blouse can share a size and produce completely different results.
Categorize by those two axes and your collection becomes searchable by intent: "show me the 1950s dresses" or "show me every Children's Corner leaflet."
Step 1: Standardize your pattern maker list
Pick one spelling per brand and never deviate. "McCalls," "McCall's," and "Mc Calls" become three brands in any database, including a shoebox.
Sewist Studio ships a curated maker list so you don't have to invent one:
- Modern commercial: Simplicity, McCall's, Butterick, Vogue, New Look, Burda, Kwik Sew
- Indie designers: anything from Etsy or a designer's own shop
- Heirloom and children's wear: Children's Corner, Martha Pullen, Chery Williams, Bonnie Blue, Ellen McCarn, Old Fashioned Baby, Wendy Schoen, Creations by Michie
- Smocking plate publishers: Country Bumpkin, Vaune Pierce, Read My Pleats, Sweetheart Designs
Anything that doesn't fit goes under "Other" with the designer name in the title, so you can promote it to its own maker later.
Step 2: Assign an era bucket
Don't try to date patterns to the year. Decade buckets are accurate enough and far easier to assign at speed:
Pre-1940s · 1940s · 1950s · 1960s · 1970s · 1980s · 1990s · 2000s · 2010s · 2020s · Modern · Unknown
Undated envelope? Use these clues: copyright line on the back, the pattern number series, printed vs. unprinted tissue (unprinted usually means pre-1950s), the price, and the hairstyles on the illustration. When you genuinely can't tell, mark it Unknown rather than guessing — you can always upgrade the record later.
Step 3: Record the pair on every pattern
For each pattern, the minimum useful record is:
- Pattern maker (from your standard list)
- Pattern number
- Era bucket
- Garment type
- Size range as printed on the envelope
- Cover photo
That's under a minute per pattern once you're in a rhythm, and it makes every future search work. If you'd rather not type it, the AI photo scanner reads the brand, number, and sizes straight off the envelope.
Step 4: Filter, don't browse
The payoff of categorizing is filtering. In Sewist Studio you can stack filters — maker + era + garment type — and get a photo grid of only what matches. Real searches this answers:
- "Every 1970s wrap dress I own" before you buy another one
- "All my Children's Corner patterns in size 4" when a baby shower is coming
- "Vintage Vogue only" when you want the good drafting for a special make
- "Modern patterns with PDF files attached" when you want to print tonight
Step 5: Keep sizing notes per maker
Because ease differs by brand and era, keep a short note on each pattern about what you actually cut and how it fit. After a handful of makes you'll know that you cut one brand straight and grade another. Those notes live on the pattern record itself, so they're waiting for you the next time you pull it out.
A note for vintage collectors
Vintage patterns often come single-size. Add the finished bust or chest measurement to the record — that number is more useful than the printed size, and it lets you sort a vintage collection by what will actually fit.
Ready to sort your collection? Start a free Sewist Studio account and filter your patterns by maker and era in seconds.


