How to Make Your First Quilt: A Beginner's Guide (Start to Binding)
A quilt looks intimidating, but it's really just squares of fabric sewn together, layered with batting, and finished at the edges. Here's the whole process for your first one.
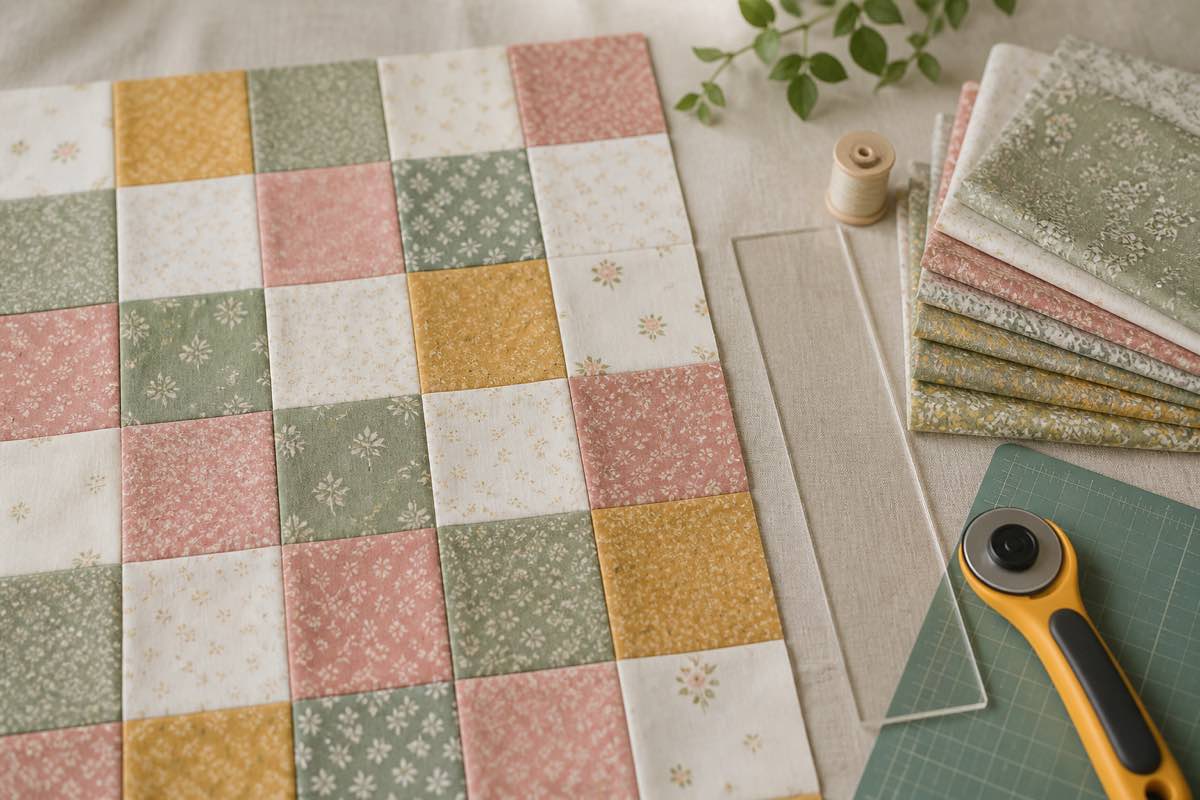
A quilt is simpler than it looks
A finished quilt looks like a feat of patience and precision — and the heirloom ones are. But your first quilt is genuinely approachable: at its core, it's squares of fabric sewn together, layered with a fluffy middle, and finished at the edges. If you can sew a straight line and cut accurately, you can make a quilt.
This guide walks the whole process start to finish. (Most of the site's other guides are garment-focused, so this one is for the quilters.) Start with a small project — a baby quilt, a lap quilt, or even a single large block as a cushion — to learn the steps without committing to a king-size marathon.
Step 1: Choose a simple pattern and fabric
For a first quilt, a simple patchwork of squares (or a "charm square" quilt) is ideal — no tricky angles, just a grid. You'll learn cutting, piecing, and finishing without fighting the design.
For fabric, quilting cotton is the standard: stable, easy to press, and sold in coordinated collections. You need three fabric components:
- The top — your patchwork fabrics.
- The backing — one fabric for the back (usually needs piecing; quilt backs are wider than standard 44-inch fabric).
- The binding — a fabric for the edges.
Plus batting — the fluffy middle layer. Pulling a cohesive palette is easier when you can see your fabrics together; if you catalog your quilting cottons in your digital fabric stash by color and print, you can plan a quilt from what you already own (and use up scrap fabric in the bargain).
Step 2: Cut accurately
Quilting lives and dies on accurate cutting. The standard toolkit is a rotary cutter, a self-healing cutting mat, and a clear quilting ruler. Cut your squares to the exact same size — precision here is what makes everything line up later. Pre-wash decisions matter too: some quilters pre-wash, some don't (for that crinkly finished look), but be consistent across all your fabric. (See pre-washing fabric.)
Step 3: Piece the quilt top (mind the quarter-inch)
Here's the single most important rule in quilting: use a consistent quarter-inch (0.25") seam allowance. Garment sewing uses 5/8"; quilting uses 1/4" — and because a quilt has dozens of seams, a tiny inconsistency multiplies into blocks that don't finish the right size and points that don't match.
- Sew squares into rows.
- Press seams (many quilters press to one side, alternating row to row so seams nest).
- Sew rows together, matching the seams.
Work in a logical order and your grid comes together square and flat.
Step 4: Make the quilt sandwich
The quilt sandwich is the three layers stacked:
1. Backing, wrong side up.
2. Batting in the middle.
3. Quilt top, right side up.
Smooth out every wrinkle and baste the layers together (with safety pins, spray baste, or thread) so nothing shifts while you quilt.
Step 5: Quilt the layers together
"Quilting" is the stitching that holds all three layers together. For a first quilt, keep it simple:
- Straight-line quilting — rows of straight stitches, often following the seams or a grid.
- Stitch in the ditch — quilting right along the seam lines so the stitches hide.
You can do this on a regular sewing machine with a walking foot (which feeds the thick layers evenly). Free-motion quilting is a later skill — don't feel you need it now.
Step 6: Bind the edges
Binding is the fabric strip that wraps and finishes the raw edges. Trim the sandwich square, then sew a long folded strip around the front, fold it to the back, and stitch it down (by machine or hand). It's the satisfying final step that turns "layers of fabric" into "a quilt."
Step 7: Plan the yardage — and log the make
Before you cut, work out how much fabric you need: count your blocks and their size, add backing (with piecing) and binding. The fabric yardage calculator and how to measure fabric yardage help you buy enough without overbuying.
Then track the whole thing in your project journal: the pattern, the fabrics and yardages used, the batting type, and finished photos. Quilts take a while, often span multiple sessions, and you'll want to make variations — a logged record of what you did (and what you'd change) is gold for your next one. Queue upcoming quilts in your project planner.
2. Catalog your quilting cottons by color and yardage.
3. Plan the quilt and calculate fabric from your block count.
4. Piece, sandwich, quilt, and bind — small size first.
5. Log the finished quilt with fabrics, batting, and photos.
Frequently asked questions
Is quilting hard for beginners?
No — a first quilt is mostly straight seams. Accurate cutting and a consistent quarter-inch seam matter most.
What are the basic steps?
Choose pattern + fabric, cut, piece the top, make the quilt sandwich, baste, quilt, then bind.
Why is the quarter-inch seam so important?
Quilts have dozens of seams, so small inconsistencies multiply. A consistent 1/4" keeps blocks the right size.
What is a quilt sandwich?
The three layers — quilt top, batting (middle), and backing — basted together before quilting.
How much fabric do I need?
A lap quilt is roughly 3–5 yards for the top plus backing and binding. Calculate from your block count.


