Cataloging Patterns Fast: A Step-by-Step Upload Wizard
Cataloging a pattern shouldn't take five minutes of typing. Here's the four-step flow that gets a full record — photos, sizes, yardage, notions — in under a minute.
Why most people never finish cataloging
The system isn't the problem — the per-item cost is. If adding a pattern takes four minutes of typing, a 200-pattern collection is a 13-hour project and it never happens. Get the cost under a minute and the backlog clears itself in a few evenings of TV.
A guided wizard does that by asking for one thing at a time, filling in what it can, and validating before you move on.
Step 1: Photos — front and back together
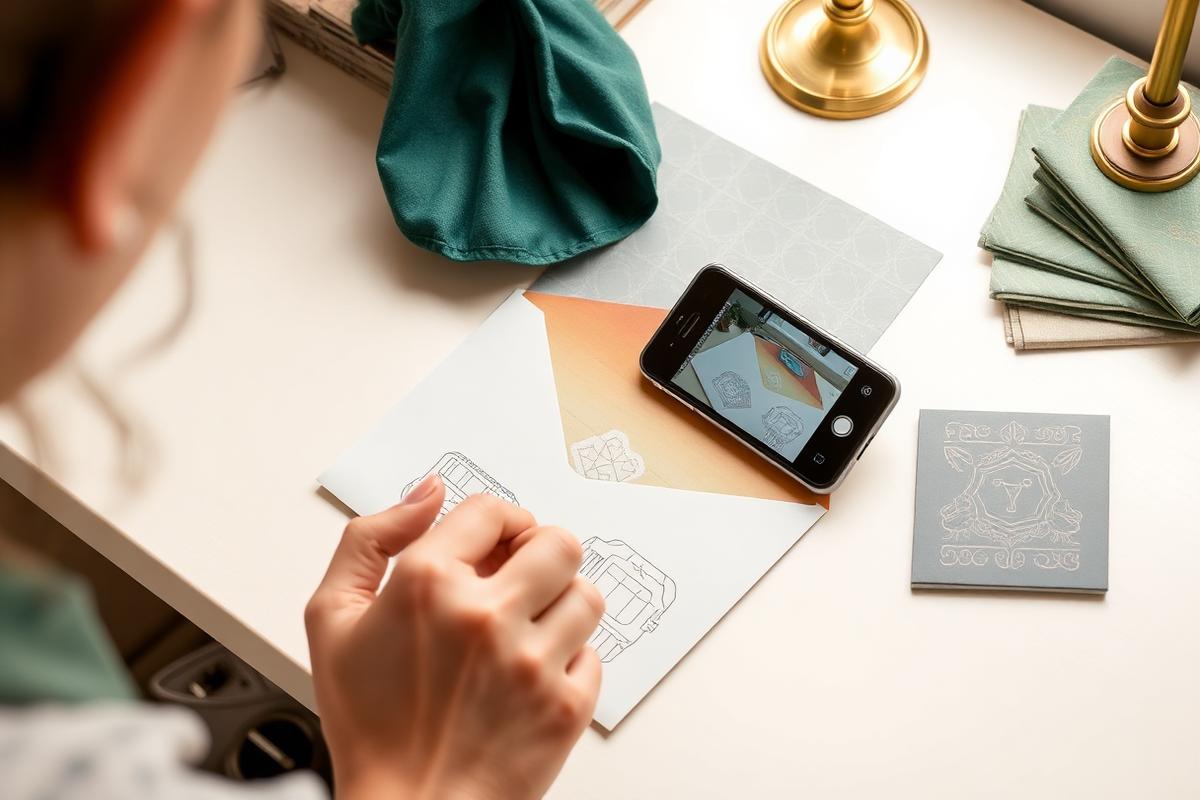
Shoot the envelope front and back in the same pass. The front gives you the brand, number, and cover art; the back gives you the details everyone leaves out:
- Size range and finished measurements
- Yardage by size and fabric width
- Notions required — zippers, buttons, interfacing, elastic
- Recommended fabrics
- Line drawings of each view
Sewist Studio's scanner takes up to six photos at once and reads them as a set, so the front and back become a single record rather than two half-records. Shoot flat, in even light, and fill the frame.
Step 2: Extraction — let AI type it
The scan proposes values for brand, pattern number, garment type, sizes included, era, views, yardage notes, notions, and recommended fabrics. You're now reviewing rather than transcribing, which is roughly a tenfold speed difference.
What to check every time:
- Pattern number — the most common misread, and the field that prevents duplicate buying
- Size range — make sure it's the printed range, not one view's range
- Brand spelling — must match your standard maker list so filters keep working
Step 3: Review with validation
Each step validates before it lets you continue, so you don't discover a missing required field after the fact. From the review screen you can jump back to any earlier step, and undo/redo means an accidental overwrite is one click to reverse.
This is also where you add the two things AI can't know: your tags (`next up`, `tnt`, `gift sewing`) and where the physical envelope lives.
Step 4: Fill the gaps from the web
Some envelopes are faded, incomplete, or missing their back entirely — vintage patterns especially. After saving, Sewist Studio offers a web lookup: it searches identifier-first (brand plus pattern number, or ISBN) so it finds your pattern rather than a lookalike, scores results against that identifier, and flags a wrong match instead of filling nonsense.
You get a review dialog listing each proposed field with its source. Gaps are pre-ticked, anything that would overwrite existing data is flagged, and every value is editable before it's applied. Sources are appended to the record's notes so you can trace where a detail came from.
Doing a whole backlog
For a big catch-up session:
1. Stack patterns in piles of ten and photograph fronts and backs in a run
2. Scan, review, and save each one without switching contexts
3. Skip web lookup on the first pass — do it later, in batch, only for records with gaps
4. Tag as you go; you'll never revisit them otherwise
The goal is a complete-enough record for every pattern, not a perfect record for a few. You can always enrich a record later once it exists.
What a complete record earns you
Once the collection is in, the everyday wins stack up: you stop buying duplicates, you can match fabric to a pattern by yardage from your phone in the shop, and you can filter by maker, era, size, and tag in a second.
Got a backlog to clear? Start free with Sewist Studio and catalog your first ten patterns tonight.


