See a Garment You Love? How to Identify the Pattern Pieces and Visualize It in Your Fabric
You don't need the exact pattern to recreate a garment you love — you need its pieces. Here's how to deconstruct a look into pattern components and preview it in your own fabric before you cut.
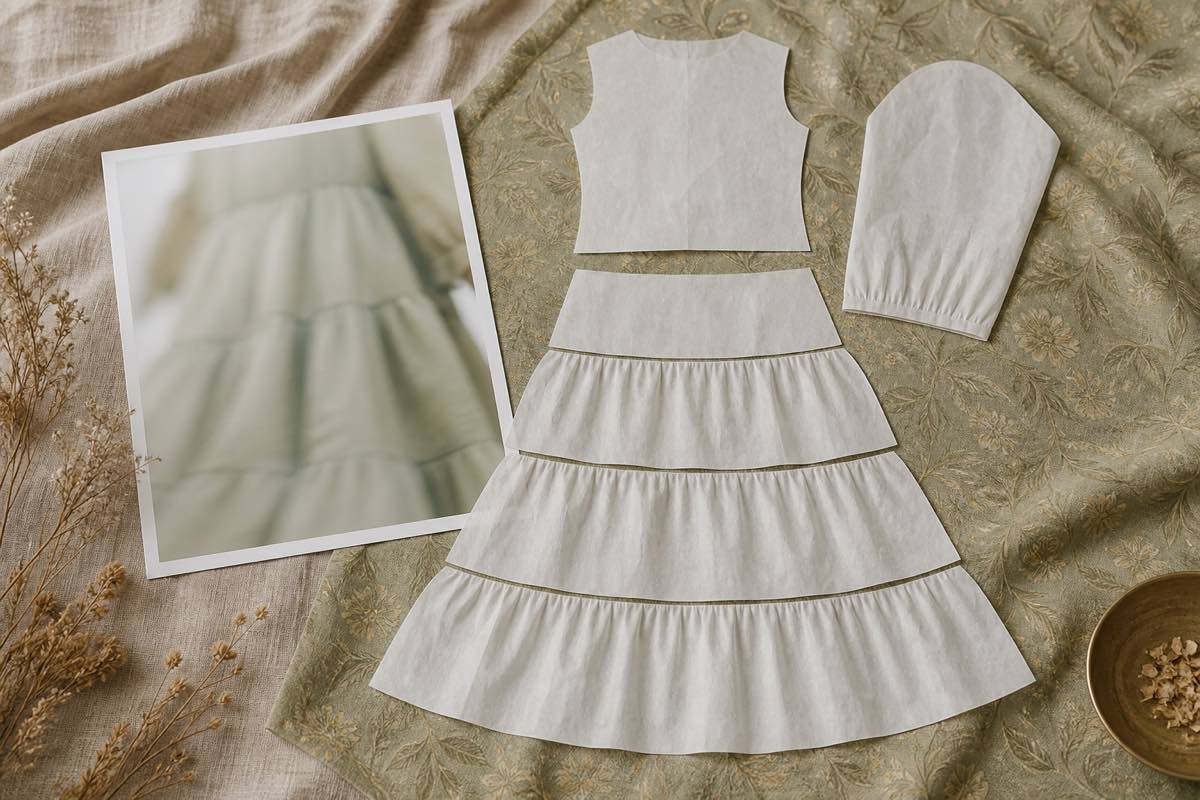
You don't need the exact pattern — you need the pieces
You see it and you want it: the tiered midi dress on Instagram, the gathered-sleeve blouse on a stranger, the perfectly cut trousers in a shop window. The instinct is to hunt for the exact pattern. But you rarely need it.
Almost every garment is a combination of common, recognizable pattern pieces — a particular neckline, a bodice shape, a sleeve style, a skirt or trouser silhouette, a closure. Once you can see a garment as its components instead of one inseparable object, you can recreate it from patterns you already own. This post walks through the three moves: deconstruct the look into pieces, match (or mash up) patterns to those pieces, and visualize the result in your own fabric before you cut.
(If you just want to find one single pattern that matches a photo, start with the AI pattern finder approach. This post is for when no single pattern is quite right and you want to build the look from parts.)
Step 1: Deconstruct the garment into design zones
Train your eye to break any garment into a handful of zones. Look at the inspiration photo and name what's happening in each:
- Neckline — V, scoop, crew, square, boat, cowl, collar style.
- Bodice / torso — fitted with darts, princess seams, boxy, wrap, empire, dropped waist.
- Sleeves — sleeveless, set-in, raglan, puff, bishop, flutter, bell, length.
- Skirt / bottom — A-line, gathered, tiered, pleated, pencil; or for trousers: wide-leg, tapered, paperbag waist.
- Closures & details — buttons, zip, ties, pockets, gathers, topstitching.
Write these down. "Square neck, fitted bodice with princess seams, short puff sleeve, gathered tiered skirt, back zip." That sentence is your build list — and it tells you exactly which pattern pieces you're hunting for.
If you'd rather not eyeball it, upload the photo to the Recreate-the-Look tool. It identifies the silhouette and components for you — up to 8 reference photos of the same garment give the strongest read — so you start with the zones already named.
Step 2: Match each piece to a pattern (or mash them up)
Now map each zone to a pattern. Two paths:
Path A — one pattern is close enough. Often a single pattern covers most of the look, and you tweak one element (swap a sleeve, lengthen a hem). Search your own library first. With your patterns catalogued in your pattern library — or via AI pattern search by description ("square neck puff sleeve fitted bodice") — you can find the closest base fast, and the Pattern Finder surfaces both owned and shoppable matches.
Path B — combine pieces from several patterns (a mashup). When no single pattern nails it, take the bodice from one, the sleeve from another, the skirt from a third. This is a pattern mashup (or "frankenpattern"), and it's the real secret to recreating almost any look. The key rules — match seam lines, keep the same size across pieces, true the joins — are covered in depth in pattern hacking 101: how to mash up sewing patterns. The mashup tool helps you combine components from patterns you own.
Either way, you've now turned "that dress I saw" into a concrete set of pattern pieces you can actually cut.
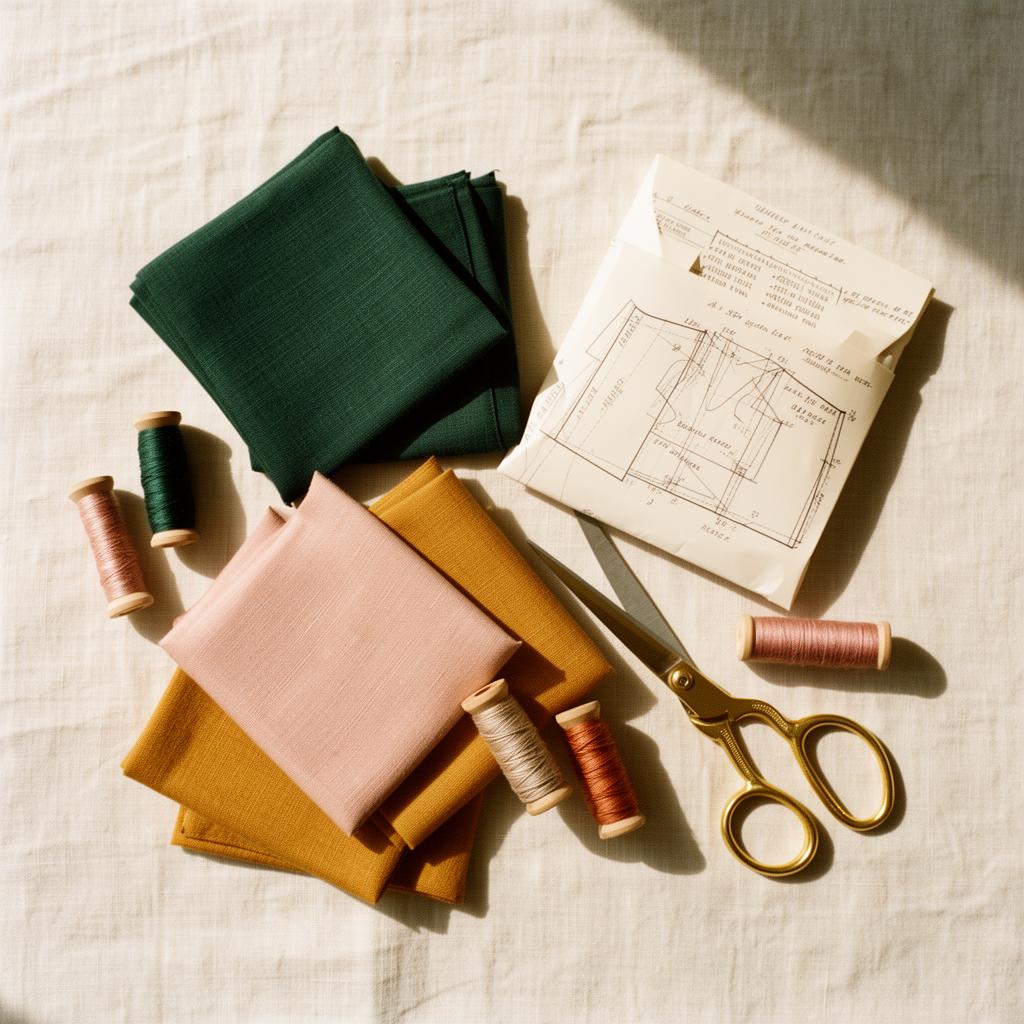
Step 3: Visualize it in the fabric you own
Here's the step most sewists skip — and the one that saves the most fabric. Before you cut, see the design in your actual fabric.
A garment is not just a shape; it's a shape in a specific cloth. The same tiered dress is romantic in a drapey floral rayon, crisp and structured in a cotton poplin, and completely wrong in a heavy denim. And print scale can make or break it: a big bold floral that's gorgeous on the skirt panels can swallow a fitted bodice or vanish into narrow sleeves.
The visualizer previews your recreated look rendered in fabric from your own stash, so you can judge three things before cutting:
- Color — does this fabric's color suit the silhouette and suit you?
- Print scale and placement — will the motif overwhelm small pieces or get lost?
- Drape — does the design need flow (gathers, tiers) or structure (a fitted bodice)? Match the fabric's hand to the design.
Pair this with fabric-to-pattern matching and AI fabric pairings, which suggest stash fabrics that suit the pieces you've chosen. Catching a fabric-design mismatch on screen costs nothing; catching it after you've cut costs the fabric.
Step 4: Confirm yardage, then make it
Once the pieces and fabric are settled, check you actually have enough fabric. Use the fabric yardage calculator to estimate, then compare against the yardage recorded in your digital fabric stash. If you're short, you'll know before you start — not halfway through cutting.
Then log the project in your project journal: the inspiration photo, the patterns and pieces you combined, the fabric you chose, and a finished photo. Next time you want to recreate something similar, your own record is the best reference you have.
The whole workflow, end to end
2. Deconstruct the look into zones — or upload a photo to Recreate-the-Look to name them automatically.
3. Match each piece to a pattern you own, or mash up pieces from several.
4. Visualize the design in your stash fabric to check color, print scale, and drape.
5. Confirm yardage, then sew — and log the make with the inspiration photo and the pieces you used.
Recreating a garment you love isn't about luck or finding the one perfect pattern. It's a repeatable process: see the pieces, assemble them, preview the cloth, cut with confidence.
Frequently asked questions
How do I figure out which pattern pieces make up a garment?
Break it into zones — neckline, bodice, sleeves, skirt/trousers, closures. Each zone maps to pattern pieces.
Can I recreate a garment without the exact pattern?
Yes — combine pieces from patterns you own (a mashup). One pattern's bodice, another's sleeve, a third's skirt.
How do I see the garment in my fabric before cutting?
Use a visualizer that renders the design in your chosen fabric so you can judge color, print scale, and drape.
Does print scale matter?
Very much — a large print can overwhelm a fitted bodice or get lost in sleeves. Visualize before cutting.
How does Sewist Studio help?
Recreate-the-Look identifies components, the Pattern Finder matches patterns, the mashup tools combine pieces, and the visualizer previews the look in your stash fabric.


