How to Try On a Sewing Project Using Your Own Photo
How to see a planned make on you, not a dress form, with photo tips that improve the result and a plain account of how your photo is stored.
Virtual try-on for sewing shows a garment you have not made yet on a photo of you. Instead of guessing how a wrap dress in rust viscose will look from an envelope illustration, you see it on your own shape, coloring and posture.
In Sewist Studio, a browser-based app for your patterns and fabric stash, this is the "Your photo" option in the Visualizer (labeled "On you"). This guide explains what it does, how to take a photo that gives good results, and how your photo is stored.
What is virtual try-on for sewing?
It is a preview that dresses a photo of you in a planned garment, using the pattern you chose and the fabric you own. The garment is put on you, keeping your face, hair and body, rather than shown on a dress form or a stock model.
That matters because the envelope model is not you. The same pattern can look very different depending on height, proportions and coloring, and a fabric that looks lovely on the bolt can wash out a particular skin tone. A try-on gives you a more personal first look.
How does "Your photo" work in the Visualizer?
You pick a pattern and a fabric from your stash, add a photo of yourself, choose a style and quality, and render. You get one image of the finished garment on you.
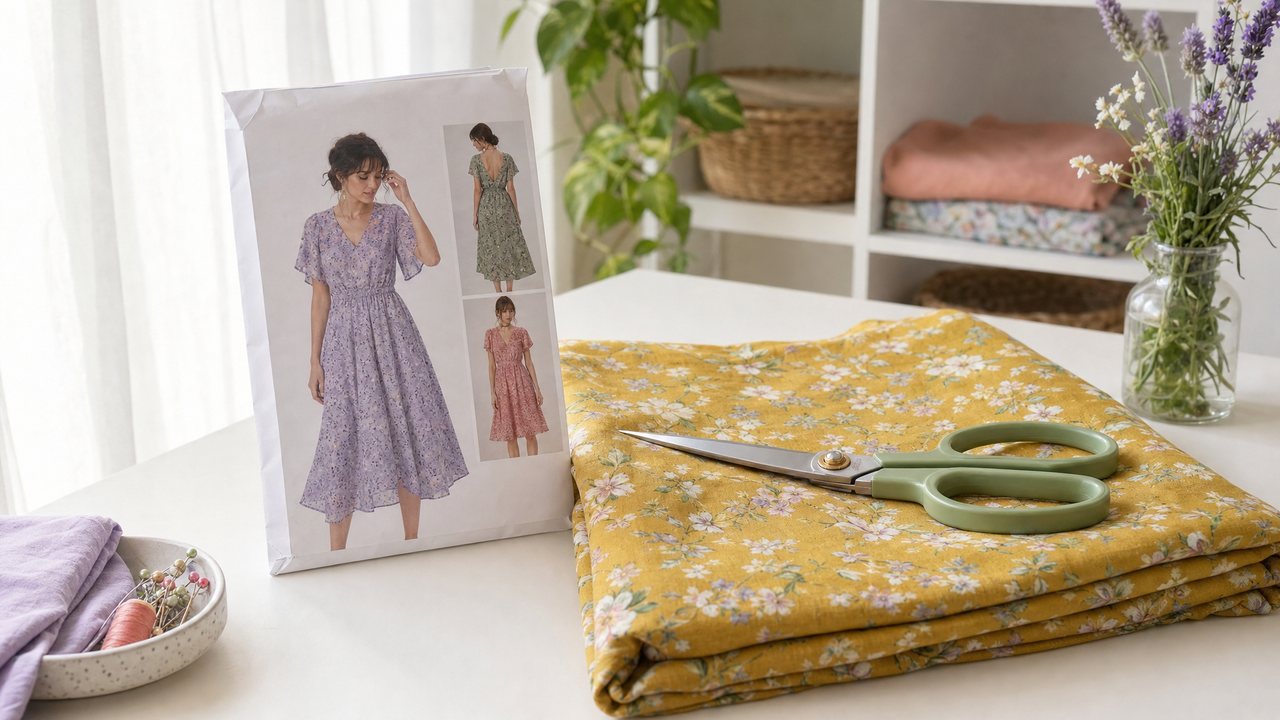
The pattern envelope photo, any clipped pattern pieces and your fabric photo go in as reference images along with your photo. The print is kept at true scale using the print type, bolt width and repeat saved on the fabric. If you are new to the Visualizer itself, start with how to see fabric on a sewing pattern before cutting.
You can also use your photo in Cut Line Studio when you are planning a color-blocked garment, which is covered in the color block sewing planner guide.
How do I take a photo that works well?
Take a full-length, straight-on photo in even light, wearing fitted, plain clothing, against an uncluttered background. The clearer the reference, the less the model has to guess.
Use this checklist before you upload:
- Full length if the garment is long. For a maxi skirt or trousers, include your feet. For a cropped top, waist up can be enough.
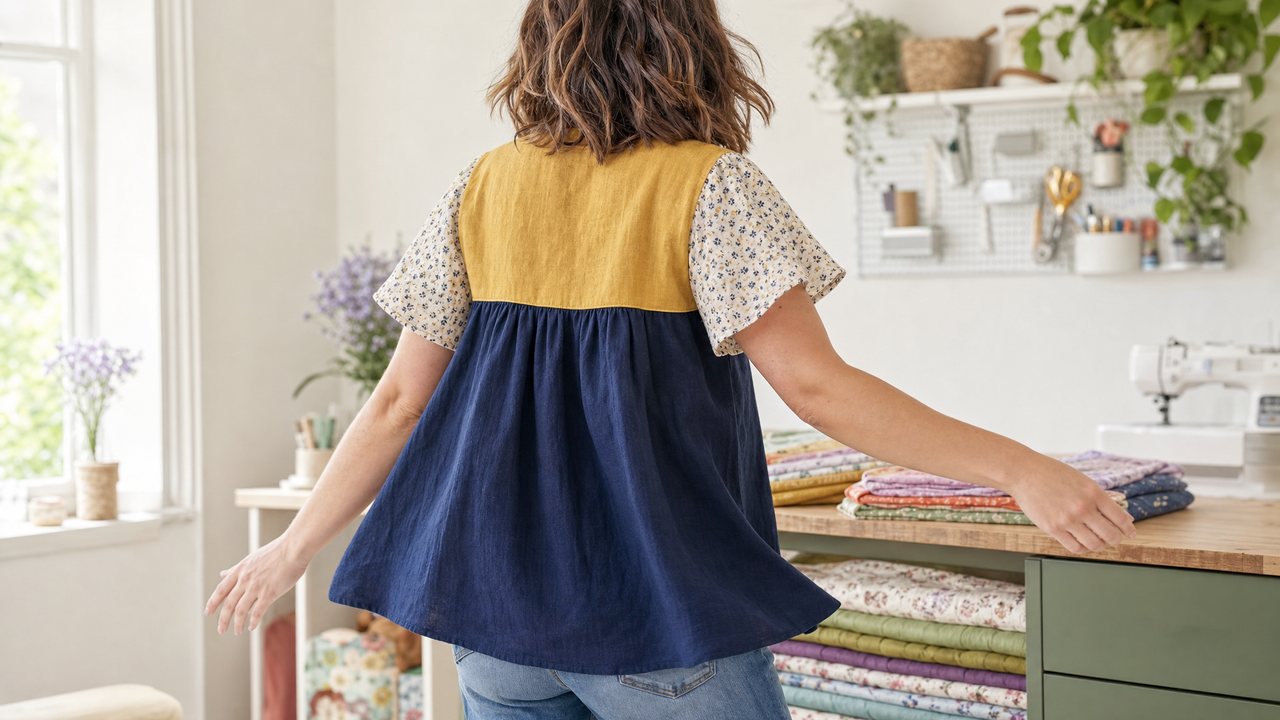
- Facing the camera, arms slightly away from your body. Crossed arms or a hand on the hip hide the side seams and waistline.
- Fitted, plain clothes. A tee and leggings give a clear outline. A bulky hoodie hides the shape the garment needs to follow.
- Soft, even light. Window light from the front or side works well. Strong backlight turns you into a silhouette.
- A plain background. A blank wall beats a busy bookshelf.
- Camera at about chest height. Shooting from below or above distorts proportions.
- Under 5MB. Reference photos are capped at 5MB each. Most phone photos fit, and you can export at a smaller size if not.
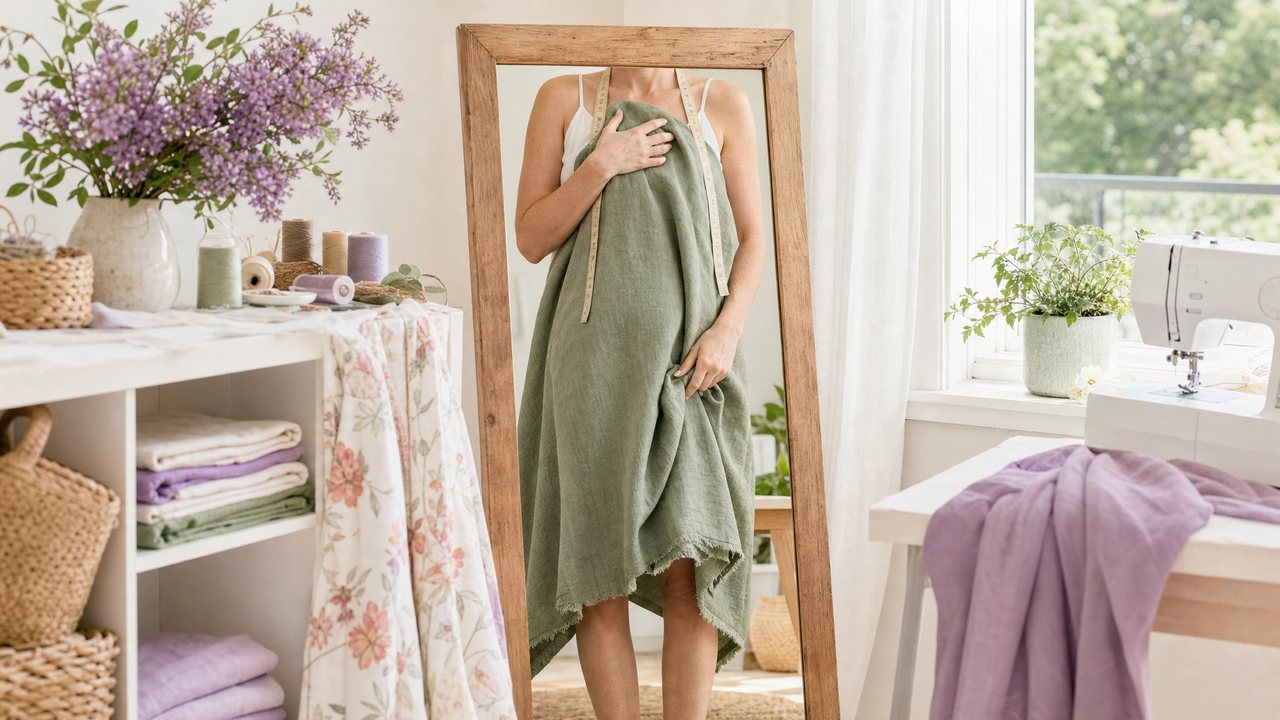
A timer or a friend holding the phone makes a big difference. A mirror selfie works, but the phone often covers part of your torso.
What is the try-on good for, and what is it not?
It is good for judging color, print scale and proportion on your body. It is not a fit test and cannot replace a muslin.
Good uses:
- Color next to your face. See whether that chartreuse cotton poplin brightens you or drains you.
- Print scale on your frame. A bold print can read differently on a petite frame than on a tall one.
- Proportion and length. Compare a midi hem to a maxi, or a cropped jacket to a hip-length one, on your actual body.
- Deciding between fabrics. Render the same pattern in two stash fabrics and compare side by side.
What it cannot do: it will not show that a bust dart needs moving, that the shoulders are too wide, or that a back needs a swayback adjustment. The image is an AI rendering, not a simulation of the pattern pieces on your measurements. Make a muslin for fit, and use the try-on for looks.
Can I see it move?
Yes. "Make it move" turns your try-on still into a 5-second vertical video made with Runway Gen-4.5, turning you so you can see the garment from more than one angle. It takes about 2 minutes and counts as one render. Details are in AI video previews for handmade garments.
If you would rather start from real footage of yourself, Cut Line Studio's "Try it on in motion" dresses you in a planned look inside a short phone clip. That is a different tool with different strengths, explained in how to try on a sewing project in motion.
Is my photo private?
Your photos and renders are kept in private storage and returned to you as signed links that expire after 24 hours.
Because the links expire, save any try-on image you want to keep to your own device. If you want a second opinion from a friend, send them the saved image rather than the link.
Do I need Pro?
Yes. The Visualizer, including "Your photo," is a Pro feature. Pro is $4.99/month or $47.88/year, with a 14-day free trial, and includes 3 renders a month across all render features. After that, each render costs 3 purchased credits, refunded if a render fails.
Try it
Pick a pattern you have been unsure about and a fabric you love. Take one good photo using the checklist above, then try the garment on your own photo in the Visualizer. New here? Create a free account and see the complete guide to AI sewing tools. If you are still building your stash records, the digital sewing room complete guide shows how the pieces fit together.