How to Plan a Color-Block Garment From Your Fabric Stash
A practical way to plan color blocking with fabric you already own, including the fabric rules that make panels work together.
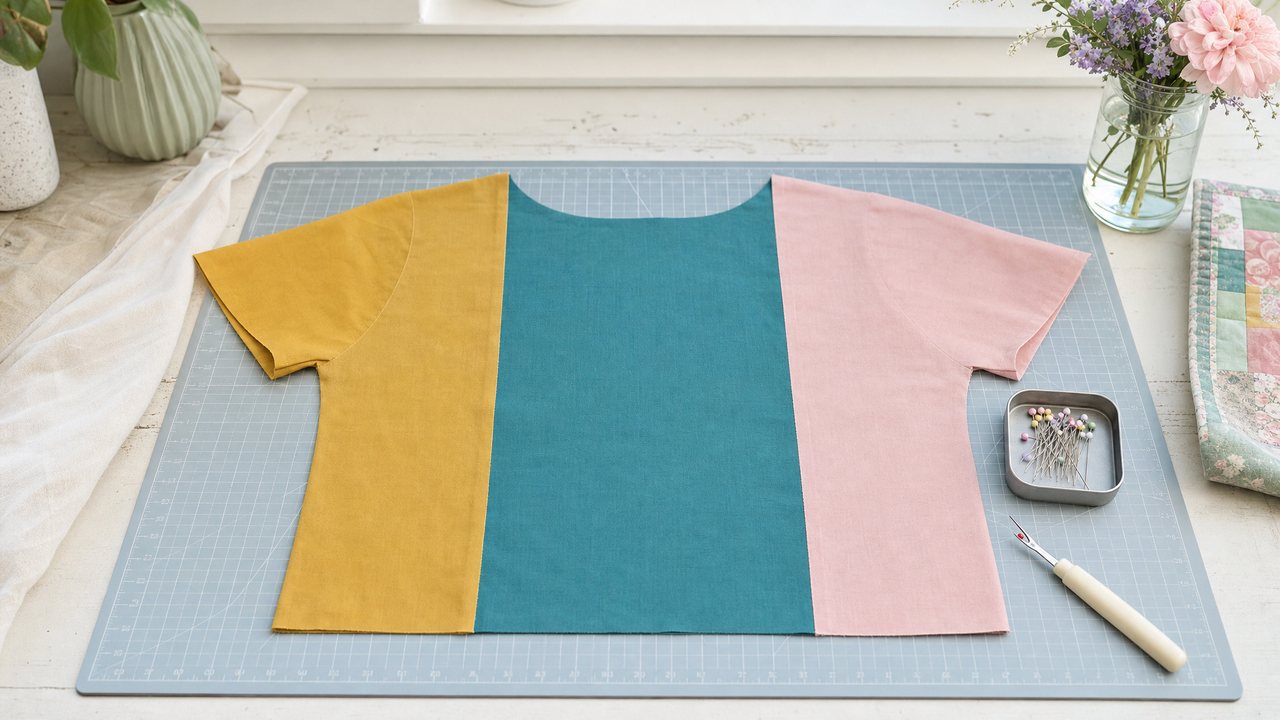
Planning a color-block garment means dividing a pattern into panels and choosing a fabric for each one, then checking that the fabrics work together before you cut. The hard part is imagining the combination: three fabrics that look good stacked on a shelf can look odd once they sit next to each other on a body.
Cut Line Studio, in Sewist Studio (a browser-based app for your patterns and fabric stash), lets you lay out that combination with your real fabrics first. This guide covers how it works and the fabric rules that make color blocking succeed.
What is color blocking in sewing?
Color blocking is building a garment from distinct panels of different fabrics or colors, joined at the seams. A tee with a contrast yoke, a dress with a different skirt and bodice, or a shirt with mismatched sleeves are all color blocking.
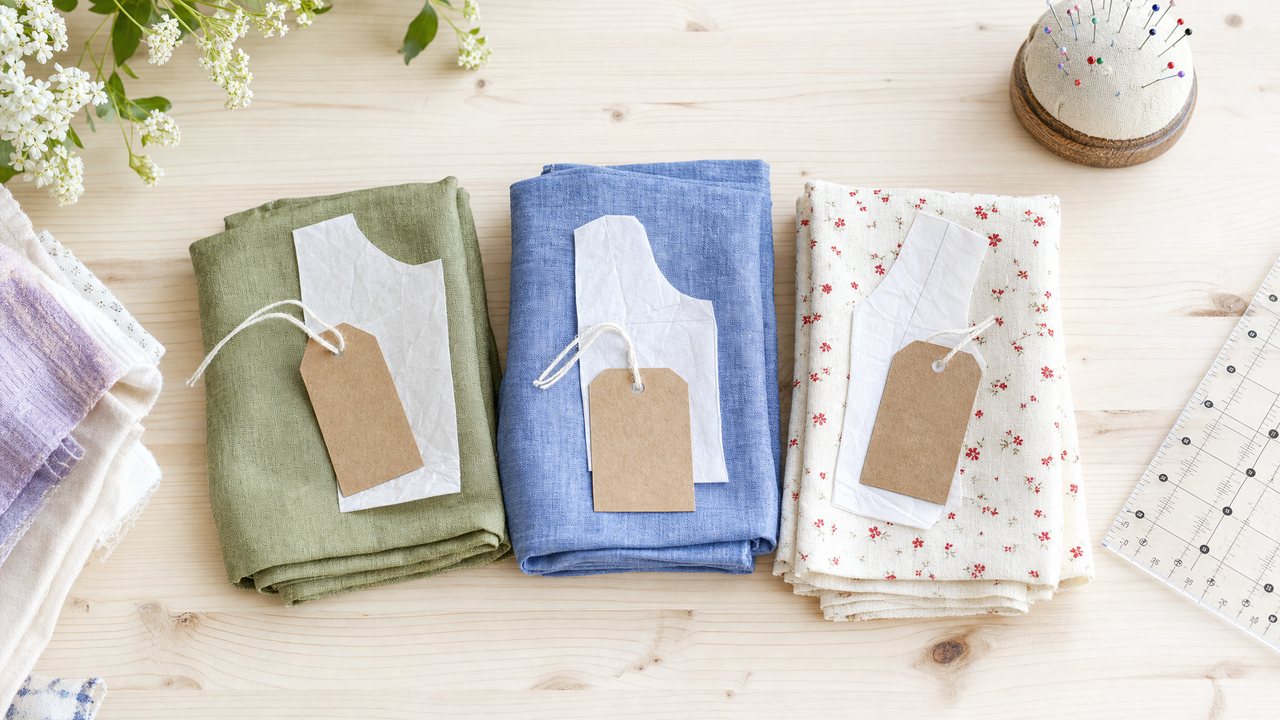
It is also one of the best ways to use a stash. A half yard of linen that is too small for a whole top can be a yoke, a pocket band or a pair of sleeves. If you have a pile of remnants, see what to sew with your fabric stash for more ideas.
What can I plan in Cut Line Studio?
You can color-block six garment types: a blouse, dress, tee, shirt, shorts or skirt. Each is divided into panels, and you assign a fabric from your stash to each panel.
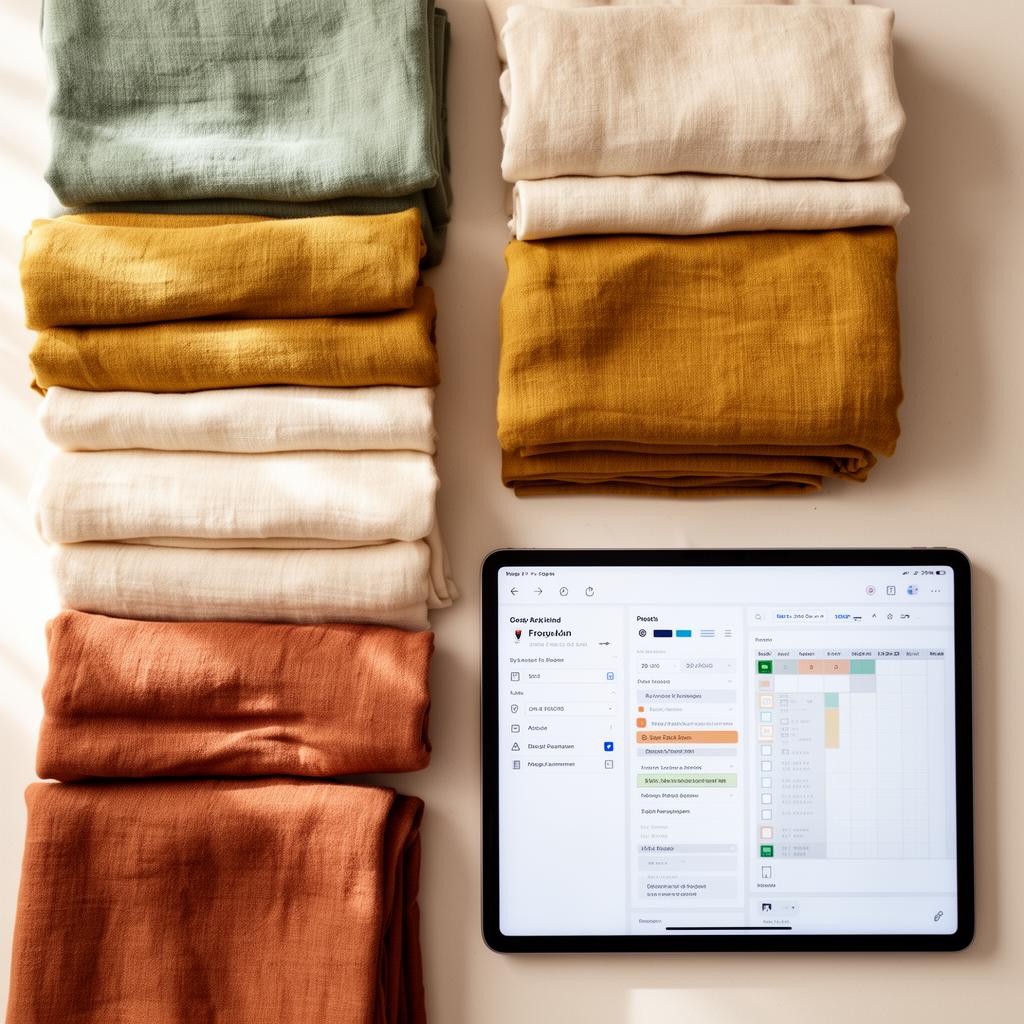
Panels are painted with the actual fabric photo, not a flat color. That means a navy gingham panel shows the gingham, and a floral shows the floral, so you see the real combination instead of three color chips.
Cut Line Studio is also available inside the Project Builder, so you can plan a look as part of a project.
How do I plan a color-block look step by step?
Choose the garment, assign fabrics panel by panel, adjust with typed commands, then render and share. Most of the thinking happens in step two.
1. Pick a garment type. Choose blouse, dress, tee, shirt, shorts or skirt.
2. Assign a stash fabric to each panel. Start with the largest panel, since it sets the tone, then work out to the smaller ones.
3. Edit with typed commands. Type a change, such as switching one panel's fabric, instead of clicking through menus.
4. Render the look. The render uses one reference per fabric and keeps each print at true scale.
5. Add "Your photo" if you want it on you. The look is rendered on a photo of you.
6. Share it by link. Send the look to a friend or sewing group for a second opinion.
For the print scale to be right, each fabric needs its print type, bolt width and print repeat filled in. The reasoning is in how to see fabric on a sewing pattern before cutting.
Which fabrics work together in a color-block garment?
Fabrics work together when they have a similar weight, stretch and care, and when there is a clear contrast in color or value. The look is about color; the wearability is about matching behavior.
Use this checklist for each pairing:
- Similar weight. A cotton poplin yoke on a cotton lawn body works. A denim panel on a rayon challis body will pull and hang badly.
- Same stretch. Knit with knit, woven with woven. Joining a stretchy jersey to a stable woven at a seam needs extra care and often puckers.
- Compatible care. If one panel shrinks in the wash and the next does not, the seam will ripple. Pre-wash every fabric the same way before cutting.
- Clear value contrast. Put a light next to a medium or dark. Two mid-tones of similar brightness can look muddy from across a room.
- One busy print, at most two. A print beside solids reads as intentional. Three busy prints beside each other tend to fight.
- Colorfast check. A deep red next to white is risky if the red bleeds. Test with a damp white cloth.
Then think about placement. A bold color draws the eye, so put it where you want attention: a yoke frames the face, a contrast waistband marks the waist, and contrasting side panels can visually narrow a silhouette.
How much fabric do I need for each panel?
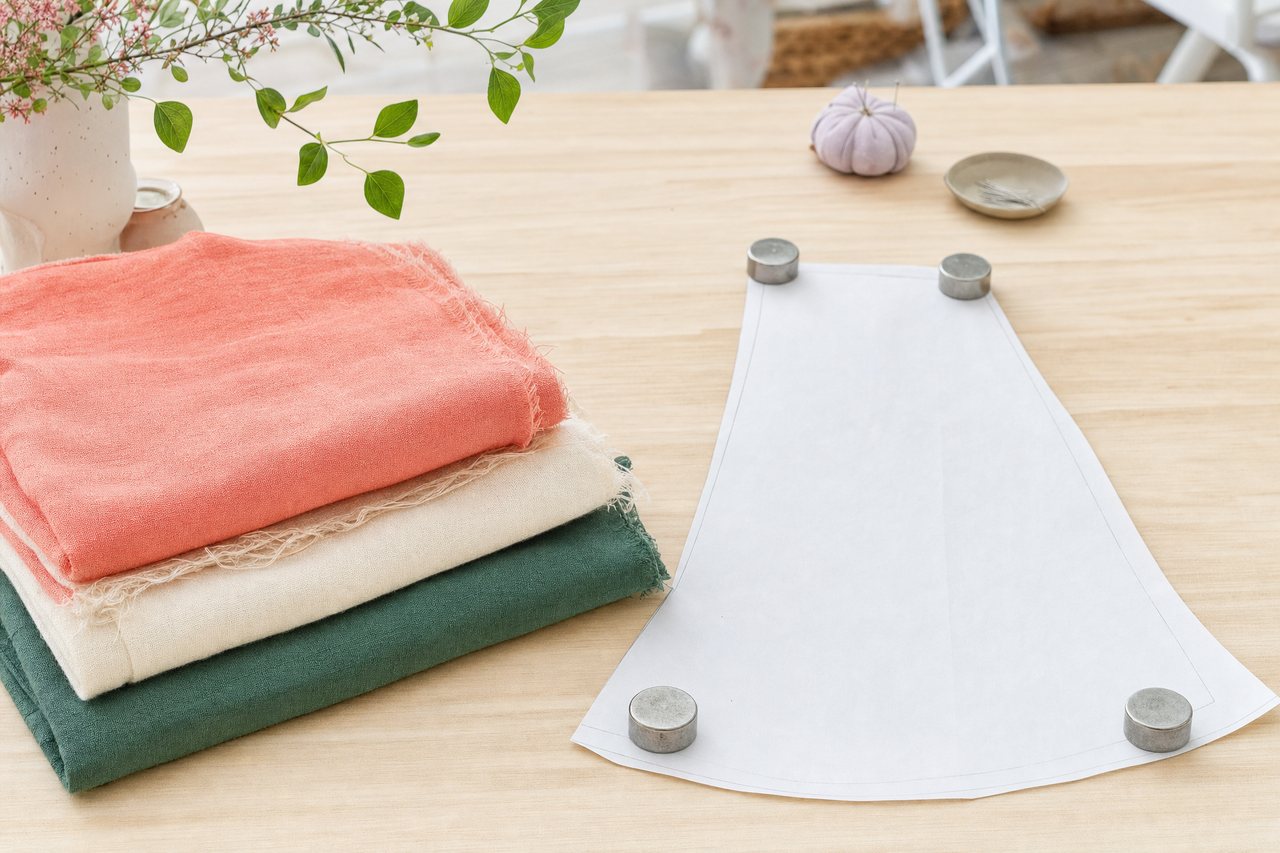
Less than for a whole garment, which is the point. Lay out the pattern pieces for each panel on your fabric and measure what they actually take, rather than using the envelope's single-fabric yardage.
A yoke or pair of short sleeves often fits on a remnant. A full skirt panel needs much more. When in doubt, measure the remnant flat and compare it to the piece, and see how to measure fabric yardage for a quick method.
Can I see the look on me, or moving?
Yes, both. Add "Your photo" to render the look on you; tips for that photo are in virtual try-on for sewing projects.
For motion, use "Try it on in motion." Film about 5 seconds of yourself moving, in whatever you are wearing (clips up to 60MB), and Runway Aleph dresses you in the planned look while keeping your real room and your real motion. That is covered in how to try on a sewing project in motion.
Once the panels are set, choosing thread is the last decision. A matching thread per panel, or one neutral, are both reasonable; see what color thread to use for your fabric.
What does it cost, and what are the limits?
Cut Line Studio needs you to sign in. Renders and motion try-ons are Pro, which is $4.99/month or $47.88/year with a 14-day free trial and includes 3 renders a month across all render features. After that, each render costs 3 purchased credits, refunded if a render fails.
Limits, plainly:
- Six garment types only: blouse, dress, tee, shirt, shorts and skirt.
- The canvas shows how fabrics look together, not how they behave together. Weight, stretch and shrinkage still need the checklist above.
- Reference photos are capped at 5MB each, and renders are returned as signed links that expire after 24 hours, so save the ones you want.
Try it
Pull three fabrics from your shelf that you would never have thought to combine, and one you would. Plan a color-block look with your stash in Cut Line Studio, or create a free account to start. For every other AI tool and when to use it, see the complete guide to AI sewing tools.