How to See Your Fabric on a Sewing Pattern Before Cutting
A step by step guide to previewing a stash fabric on a pattern before you cut, with the settings that matter and the limits stated plainly.
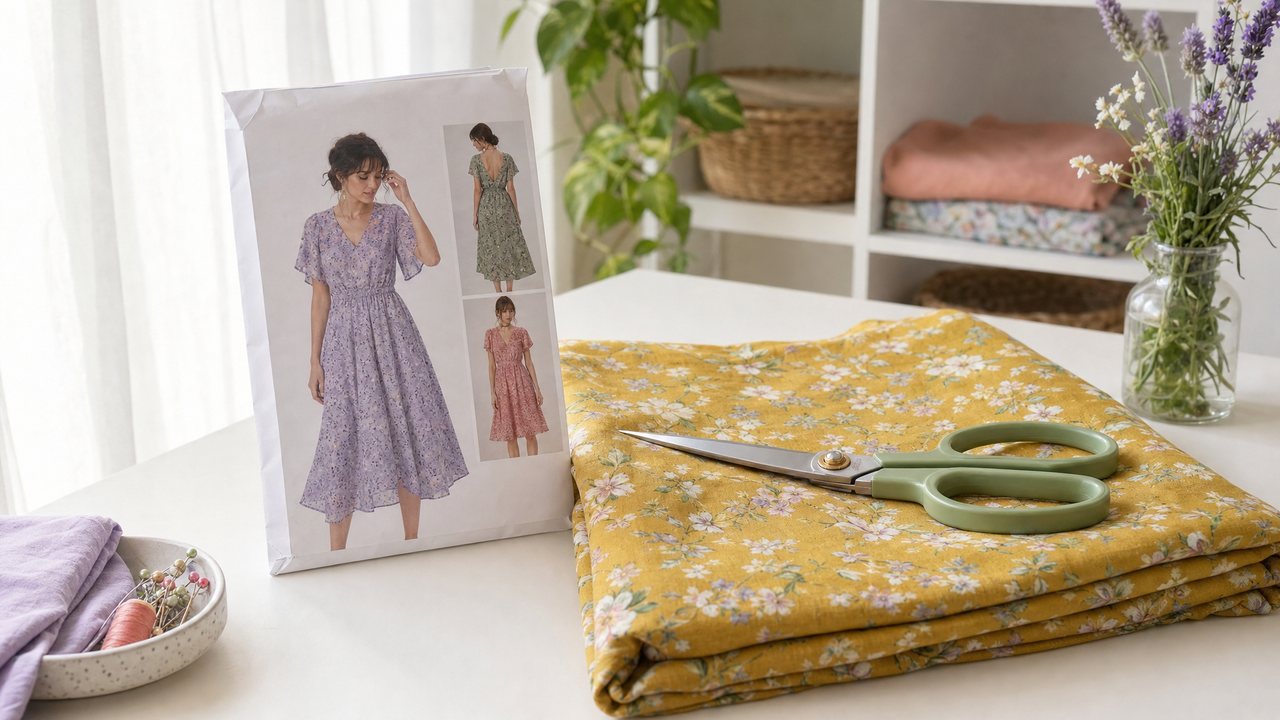
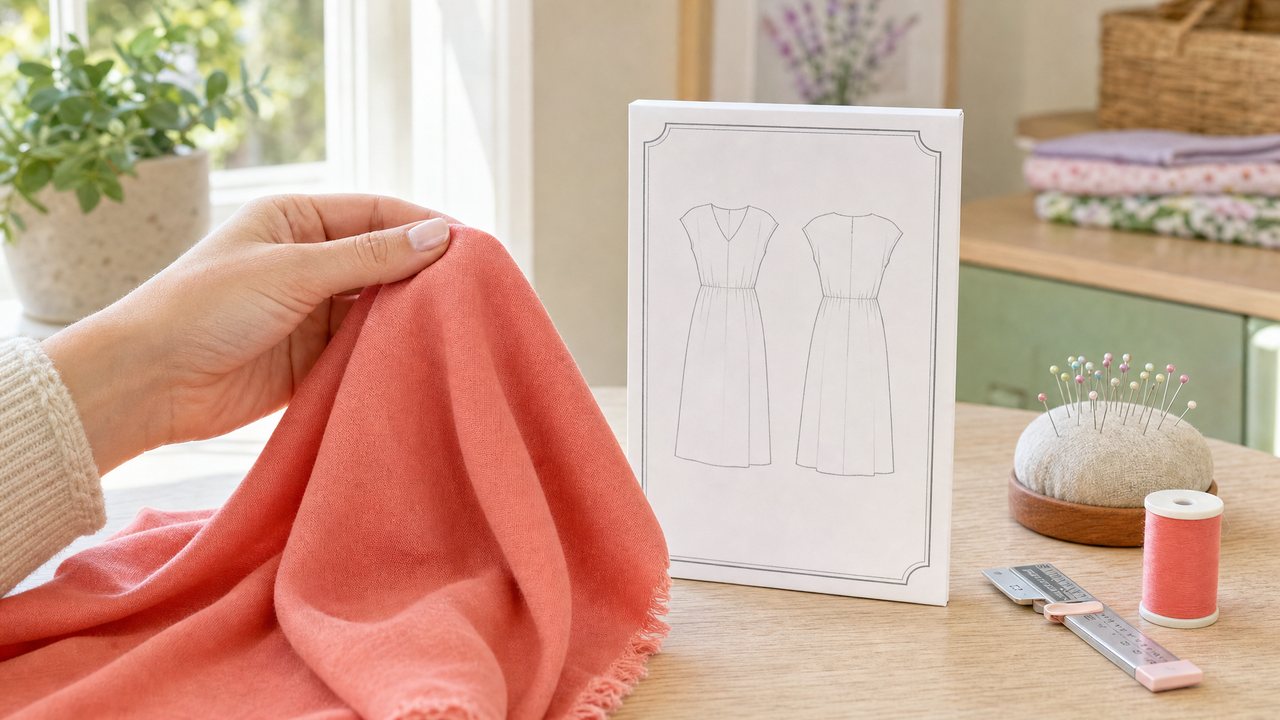
You can see your fabric on a sewing pattern before cutting by giving an AI preview two real photos: the pattern's envelope and your fabric. The preview then draws the finished garment in that fabric, so you can judge color, print scale and overall feel before the shears come out.
This guide walks through doing that with the Visualizer in Sewist Studio, a browser-based app for your patterns and fabric stash. It covers the settings that matter, what you get back, and where a preview still cannot replace a scrap test.
Why preview fabric on a pattern at all?
Because the most expensive sewing mistakes happen at the cutting table. A preview catches the ones you can see: a print that is too busy for a bodice with princess seams, a color that disappears in gathers, a stripe that fights a bias-cut skirt.
Consider a few classic mismatches:
- A large-scale tropical print on a fitted shirt with a yoke, collar and button band. Every seam chops the motif.
- A dark solid on a pattern whose charm is pintucks or topstitching. The details vanish.
- A ditsy floral on a dramatic wide-leg trouser, which can read as pajamas.
None of these are wrong in every case, which is the point. You want to look before you commit 2 or 3 yards. For the broader rules about which fabrics suit which patterns, see matching fabric to a sewing pattern.
How does the Visualizer work?
You pick one pattern and one fabric from your stash, choose a style and a quality level, and it returns one image of the finished garment. Your envelope photo, any clipped pattern pieces and your fabric photo go in as reference images, so the result is built from your actual items.
That reference-first approach is the difference between a preview of your fabric and a generic picture of "a floral dress." The longer explanation is in why AI sewing images look fake.
How do I preview my fabric step by step?
It takes five steps, and the first two are the ones that decide how good the result is.
1. Add the pattern with a clear envelope photo. A straight-on, well-lit photo of the front of the envelope gives the model the silhouette and details to follow.
2. Add the fabric with a flat, even photo. Lay it flat in daylight, fill the frame, and avoid folds and shadows. Fill in its print type, bolt width and print repeat if you know them.
3. Open the Visualizer and pick the pattern and fabric. Both come from your stash, so there is nothing to upload again.
4. Choose a style and a quality level. Photo, Flat or Sketch, and Best or Fast (more on both below).
5. Render and review. You get one image. Look at it with specific questions in mind: does the print land well on the main pieces, and does the color still read in the details?
Reference photos can be up to 5MB each, which is plenty for a sharp phone photo.
Photo, Flat or Sketch: which style should I pick?
Pick Photo to judge how the fabric will look in real life, Flat to judge how the print sits across the pattern's shapes, and Sketch to explore an idea loosely. Each answers a different question.
| Style | What it looks like | Best for |
|---|---|---|
| Photo | A realistic image of the garment | Color, print scale and overall effect |
| Flat | A flat, technical-style view of the garment | Seam lines and print placement across pieces |
| Sketch | A drawn fashion-style illustration | Early ideas and comparing options quickly |
If you are deciding between two fabrics for the same pattern, render both in the same style so you are comparing like with like.
Best or Fast: which quality setting?
Use Fast when you are comparing several fabrics and just need a quick read, and Best when you have narrowed it down and want the most faithful image.
A simple routine: run two or three candidate fabrics on Fast, drop the obvious misses, then render the finalist on Best before you cut.
How do I get the print scale right?
Fill in three fields on the fabric in your stash: print type, bolt width and print repeat. The Visualizer uses them to keep the print at true scale on the garment.
Without that information, an AI model has to guess how big a motif is from a cropped photo, and guesses tend to drift larger. With it, a half-inch ditsy floral stays a half-inch ditsy floral. Measuring the repeat takes a minute with a ruler: find one motif, then measure to the point where the same motif starts again. If you need a refresher on measuring cuts and widths, see how to measure fabric yardage.
Can I see the garment on me instead of a dress form?
Yes. Add a photo in "Your photo" (also called "On you") and the garment is put on you, keeping your face, hair and body. Tips for a photo that works well are in virtual try-on for sewing projects.
You can also turn the still into a 5-second vertical video with "Make it move," which is useful for judging how a skirt swings. That is covered in AI video previews for handmade garments.
What can a preview not tell me?
A preview shows how a fabric looks, not how it behaves. It cannot tell you whether a rayon challis will grow on the bias, whether a linen will wrinkle by lunch, or whether a cotton lawn is too sheer without a lining.
So keep doing the physical checks: drape the fabric over your shoulder in a mirror, wash and press a scrap, and test your needle and stitch. Use the preview to narrow the choice, then let the scrap make the final call.
If you have only ever tried this in a general chatbot, ChatGPT vs Sewist Studio for fabric previews compares the two honestly, including when the free option is enough.
What does it cost?
The Visualizer is a Pro feature. Pro is $4.99/month or $47.88/year with a 14-day free trial, and it includes 3 renders a month across all render features. After that, each render costs 3 purchased credits, refunded if a render fails.
Renders and photos are kept in private storage and returned as signed links that expire after 24 hours, so save any preview you want to keep.
Try it
Pick the fabric you have been hesitating to cut and the pattern you have in mind for it. Preview that fabric on your pattern in the Visualizer, or start a free account first. For every other AI tool and when to use it, see the complete guide to AI sewing tools.