Why AI Sewing Images Look Fake and How to Fix Them
Most AI garment previews pass your fabric through a sentence before drawing it, and that sentence is where your actual fabric disappears.
AI sewing images often look fake for a simple reason: the tool never really sees your fabric or your pattern. It reads a description of them, writes a prompt, and draws a garment that matches the words. Your actual print, your actual neckline and your actual seam lines get dropped along the way.
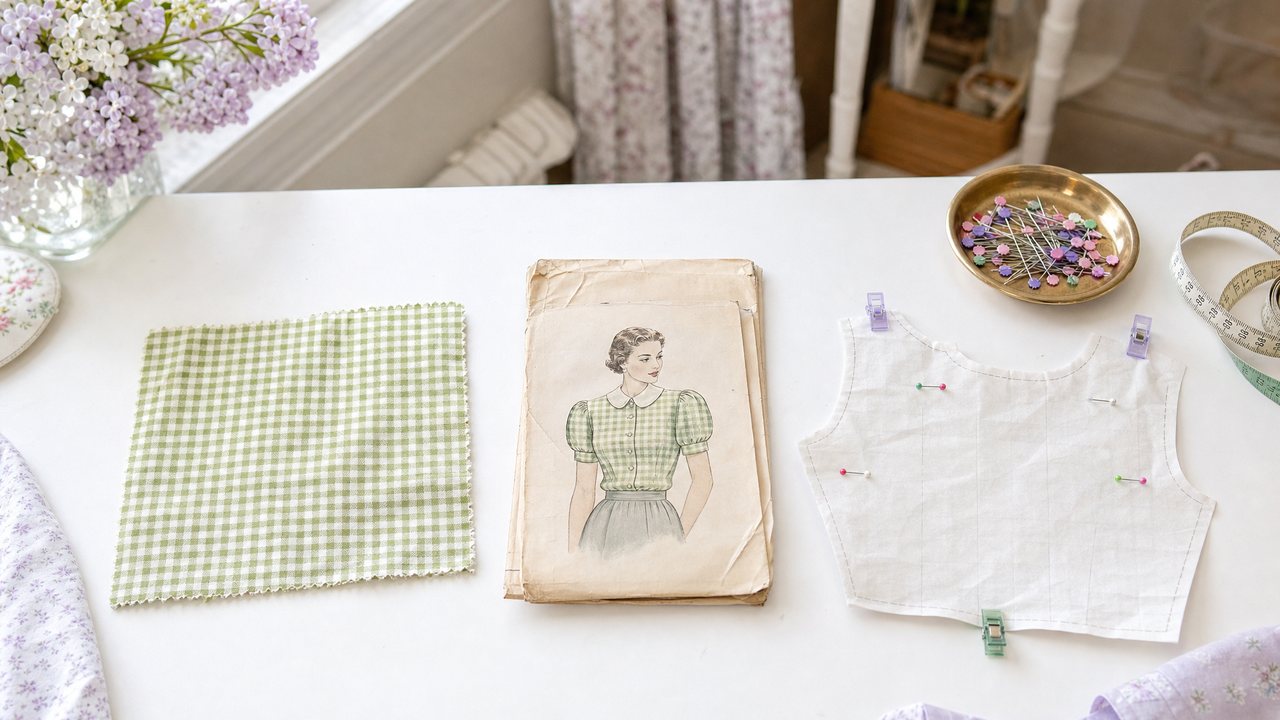
The fix is called reference-first generation. Instead of describing your fabric in a sentence, the tool hands the image model your real photos (the pattern envelope, the clipped pattern pieces, the fabric) and uses text only to say how they fit together. This post explains why the first approach fails, how the second one works, and what it still cannot do.
Why do AI sewing images look generic?
They look generic because the details travel through two lossy steps before any drawing happens. First your item details become prose. Then the prose becomes an image.
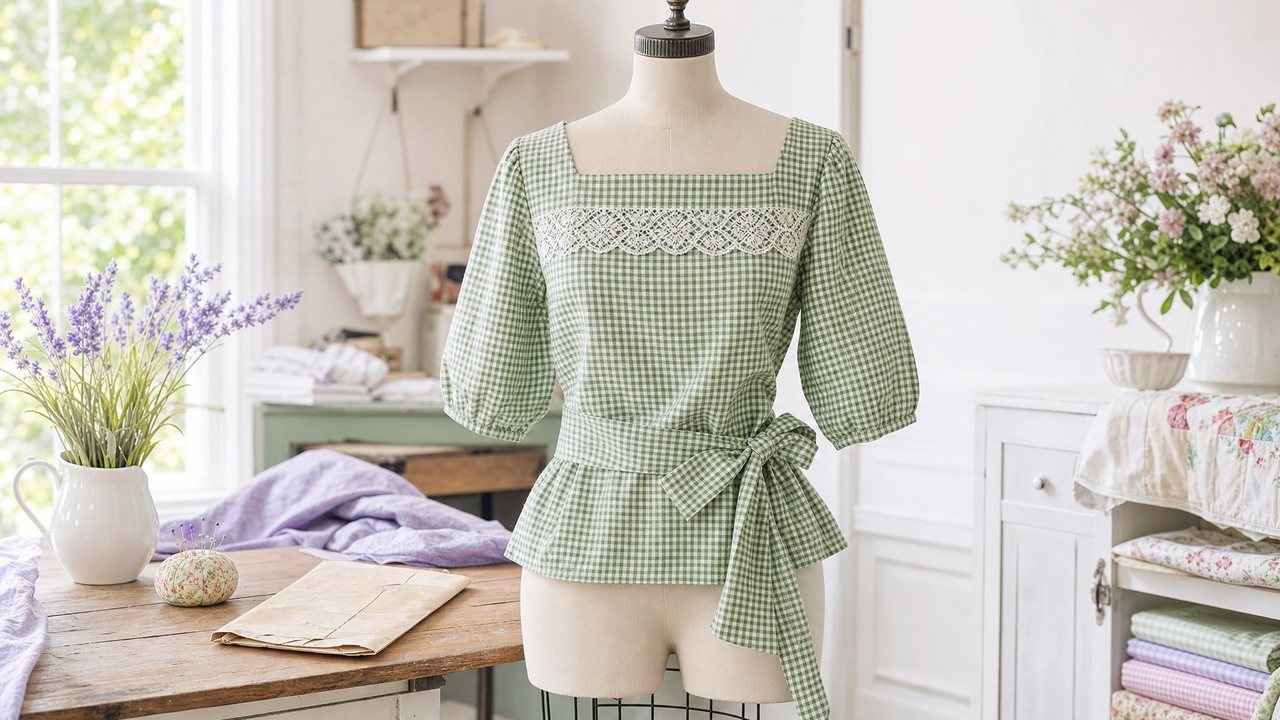
Here is how that usually goes. Your stash record says something like: cotton gingham, green and white, 45 inches wide, quarter-inch check. Your pattern is a vintage blouse with a square neck, lace insertion and elbow sleeves. A text-first tool turns all of that into a sentence such as "a vintage blouse in green gingham." The image model then fills every gap with its own average idea of a vintage blouse and its own idea of gingham.
That second hop is where the "AI slop" look comes from. The model is not wrong, exactly. It is drawing a blouse in a gingham. It just is not yours.
What gets lost in a text prompt?
Almost everything a sewist would check first. A sentence cannot carry:
- Seam lines and pattern shape. Princess seams, a yoke, a dropped shoulder, the exact curve of a neckline.
- Print scale. A quarter-inch check and a two-inch check are both "gingham."
- The exact colorway. "Sage" means a dozen different greens.
- Motif style. Hand-drawn florals, tight ditsy prints and photographic florals all become "floral."
- Proportion. Sleeve length, hem length, how full a gathered skirt really is.
You spot these errors instantly because you know the pattern. That is why a generic preview is worse than no preview: it shows you something confident and wrong.
What is reference-first image generation?
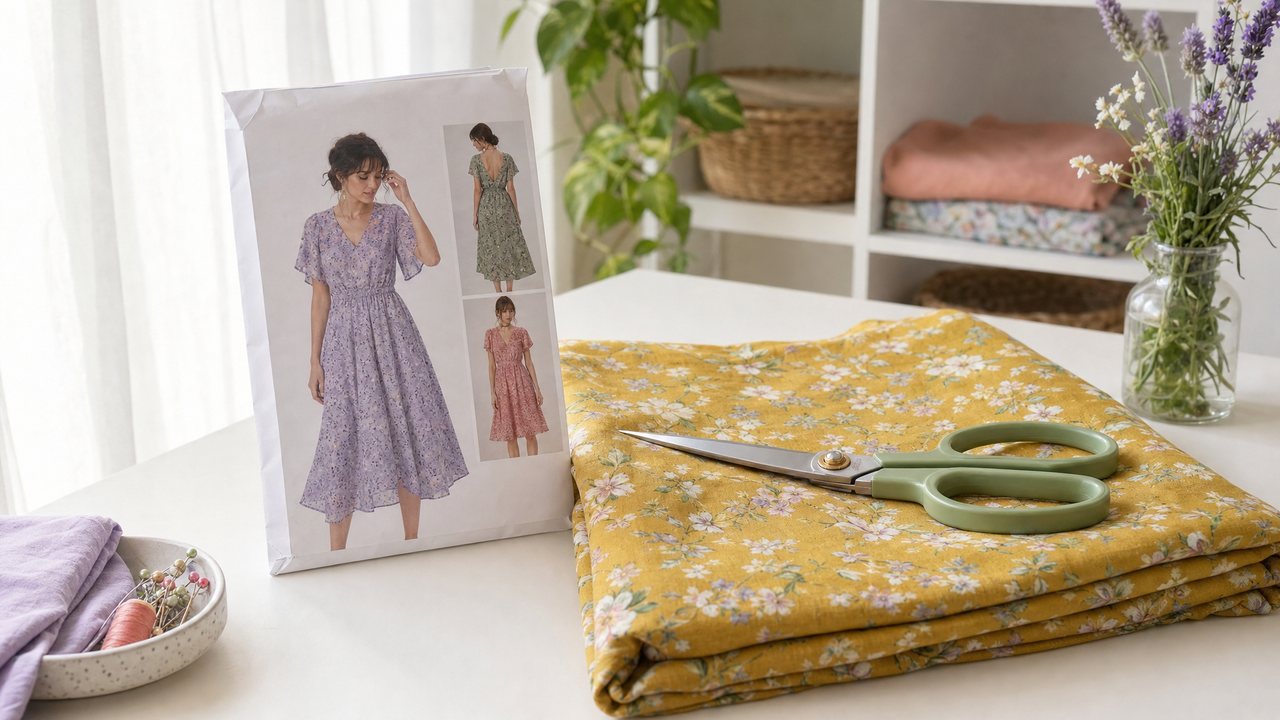
Reference-first means your photos are the source of truth and the text is only a modifier. The image model receives your pattern envelope photo, your clipped pattern pieces and your fabric photos as tagged reference images.
The prompt then does a much smaller job. Instead of describing the garment, it describes relationships: build the garment shown in the pattern reference, using the fabric reference, keep the print at true scale. Every instruction points at a real image rather than inventing details.
In Sewist Studio, this is how the image tools work, powered by Runway. It applies to the Visualizer, which shows your stash fabric on a pattern, to mashup illustrations built from clipped pattern pieces, and to the color-block renders in Cut Line Studio. It replaced an older approach that turned item details into a prose prompt, which produced exactly the generic results described above.
How is print scale kept accurate?
Print scale is pinned for each fabric using three facts from your stash record: the print type, the bolt width and the print repeat. Those numbers tell the model how big the motif should be relative to the garment.
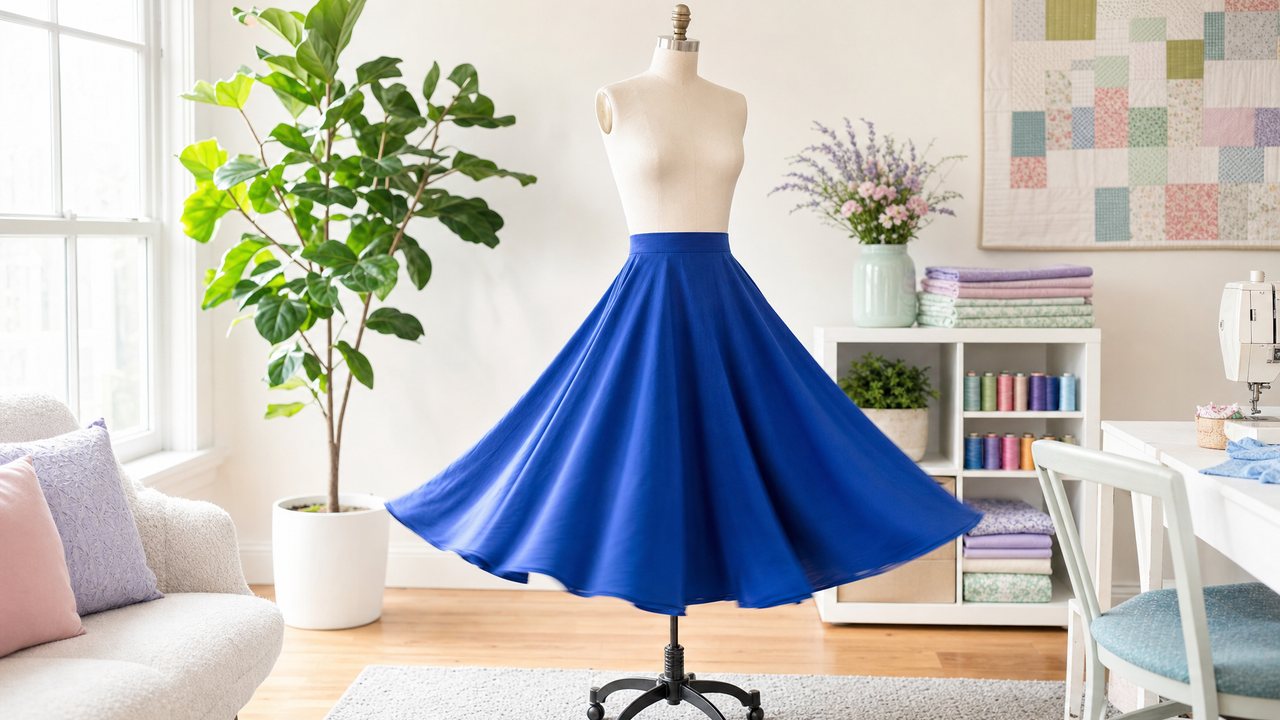
This matters more than color. A large floral that looks lovely on a full skirt can swallow a fitted bodice. A tiny check that reads as texture on a dress can look busy on a small collar. If the preview gets scale wrong, it is not telling you anything useful about the real make.
So the more complete your fabric record, the better the preview. If you have not measured the repeat or noted the bolt width, this guide to measuring fabric yardage covers the basics, and the same tape measure gets you the repeat.
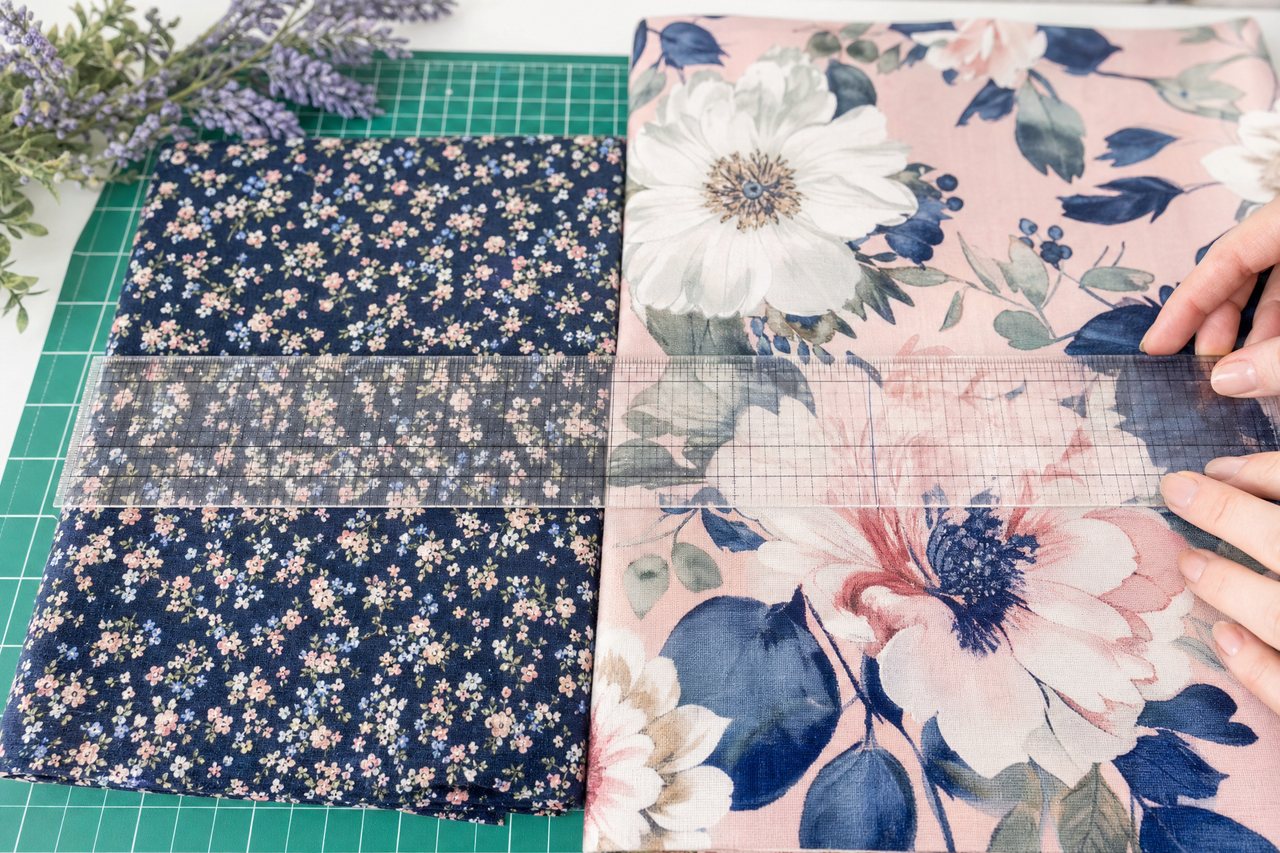
Text-first vs reference-first, side by side
The difference shows up in what the image model is actually given. Here is the same preview request handled both ways.
| Text-first (older approach) | Reference-first | |
|---|---|---|
| What the model sees | A sentence describing your items | Your real envelope, pieces and fabric photos |
| Pattern shape | Invented from words | Taken from the envelope or clipped piece |
| Fabric print | A generic version of the print type | Your actual fabric photo |
| Print scale | Guessed | Pinned from print type, bolt width and repeat |
| Typical failure | A believable garment that is not yours | Small drift in details, which you should still check |
What can reference-first still get wrong?
It is still image generation, so it can still drift. Treat a preview as a strong hint, not a cutting guide. Honest limits:
- Small construction details can drift. Button counts, dart placement and topstitching are not guaranteed. Check them against your pattern.
- Your photos set the ceiling. A dim, wrinkled or cropped fabric photo gives the model less to work with. Reference photos can be up to 5MB each.
- Fast is faster, Best is better. There are two quality settings. Use Fast to compare options and Best for the one you are leaning toward.
- Renders cost something. Pro includes 3 Runway renders a month across all render features. After that, each render costs 3 purchased credits, and credits are refunded if a render fails.
- It does not test drape. A still image cannot tell you how a fabric hangs. Cut and handle a scrap.
If you are wondering whether a general chat tool can do the same job, we compared the two honestly in ChatGPT vs Sewist Studio for fabric previews.
How do you get the most accurate preview?
Good inputs do most of the work. Run through this checklist before you generate:
- Photograph the fabric flat, in daylight, with the print filling the frame.
- Record the print type, bolt width and print repeat in your stash.
- Use a clear, straight-on photo of the pattern envelope.
- For a mashup, use the clipped PDF pattern piece if you have one; it carries the real shape.
- Start on Fast, then switch to Best once you have chosen.
If your patterns are not photographed yet, cataloging them with the AI photo scanner gets the envelope photos into your library at the same time.
For the full story of how this approach came together, including what broke along the way, read how we built AI garment previews with Runway. For every AI tool in one place, see the complete guide to AI sewing tools.
Try it
Pick one pattern and one fabric you are unsure about, and look at them together before you cut. Open the Visualizer with your own pattern and fabric. AI features need Pro, which is $4.99 a month or $47.88 a year with a 14-day free trial; see Sewist Studio Pro pricing or create a free account to start.